Say Hello to Spring!
This DIY wreath is ready to usher in the season with style
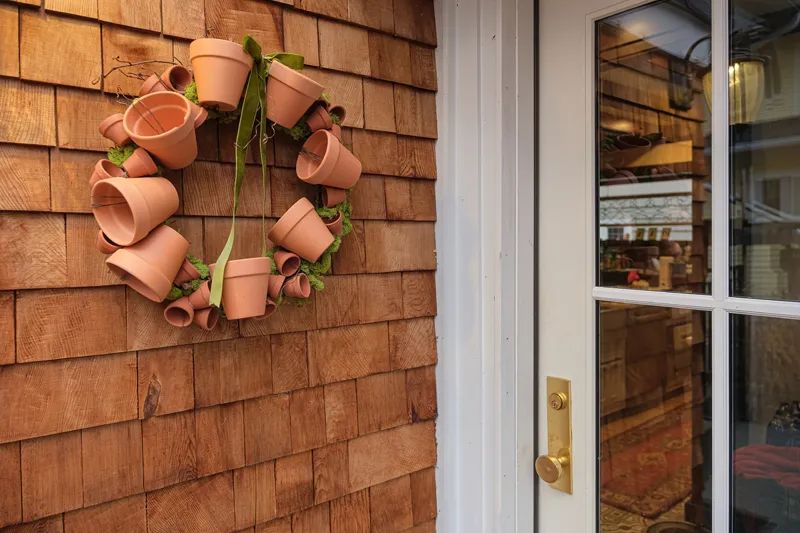
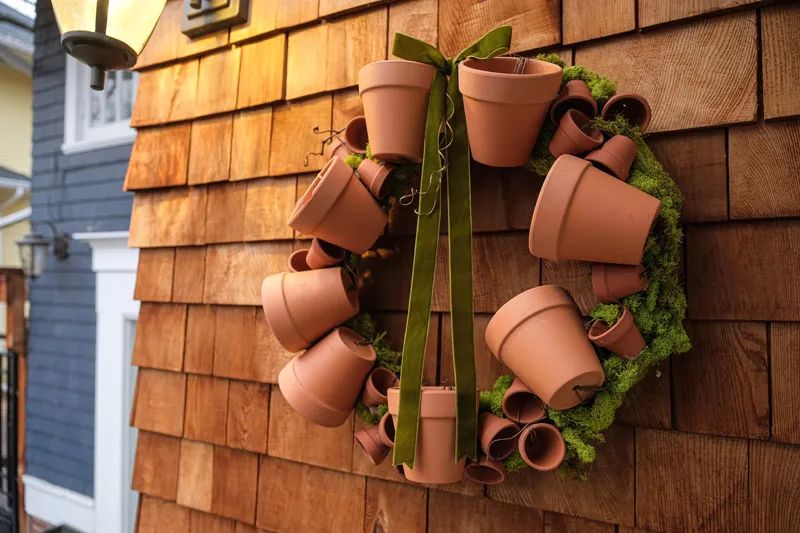
The groundhog didn’t see his shadow, which means we might get a taste of spring a wee bit early. I wanted to get ready, and this terra cotta pot wreath definitely did the trick. This project will not only help feed your spring fever, but it could even take your home’s decor right through summer. Better yet? It’s an easy DIY that took just an afternoon to make.
WHAT YOU WILL NEED
- 4-inch terra cotta pots
- 2-inch terra cotta pots
- Large roll of brown floral wire and cutters
- Grapevine wreath
- Green moss
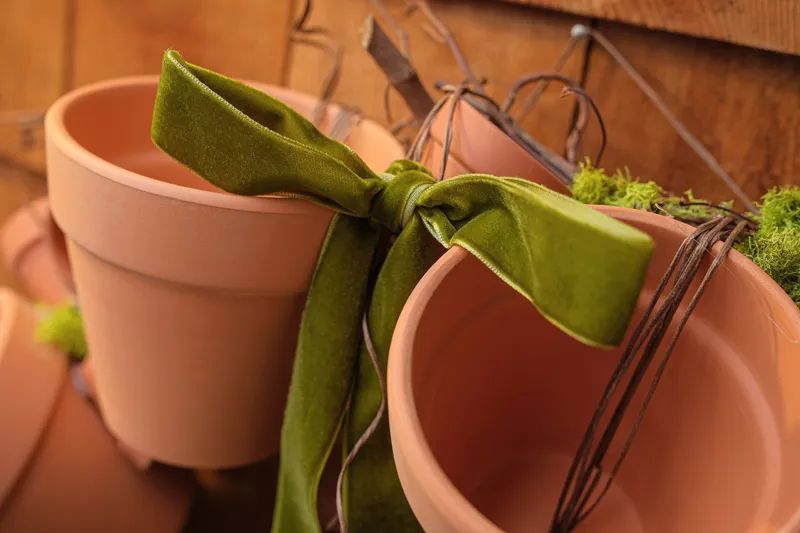
- Ribbon
- Hot glue
Set the grapevine wreath on your workspace and look at the wreath as a clock with positions of 12, 3, 6 and 9 o’clock. Figure out what portion will be the top (12:00) of the wreath. Most wreaths are not a perfect circle so play around with the aesthetics of it and where you want to place your pots around the “clock.”
I used approximately 3 yards of wire for each large 4-inch pot. I did the old fingertip to nose measurement with each arm length loosely being one yard. I did that three times then cut. This isn't an exact measurement, but it works in this case since we don't need to be exact.
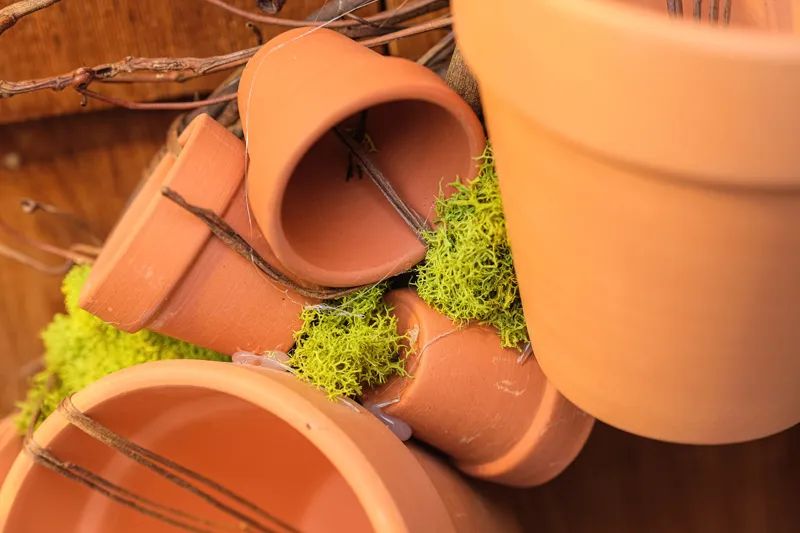
Once the wire is cut, I fold the wire in half and pass through the drainage hole in the bottom of the 4-inch pot. I then placed the first pot on the wreath at the 12 o’clock position. I wrapped the wire around the wreath tightly several times, going through the drainage hole several times to hold the pot securely on the wreath. I eventually tied and knotted the wire off to the back of the wreath. There will be plenty of extra wire. Don't trim that off. I used the excess wire to help tighten the other pots as I placed them on my grapevine wreath.
The pots may seem a little loose. That's OK. We will secure each of them with hot glue after everything is on the wreath. Continue to do this in the 6:00, 3:00 and 9:00 positions, in that order. Now place more 4-inch pots in between the ones placed on the wreath, close to the 2:00, 4:00, 8:00 and 10:00 positions, if there is room for them. We want to fill the wreath with as many 4-inch pots as possible to try to hide the grapevine wreath base.
Now we will do the same thing with the 2-inch pots. Again, this time I loosely measured the wire at 2 yards. I followed the same technique as I did with the 4-inch pots, wrapping and securing each pot through the drainage holes. I didn’t forget to use the wire in the back of the wreath, if needed. The goal is to cover the wreath with as many pots as possible and as tightly as you can.
It's now time to heat up the hot glue gun. Add a small dab of hot glue to any loose or wiggly pots. I also added bright green dried moss to the wreath in between the clay pots in any spots that need filled in. Doing this breaks up the colors a bit, making the pots pop, and also fills any gaps where the grapevine is visible. If you see any loose wir,e just wrap it around a pen making a cute curlicue. Add your ribbon and it's done!
So, say hello to spring! This wreath is cute, quick and easy. Supplies are also easily found making this a no-brainer project to dress up your home for the season.