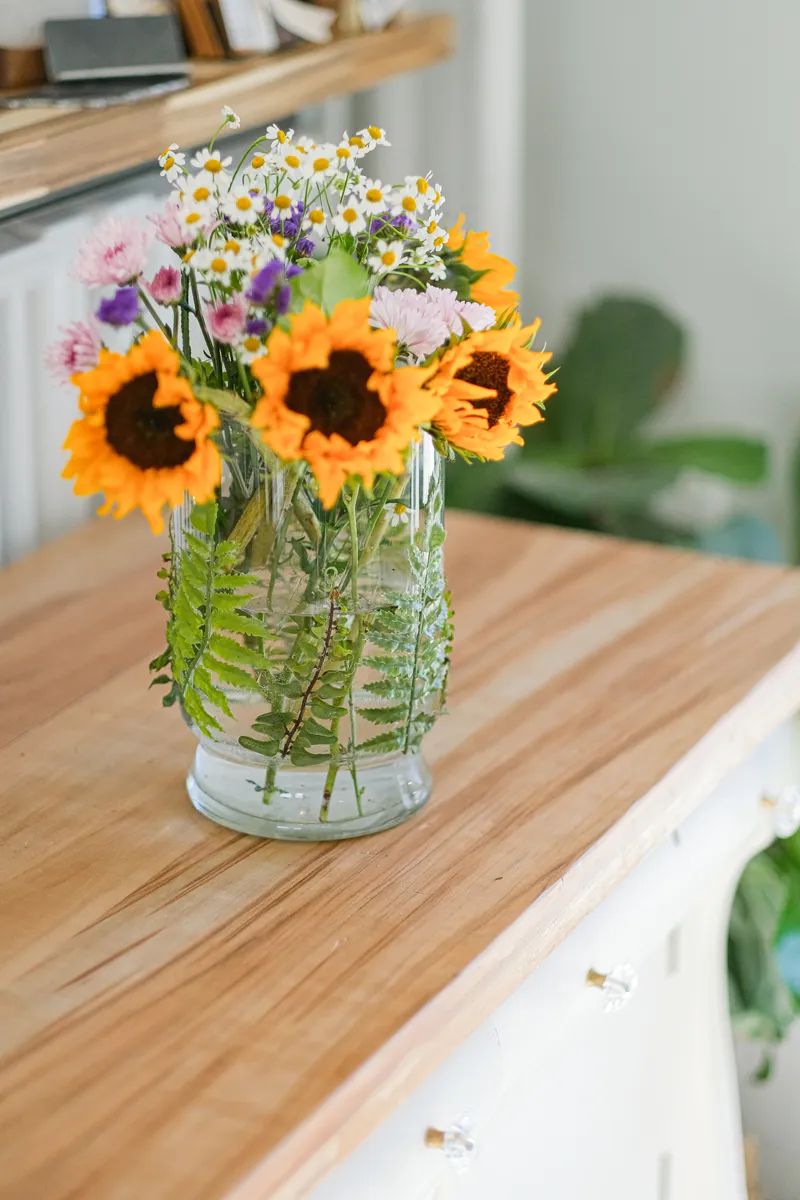
Spring Showstopper
Turn an old vase into a seasonal centerpiece
When spring arrives, I love nothing more than adding fresh flowers around the house to bring a little of the beautiful outdoors inside. Recently, I tackled a DIY that not only added a splash of color inside the vase but on the outside too. All it took was upgrading a standard thrift store vase into a showstopper that you can use again and again, season after season.
HERE’S WHAT YOU WILL NEED
● Vase with straight lines
● Hot glue gun and glue sticks
● Faux greenery
INSTRUCTIONS
Start by finding your vase. We all have glass vases lying around, so why not use one for this project? If you’re at a loss, don’t forget to hit up your local thrift or dollar store to hunt for a good case for this project. For this project, a straighter vase without a lot of curves is best.
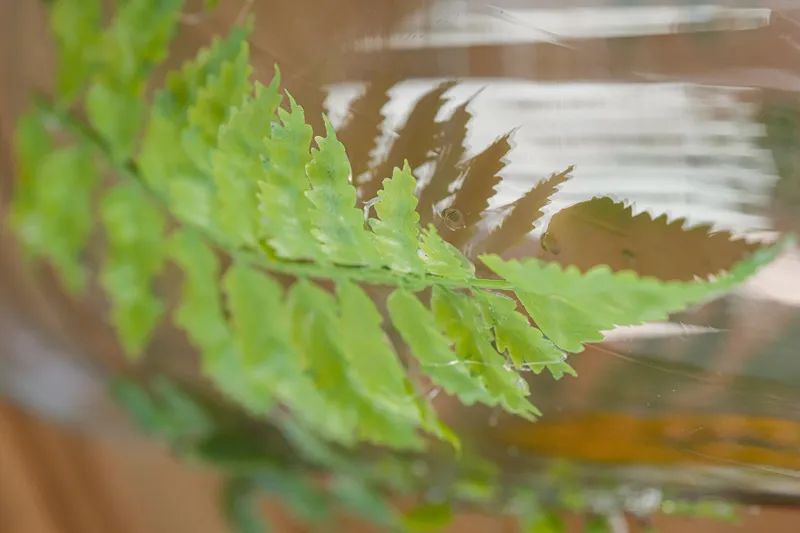
Next, grab some greenery. You might have this around the house as well. I found the right faux sprigs at my local craft store. There are so many choices that, oftentimes, it’s hard to choose. I ended up picking a faux fern leaf. I liked that it was plastic and that it wouldn’t get damaged if doused in water when filling the vase. The individual branches were pliable and easy to move around, and they looked fairly real. They also had multiple stems that detached from the base stem easily. When choosing your greenery, it’s most important to pick something that is visually appealing to you.
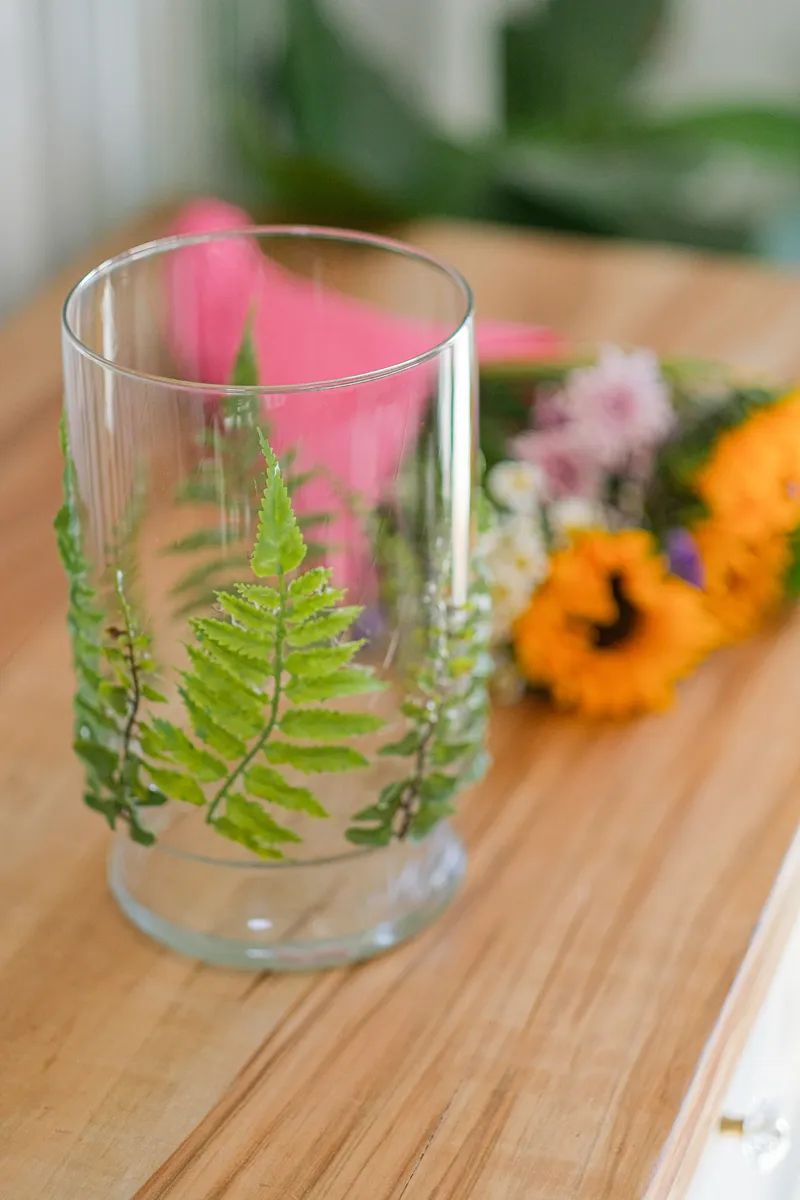
Next, prep your vase by washing it and removing any mineral deposits or fingerprints. Dry it well, then set aside. Now it’s time to pick the branches or stems from your greenery that you want to use and, if necessary, use wire cutters to snip from the main branch. Once you have a few pulled, start looking for your pattern of placing stems around the vase. I chose the pattern of a large stem followed by a small stem all the way around the vase.
Finally, it was time to heat up the hot glue gun and get to work. Once the gun was hot, I grabbed an individual stem and carefully applied glue to the stem of the greenery. I placed it on the vase gently tapping in place. I then dabbed small amounts of hot glue on the leaves and pressed them into place. When you are gluing your sprigs onto the vase, take note of how the real leaf would look in nature. Branches typically have a graceful bend and aren’t situated in a straight up-and-down fashion. Keep in mind, if you make a mistake or don't like the placement, it is easily fixed by spraying a small amount of glass cleaner on the greenery. It helps the sprig come right off. Afterward, simply let the vase dry and try again.
What makes this vase a keeper is that it is commitment-free. You can easily remove any items hot glued to it and then change it out for each new season or holiday. Just spray with a little glass cleaner and you're on to the next holiday! The best part of this DIY was the price tag and time commitment. I spent a total of $15 and about 30 minutes working on it. With limitless options, set aside a little time for this project and help usher in a bit of spring to the inside of your home.