

Look What We Found: The Big Cover Up!
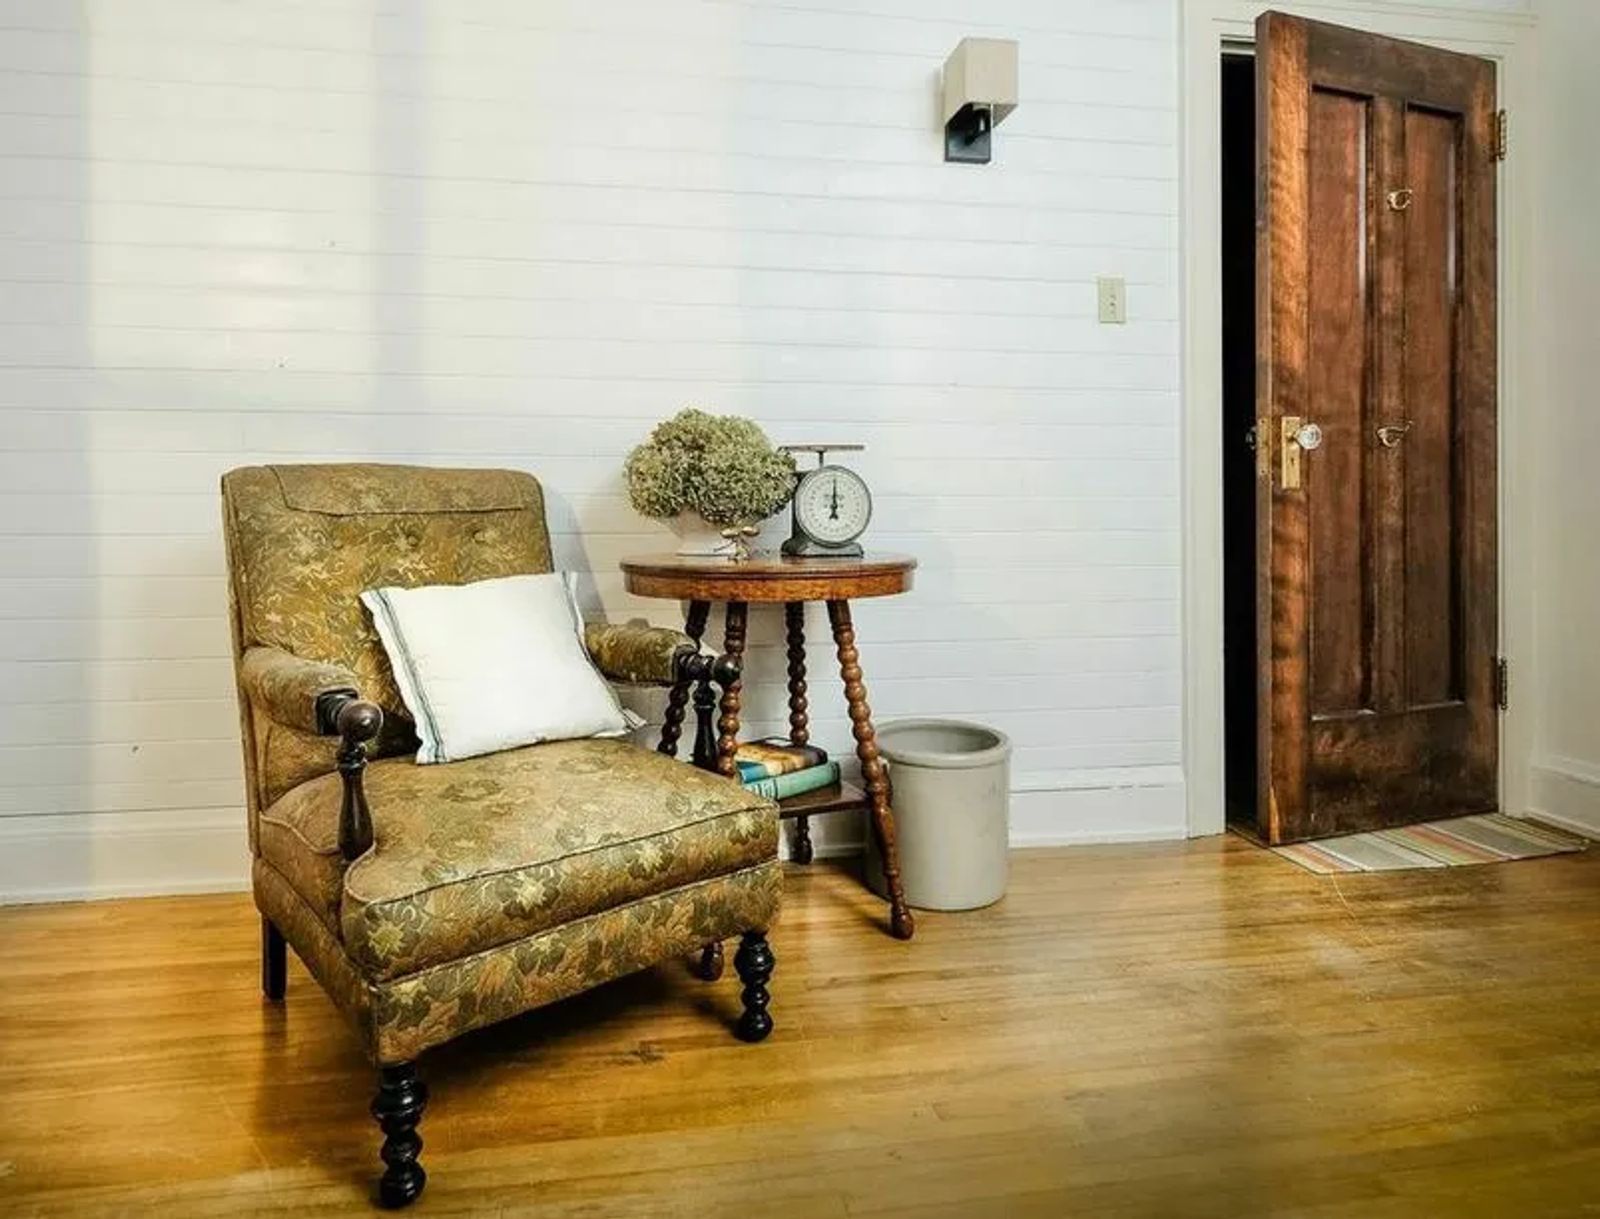
Shiplap wall hides decades of design faux pas
Living in a 100-year-old home, you inherit a multitude of “decorating sins.” The design faux pas could be due to differing tastes, decorating to the trends of a certain decade or, worse yet, not having the “know-how” to pull off a home improvement project. Sadly, the reason for my room redo was because of the latter. I have a room that started out with plastered walls. At some point, there was at least one layer of wallpaper. Then, someone started peeling the wallpaper off, got tired of the tedious task and decided to sponge paint over top. I was left with trying to find a budget-friendly way to disguise the mess.
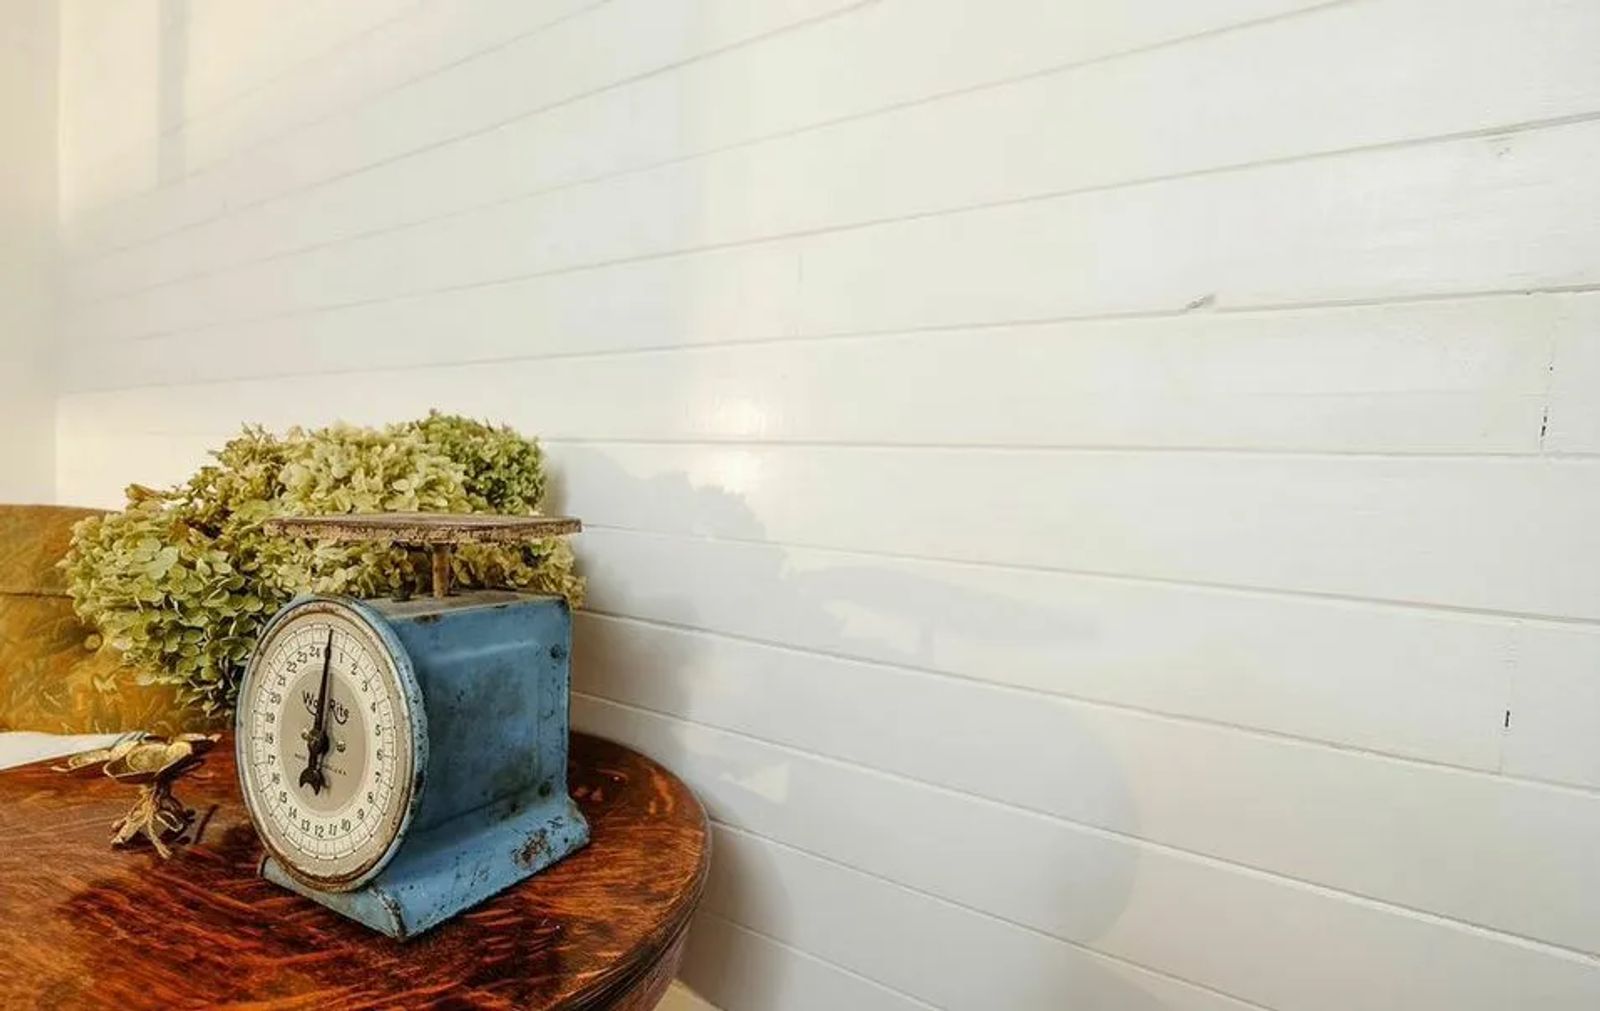
While I was looking at my options, the word shiplap came into my vocabulary. Shiplap is a wood paneling of sorts. The boards are designed to overlap forming a tight fit. Often found covering the walls in barns or sheds, when moved indoors this wall expression provides a clean and classic way to add a little interest to a room. The good news for me is the fact that it also covers structurally sound cracked walls, dated wall paper, and badly textured walls and ceilings.
HERE’S WHAT YOU NEED
Pine wood boards
Paint and primer
Caulk and caulking gun
Pin nailer and pin nails
Spackle
Miter box saw

HOW TO GET THE JOB DONE
We started by calculating the square footage of the area we wanted to cover by simply multiplying the length of the wall by the width and adding 10% for waste. With a quick look at my local hardware store, I found a lower cost version of a shiplap look in pine plank paneling. Each box contained 14 square feet for $10 and so we knew 6 packages would cover our space. The package comes with 8-foot boards that are 3/16" thick. After opening the packages, we inspected the boards for any cracks, broken tongue and groove or large knots. We handpicked the planks we wanted to use and then cut them to give us a variety of 2-, 4-, and 8-foot boards.
Starting at the top of the wall, we began nailing the boards in place. By starting at the top, we knew any gaps or imperfections would be at the bottom of the wall and would end up blending with the baseboard molding. Because these boards are very thin, we weren't too worried about finding studs on every nail as the tongue and groove gives the planks stability. If, however, you are worried, simply use paneling adhesive first to adhere the boards to the wall and then use the pin nailer to secure each board. As far as placing the boards, we varied the sizes making sure to avoid any horizontal seams lining up.
There are so many ways to finish a planked wall. Lightly painting it with a dry brush gives a weathered and time worn look. Heavy gloss paint coverage gives a polished look. Staining these planks would give the wall a rustic and cozy feel. I chose a high gloss white finish. To prep for painting, prime the boards and then caulk any remaining nail holes. I decided to caulk the planks because I wanted a polished look. I also wanted to cover up knots as well as the tongue and groove seams. You’ll also want to fill in the gaps in the corners where the boards and the adjacent wall meet with caulk as well as around any doors or windows. This gives your wall a finished edge. If you've never used caulk before, it has the consistency of a thick glue and you'll need a caulking gun to apply it. After applying, I always run a wet towel over the bead of caulk. This gives it a smooth finish and removes any additional caulk. Step back and make sure you don't see any imperfections before you paint. Once you paint over the caulk, it will show mistakes.
Once the wall is ready, apply two coats of paint and you’re finished! Not only does this wall treatment look fantastic, it’s an affordable and durable way to hide a multitude of decorating disasters.


