Salvaging Style
Old door casing serves a new eye-catching purpose
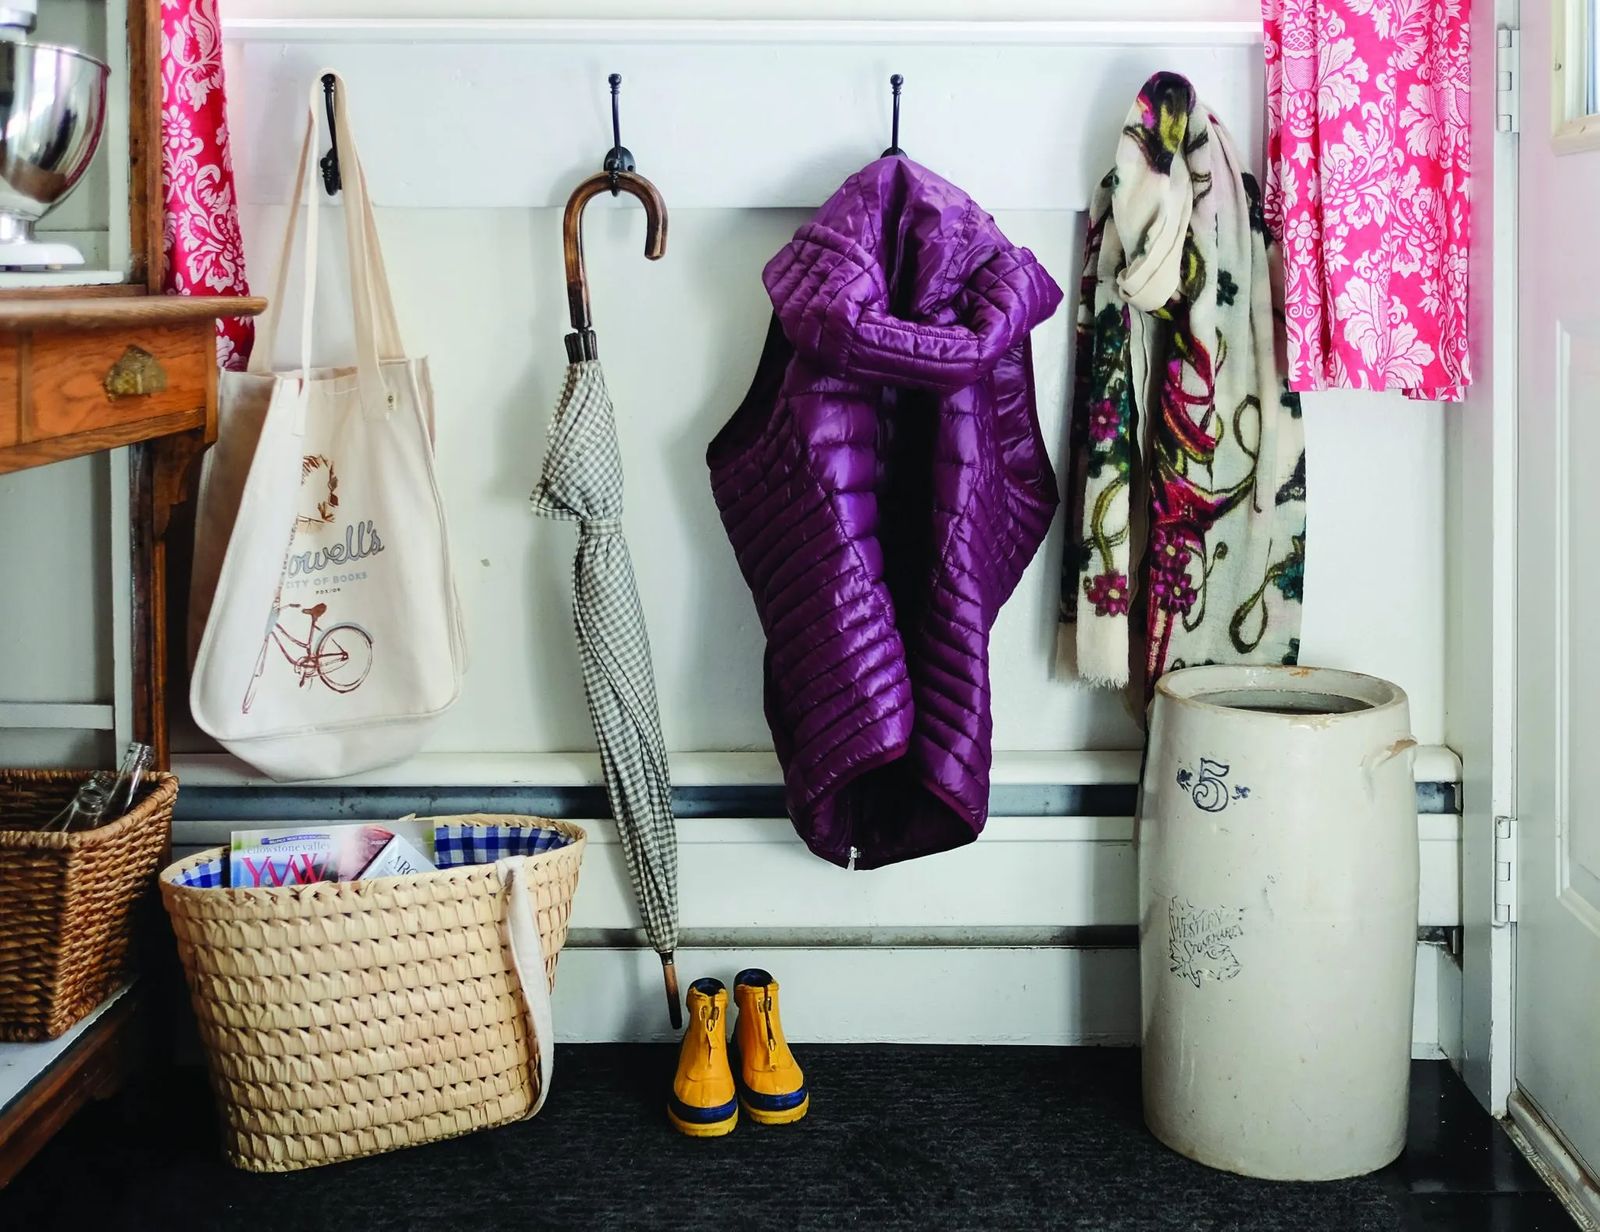
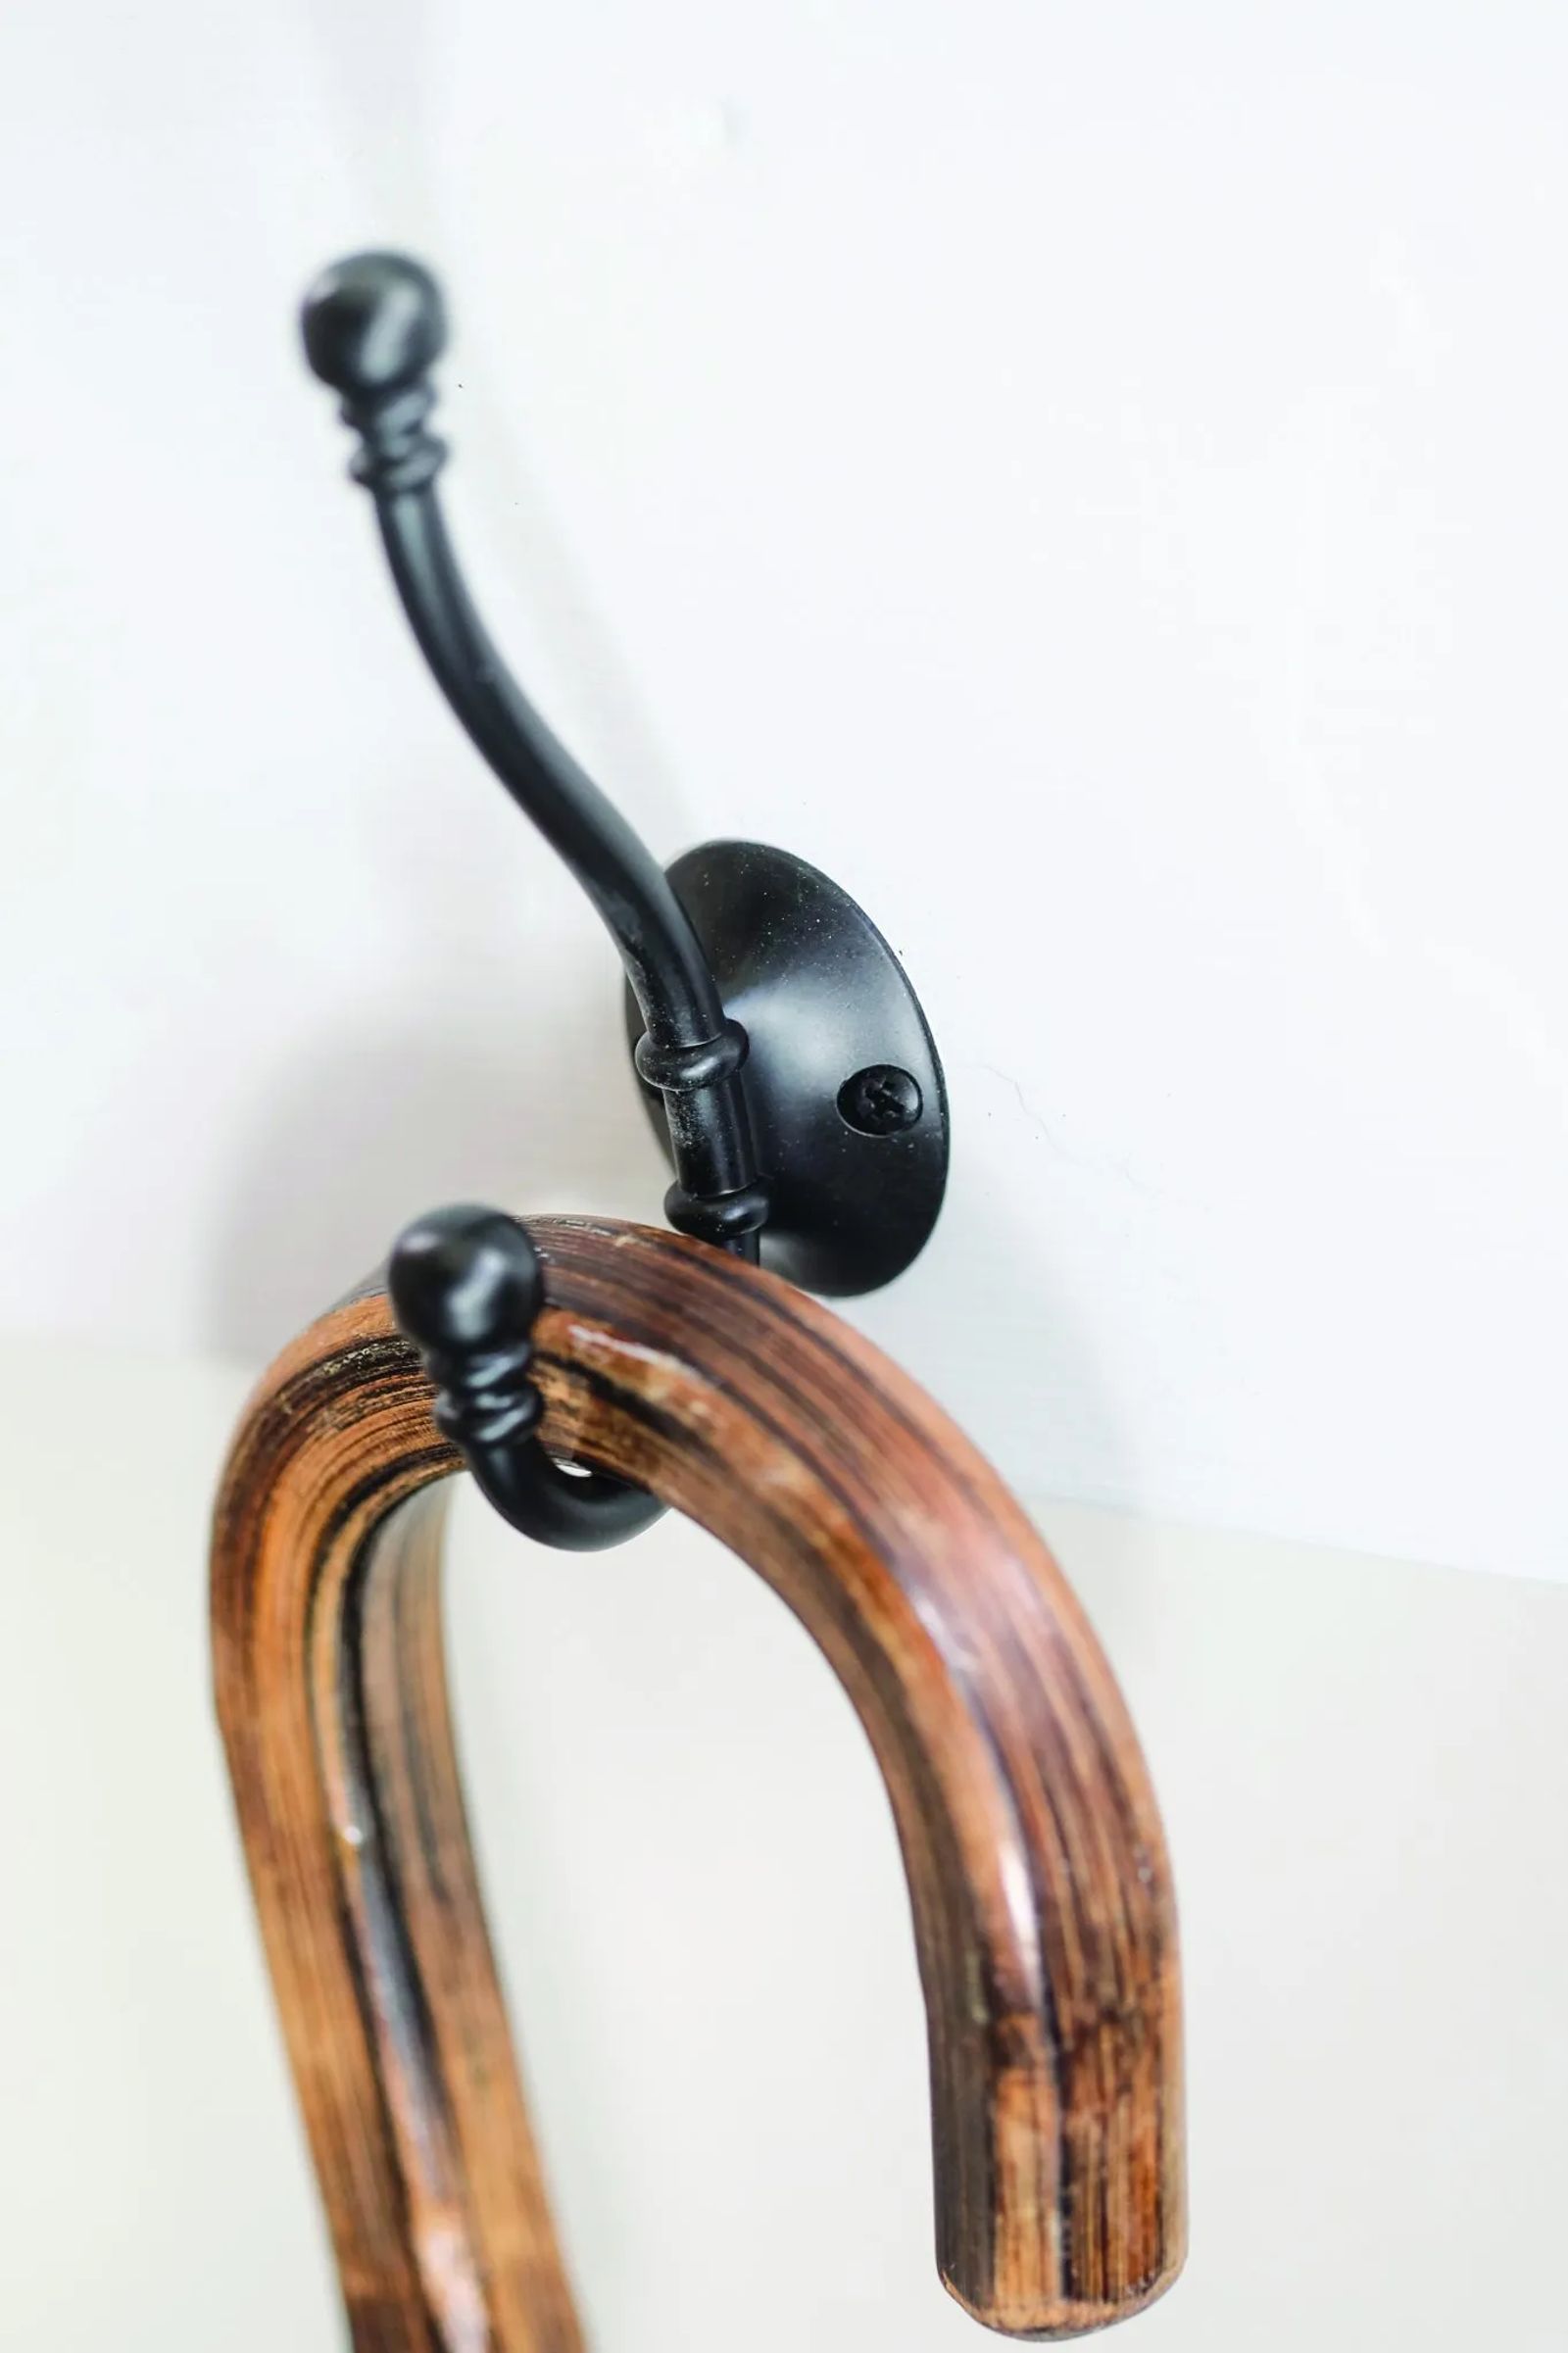
There’s a trend when it comes to bringing new life to old gems. And, many find those eye catching pieces thanks to architectural salvage. It’s when a piece of trim, a door casing, corbels or anything else that gives a house its character has been removed and saved. You can find these charming pieces in antique stores, at recycling centers, or in or even around or on your own home. Old fireplace mantels, corbels, windows, doors, trim pieces on antique or reproduction dressers, the backs of chairs or any furniture are great examples of architectural salvage. The key is to be open minded. I had some old arts and craft window and door cross-heads that were on the way to the trash after we took them off our house. I just couldn’t bear the thought that they were going to be thrown away. This piece of trim was more than 100 years old. The piece had a ton of character. Fast forward two years, and I’ve decided to give these beauties a face lift and turn these pieces into something useful — a coat rack.

WHAT YOU WILL NEED:
A salvaged piece
Sand paper
Coat hooks
Wall hangers for the back
Paint
Primer
Caulk
Dust mask
These window cross-heads were very weathered and distressed and I wanted them to have a clean, fresh paint finish. To prepare the piece, I needed to remove all of the nails along with all of the loose caulk. I scraped all of the loose paint as well, being careful not to gouge the wood beneath. When doing a project like this, please wear a dust mask. Since these pieces are old, there’s a good chance that lead-based paint was used, which is hazardous if inhaled or ingested. I sanded the piece very well. The old paint should feather out so there isn’t a seam or edge of old paint. When sanding, look for loose wood or paint. Caulk to fill all cracks and gaps, giving a seamless finish. I used a caulking gun, squeezed a bead of caulk into any seams or cracks in the piece and then blended the bead into the wood with a wet finger. The goal of caulk is to give your piece a seamless finish. Check all beads carefully to ensure they are flush with the wood, then allow time to dry. Prime all bare wood areas twice, allowing dry time in between coats. When it came time to paint, I chose a gloss finish since it is durable and easy to clean. After the paint is dry, attach wall hangers on the back and coat hooks on the front before hanging on the wall. All that’s left is to enjoy. This is a simple project for those who love to repurpose. It’s also a great reminder that if you keep an open mind about those old objects you see or find in your own home, you could turn them into an eye-catching gem in your home.


