

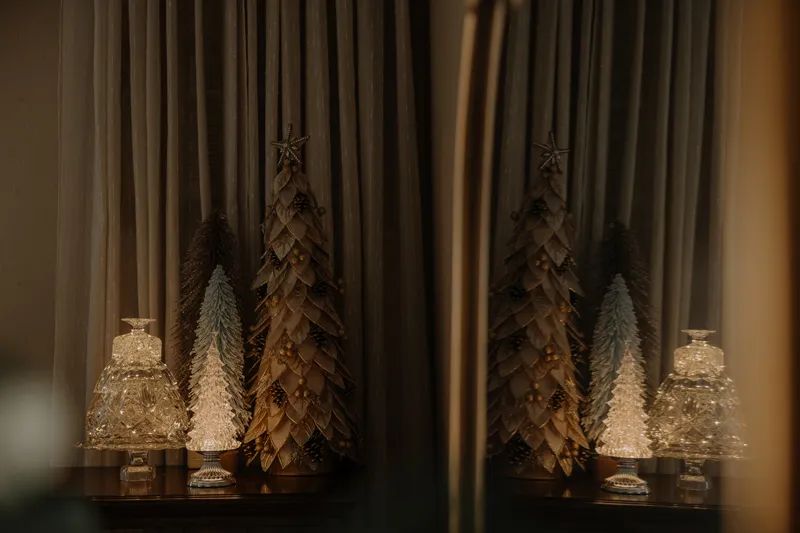
A Little Holiday Sparkle
Give vintage crystal a beautiful new life this Christmas.
Have a collection of crystal or cut-glass bowls just sitting around with no real purpose? Give them a little imagination — and a magical new life!
This is a simple and beautiful craft for a night with friends, and the finished trees make wonderfully unique handmade gifts. You can even personalize each one to match a friend’s style, holiday décor or collection of treasures.
Collect cut-glass bowls in assorted sizes and shapes that will create a tree-like silhouette when stacked. Clear crystal is classic and elegant, but don’t be afraid to mix things up. Try incorporating green or red glass, or create an entire tree from green pieces for a little extra Christmas color.
A LITTLE MUSEUM MAGIC
I like to use Clear Museum Gel, the removable adhesive often used to secure objects in museums and galleries. It’s perfect for this project because it holds pieces securely once they are pressed together, yet it doesn’t permanently stick to the glass.
The best part? You can take the tree apart and redesign it whenever you like. Move the bowls around, change the colors, or create an entirely new arrangement next Christmas.
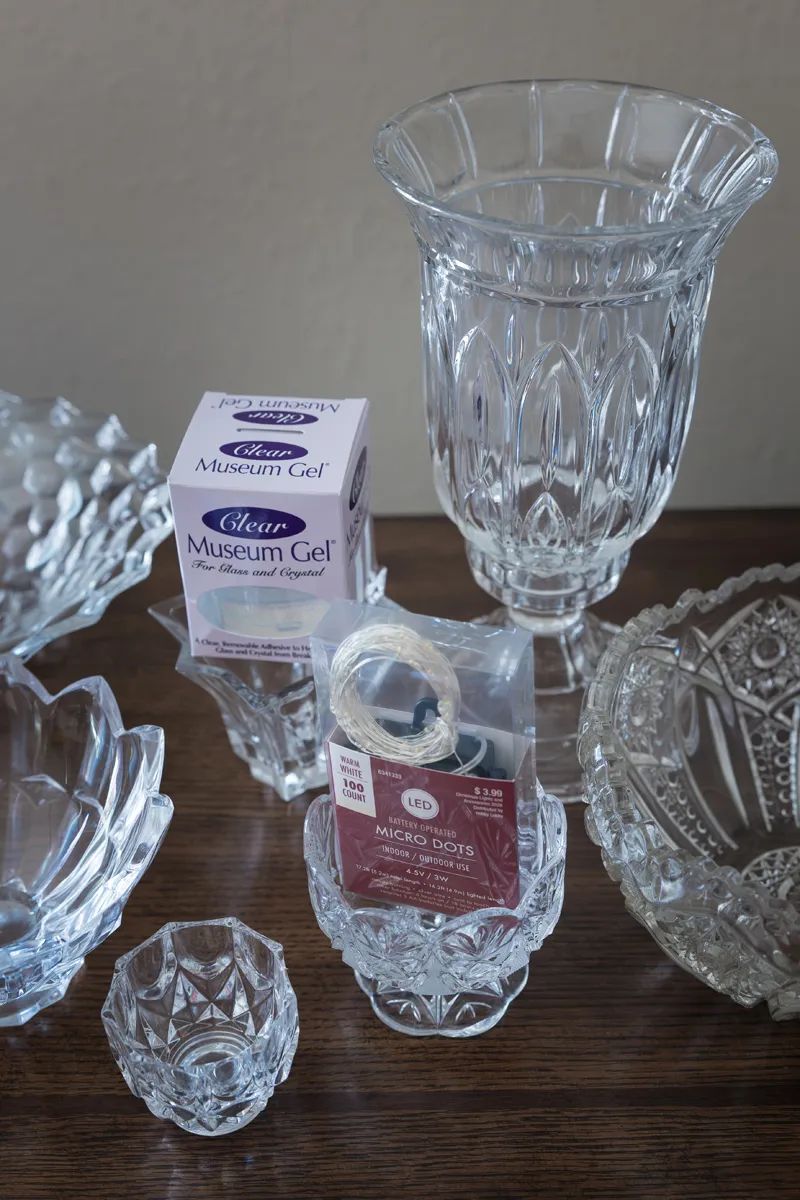
What you will need
· A sturdy candle holder for the base, or a slim crystal vase
Optional: Paint or use Rub ’n Buff to change the color of the base.
· An assortment of cut-glass bowls in various sizes that will create a tree shape when stacked
· Clear Museum Gel
· A small cut-glass bell or other decorative piece for the top
· A small level
Let's Build!
Start with your base. Place a few small dots of Museum Gel in strategic spots, then carefully place your first bowl on top of your candle holder or slim vase.
Use a small level to make sure the bowl is sitting perfectly straight before continuing. Add another layer of gel and place the next bowl, gradually working your way upward. Continue stacking until you reach the height you like and your collection begins to take the shape of a Christmas tree.
Now comes the fun part — the topper!
Try a little crystal bell, a small crystal cup, a vintage salt-shaker cap, or another treasured glass find. The possibilities are endless.
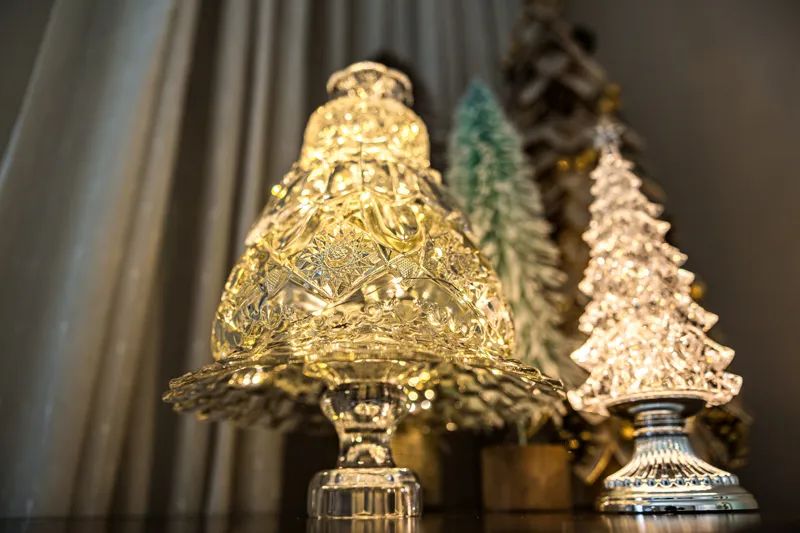
Tips for Success
Play with your arrangement. Experiment with different combinations and placements until you’re happy with the final design of your crystal bowl tree.
Hide the adhesive. Strategically place the clear putty toward the back of the arrangement so the attached crystals look seamless and the adhesive remains out of sight.
Read the instructions. Be sure to follow the instructions that come with the Museum Gel for proper application and secure placement.


