Animal Magnet-ism!
Deck your fridge out with a colorful roar
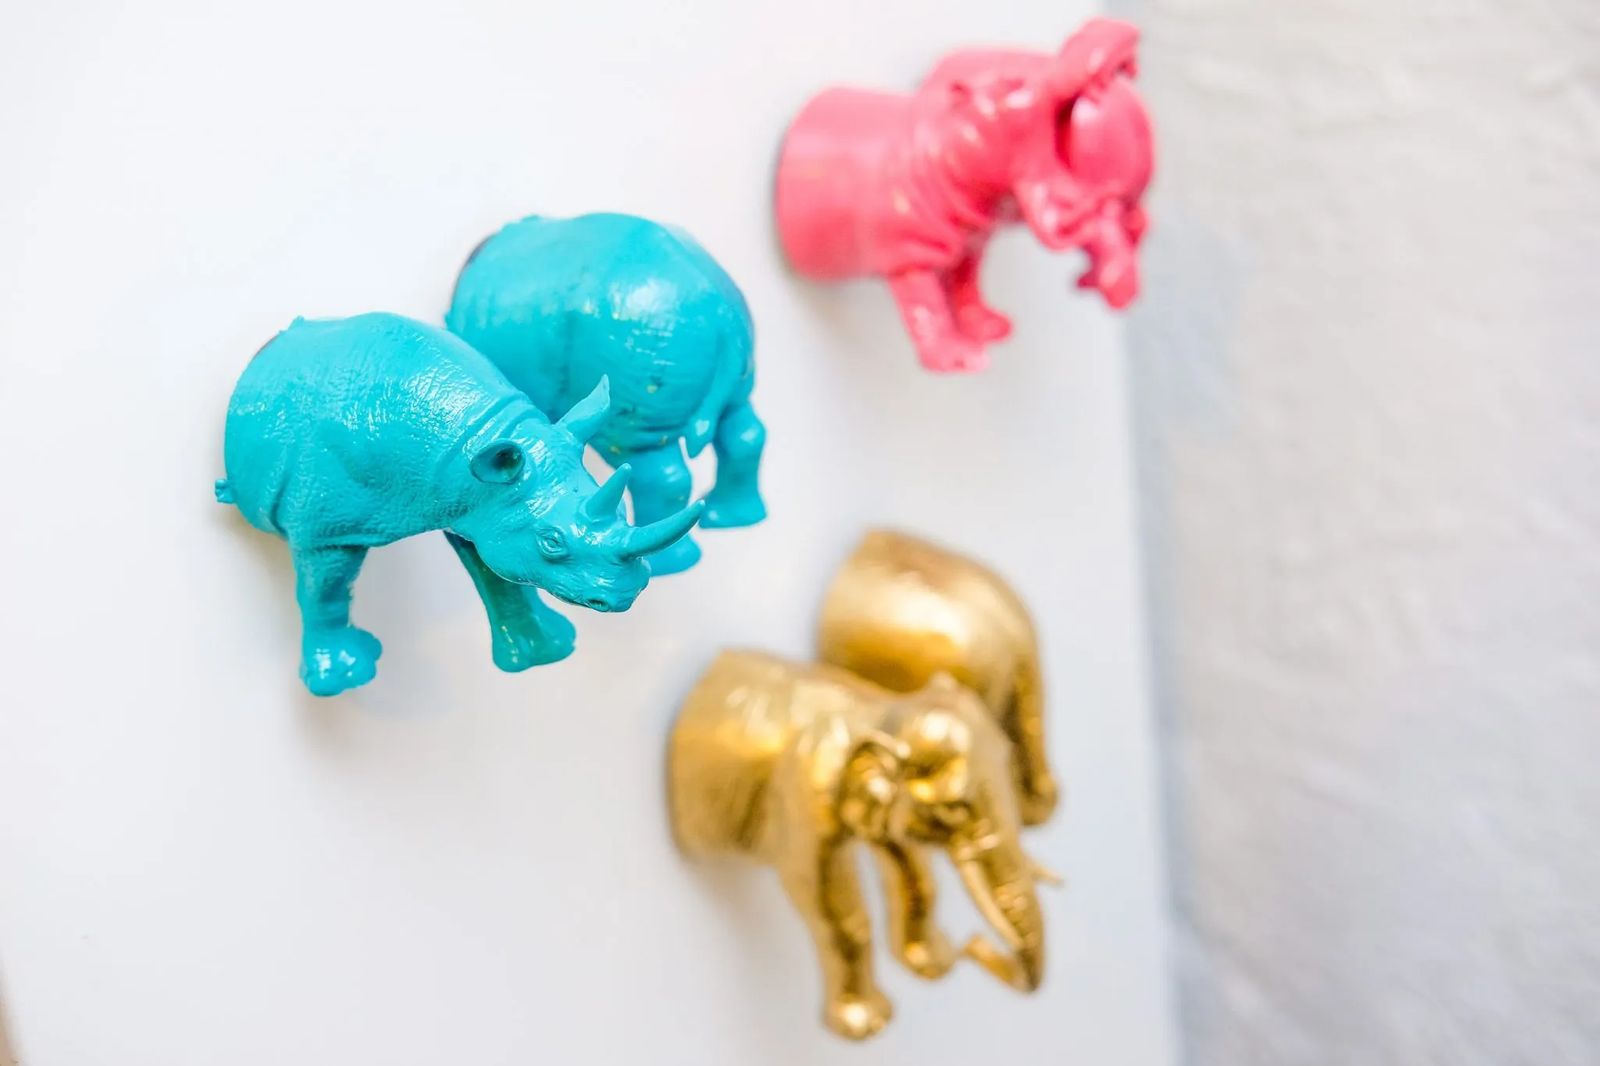
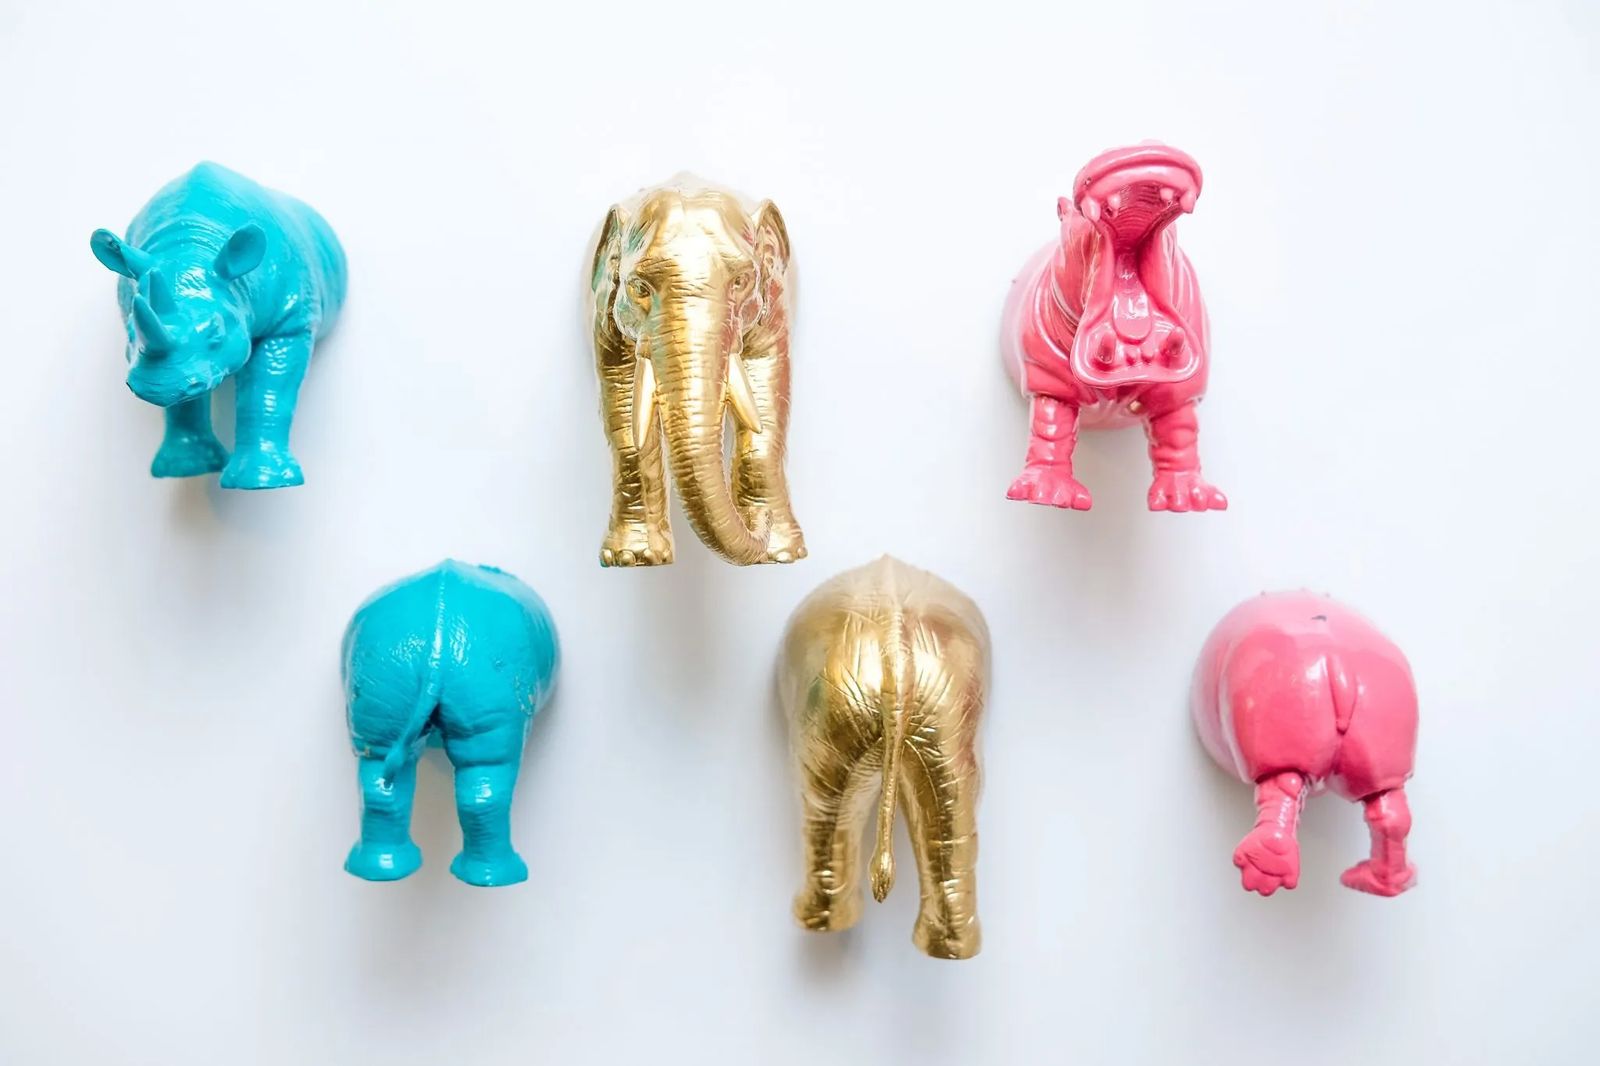
When it comes to keeping those important things handy, the fridge is a go-to for many families’ “command central.” Sure, you can tack up that very important bit of information with that magnetized business card someone handed you at that trade show that you went to years ago, but I have a DIY idea that will not only help you stay on track but could be a fun family project in the process. Try making these one-of-a-kind animal magnets which are not only fun to make but can be whipped up in an afternoon. I have to tell you a gilded wildebeest never looked so chic. While you can purchase these animals individually for a few bucks a piece, you can find “tubes” of animals at your local toy or dollar store in all kinds of themes — from farm animals and African safari beasts to sea or prehistoric creatures. Once the paint is dry and your half donkey has found a new home, he’ll no doubt help keep your organizational needs on point!


HOW TO CREATE YOUR DIY ANIMAL MAGNETS
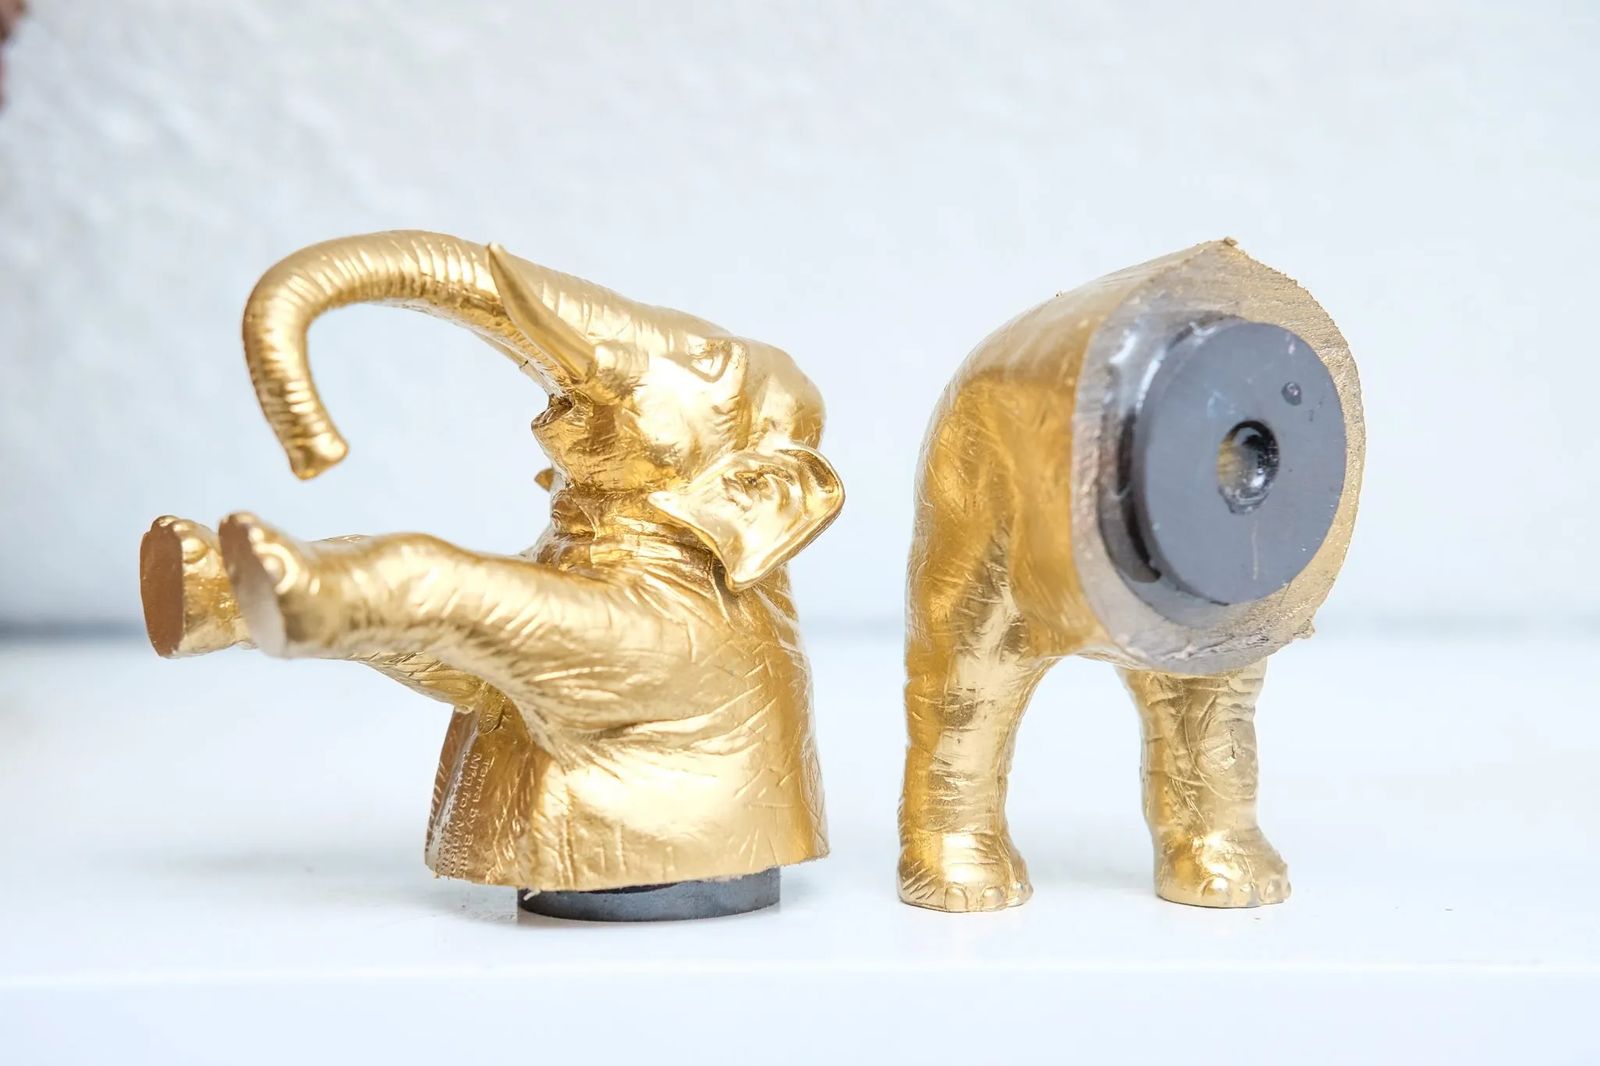
The trickiest part is being able to saw the plastic critter in half. We used a small hand saw. It goes without saying that this job is best left to adults. Start by cleaning the animals with a degreaser. This will help remove any residue on the animal and help the paint to properly adhere. Spray evenly with 2 coats of spray paint, letting dry between coats. After the second coat of paint has dried, use a 2-part epoxy glue for maximum adhesion, mixing to manufacturer's directions. Apply the glue with a disposable applicator to the flat side of the animal. Place magnet in the glue, being careful not to get stuck in the glue, and wait until dry. Once your animal is dry, attach to the fridge (or anything metal) and help these little guys be a bright spot in your day. We made a set for our fridge and every time I walk past them, I smile. Your kids (or grandkids) will, no doubt, get a kick out of them as well and want to rearrange and match the front and backs of each animal.


