DIY Olive Tree
Refresh your room with a touch of the Mediterranean
For decades, people have been adding a splash of green to their living spaces thanks to faux plants. And, with more people enjoying the coziness of their homes these days, faux plants have made a huge comeback. But, move over ficus tree, the olive tree is now taking a decorative center stage. There’s something about the silvery leaves that add a posh feeling to any décor. While I stumbled upon one on the pages of a Pottery Barn catalog, I wasn’t willing to fork over the $399 to buy one. I thought I would see if I could create this beautiful European look for a fraction of the cost. I knew it would be a challenge, however, to create one that looked realistic and full of character.
WHAT YOU WILL NEED
● 2-3 faux olive stems per tree
● A twig
● Floral tape colored to match your twig
● Floral foam
● Floral wire
● Basket - shop your basement or hit a thrift store
● Hot glue & glue gun
● Grape vine or moss, optional

TO CREATE
To start, I took a “shopping trip” to my alley to look for the perfect twig to serve as the trunk of my faux tree. Since I knew this piece would show, I wanted it to look real. Length didn't matter, because I knew I could cut it down to size. I looked for a twig that was about the diameter of a finger, one that tapered to a nice thin tip. I also wanted a twig with a few branches at the top.
After I found my base, I took at trip to my local craft store where I found olive stems for $12.99 apiece. These were the most expensive part of the project but at the time, they were 50 percent off. I decided, thanks to the sale, that it was a perfect time to make not one, but two trees. I also grabbed two floral foam squares. The size of my basket base dictated the size of foam. I knew I needed something pretty substantial to really hold everything in place. When picking your floral foam, choose the hard Styrofoam rather than the spongy version to best hold your stems in place.
With all of your items gathered, start by trimming your floral foam to fit your basket. I used a serrated knife to slowly trim off edges, test fitting as I went along. One of my squares was a little on the small side for my basket so I used the cut-off foam from my other square to wedge this square into the second basket. Paper towels or knotted plastic bags also work well to fill in the gaps. Grab the olive stems and play with how you want them to look. On my shorter tree, I wanted a bushier look so I staggered the ends by approximately two inches and started to wrap my wire tightly around the stems until they were secure. On my taller topiary tree, I opted for an airier look. I took my trimmed branch and tightly wired one stem where I wanted the topiary to start. Measuring roughly four inches above the first stem, I wired the second stem in place. These measurements are approximate. You’ll want to go with what’s visually appealing to you. After you’re done wiring the branches in place, wrap the floral tape around the trunk of your tree to hide the wiring and then hide the end of the tape.
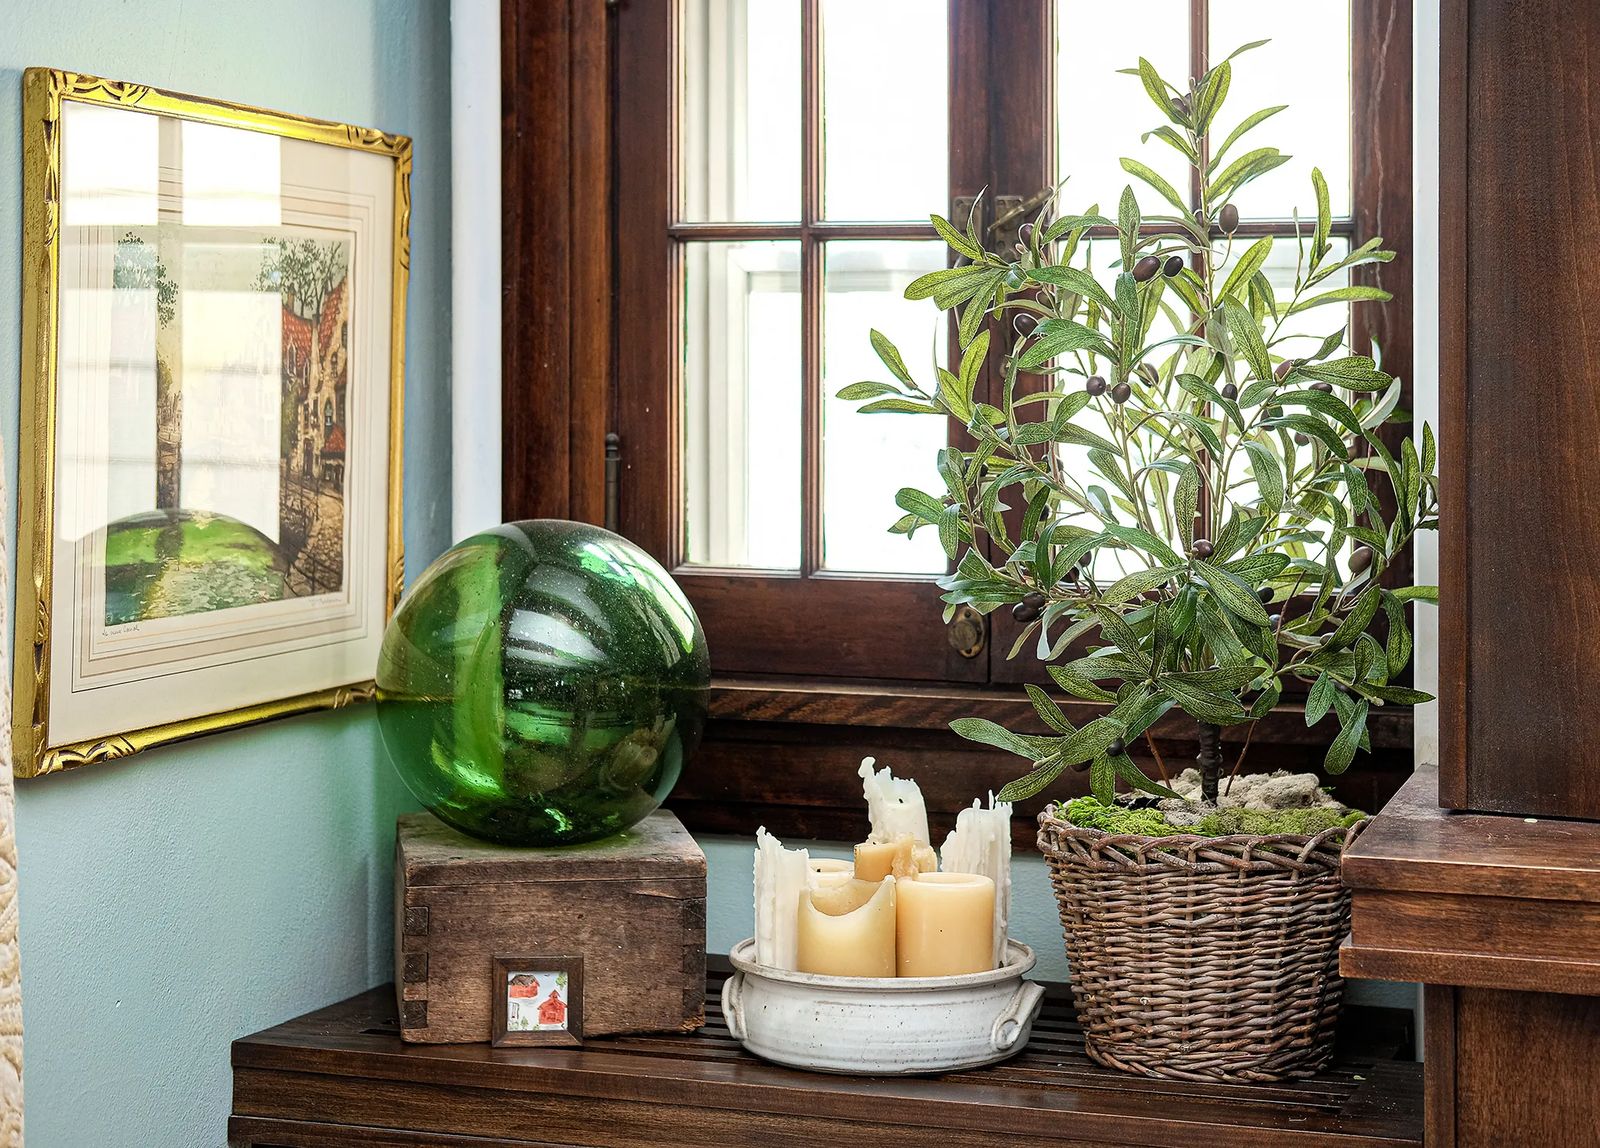
With the foam secure in the basket, find the center of the foam and shove the trunk into the foam, hot gluing into place. I placed some grapevine twigs at the base of each tree and wrapped them up through the leaves, also hot gluing in place. This is the character part of the project. To cover the foam in the basket, I hot glued moss to the foam. While I used moss, you can also use rocks or even bark. After assembly, fluff and adjust the leaves to your liking and enjoy!
To create each tree, I spent just under $30. When you consider that high-end decorator shops are charging close to $400, that’s quite a savings for something just as beautiful.