

Look What We Found!
A Tisket, a tasket - how about a colorful basket?
Before spring plants even start to think about sprouting, many of us take time to get organized with the coming change of seasons. It"s all about a fresh start, and renewal. It"s a time for getting organized and de-cluttered. It"s a time for throwing away, donating, and categorizing. We all feel better when things are in their places, don"t we?
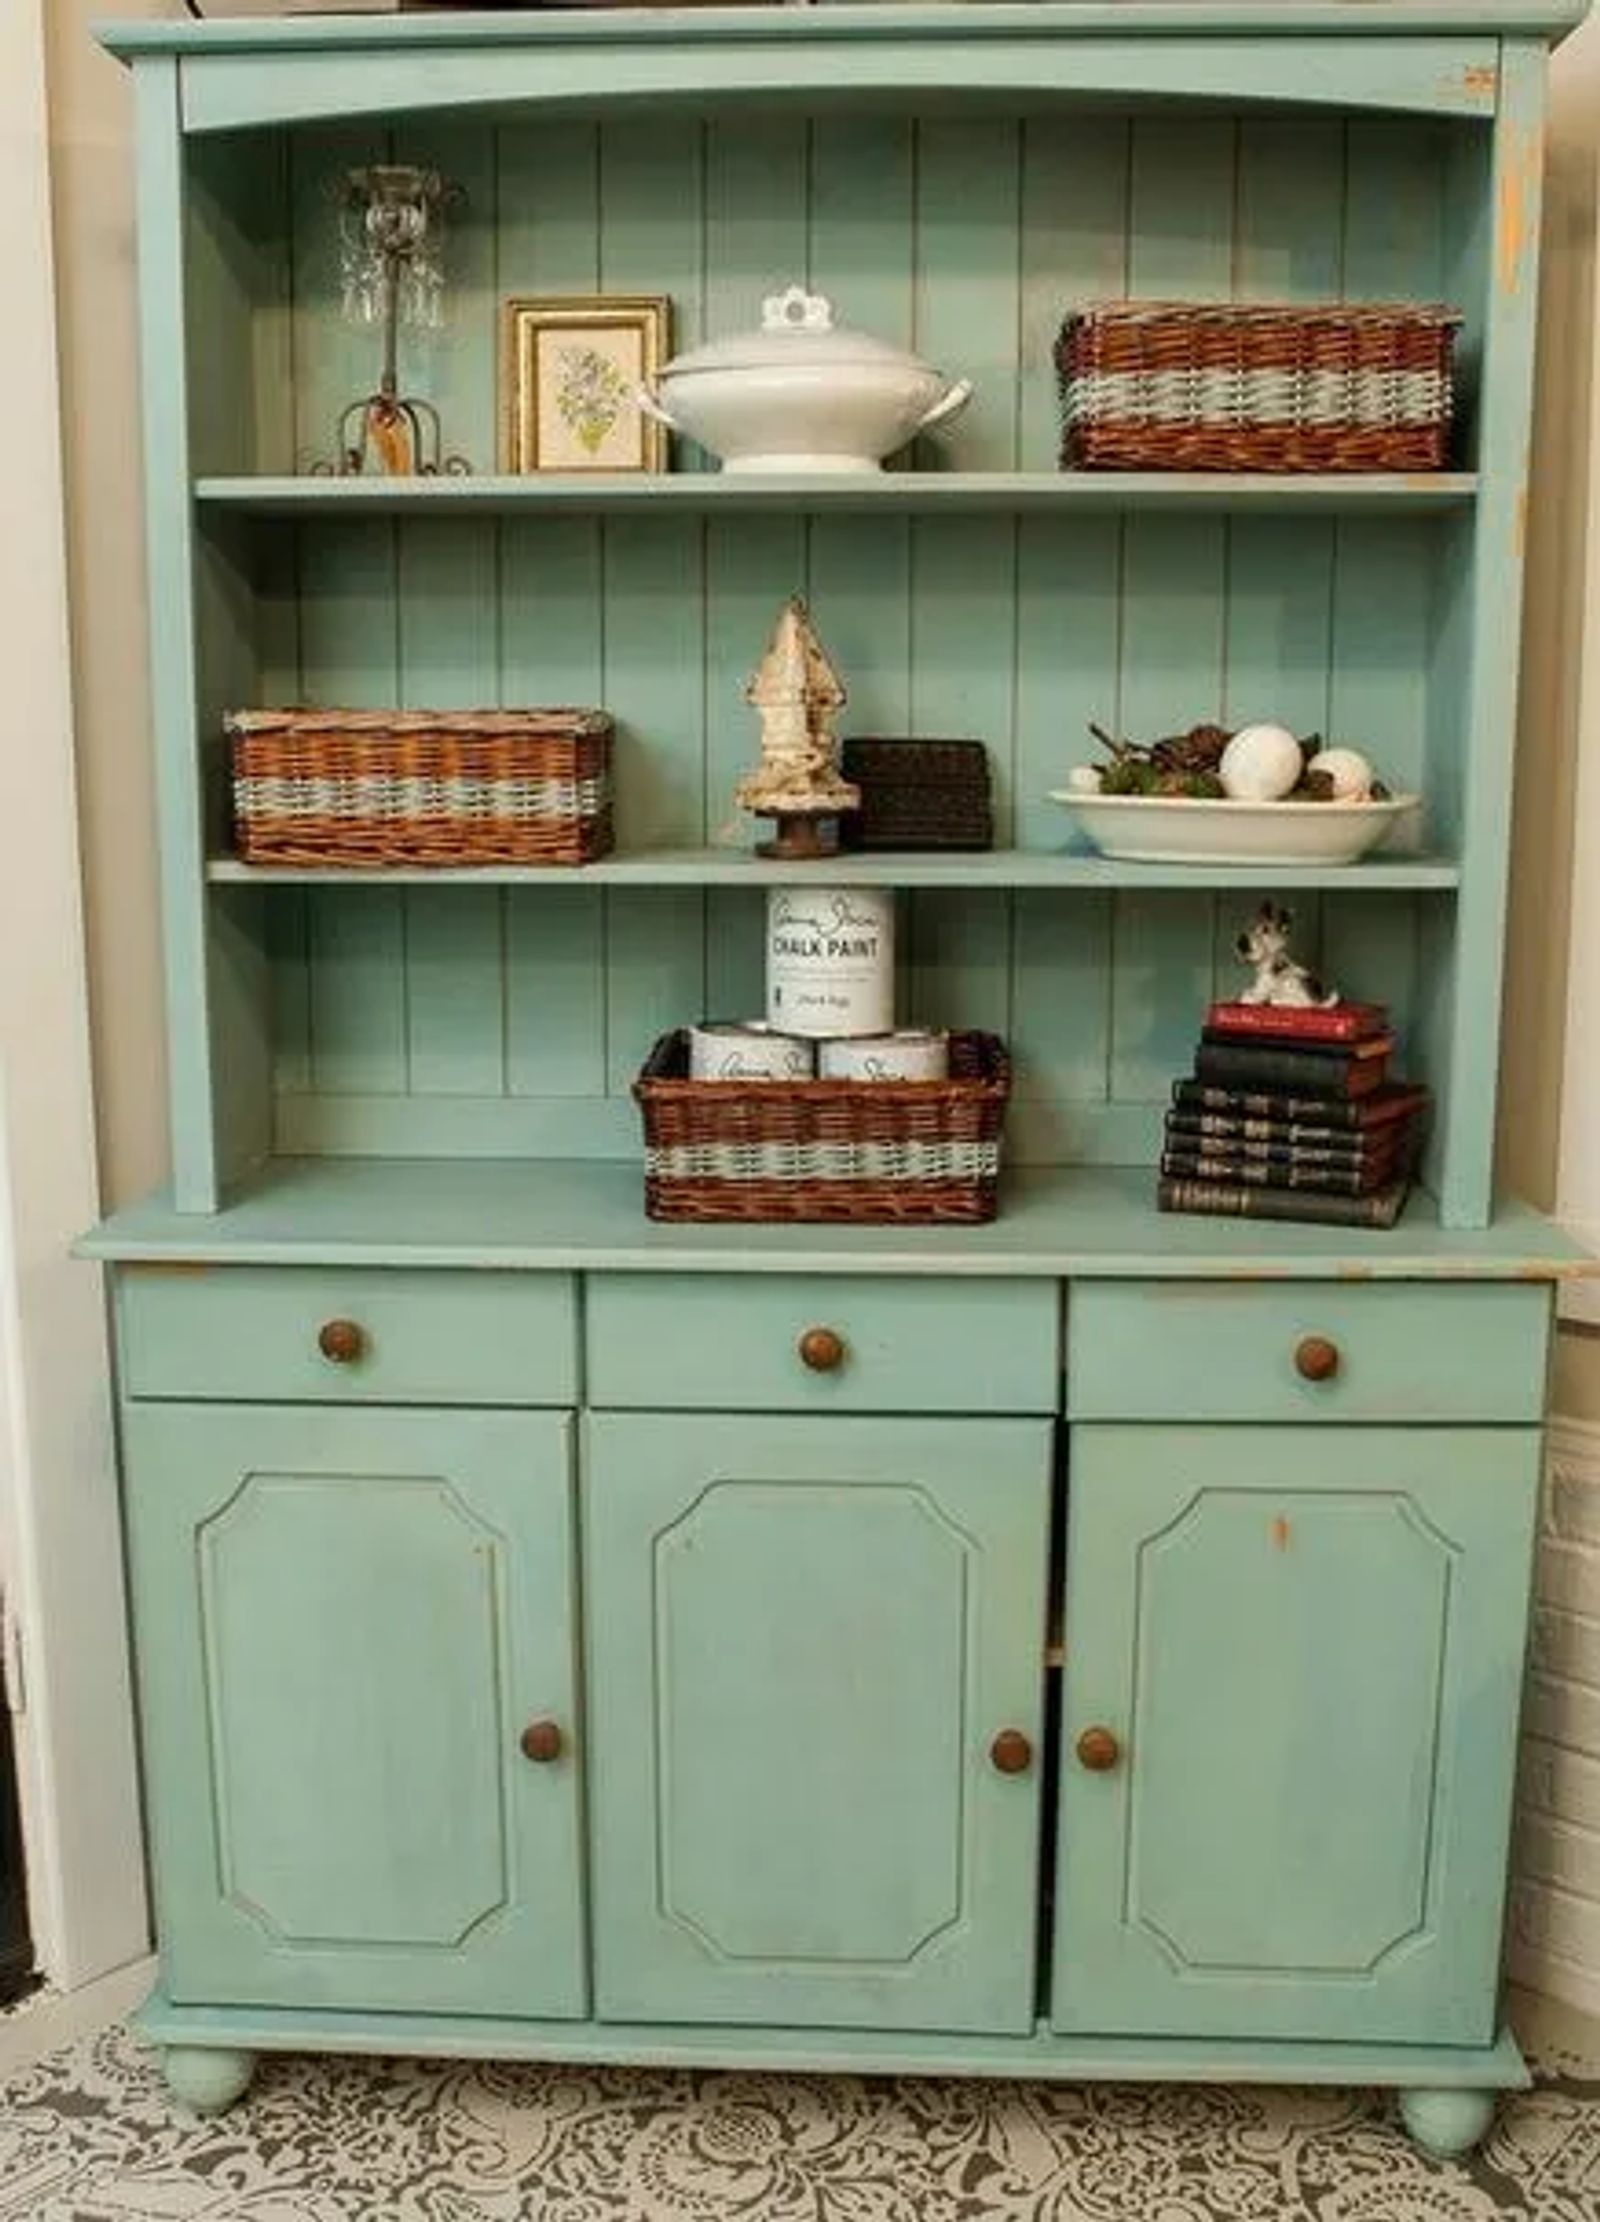
One of my favorite tricks for organizing is by using baskets. They are great for stashing mail, office supplies, and even those stacks of magazines you"ve been meaning to read. In my search for some new flair to add to my home, I noticed a trend with brightly colored baskets. What a great way to wash away the dreary days of winter. While much of what I found came with a hefty price tag, I knew I could find a way to DIY, add a splash of color, and save some money.
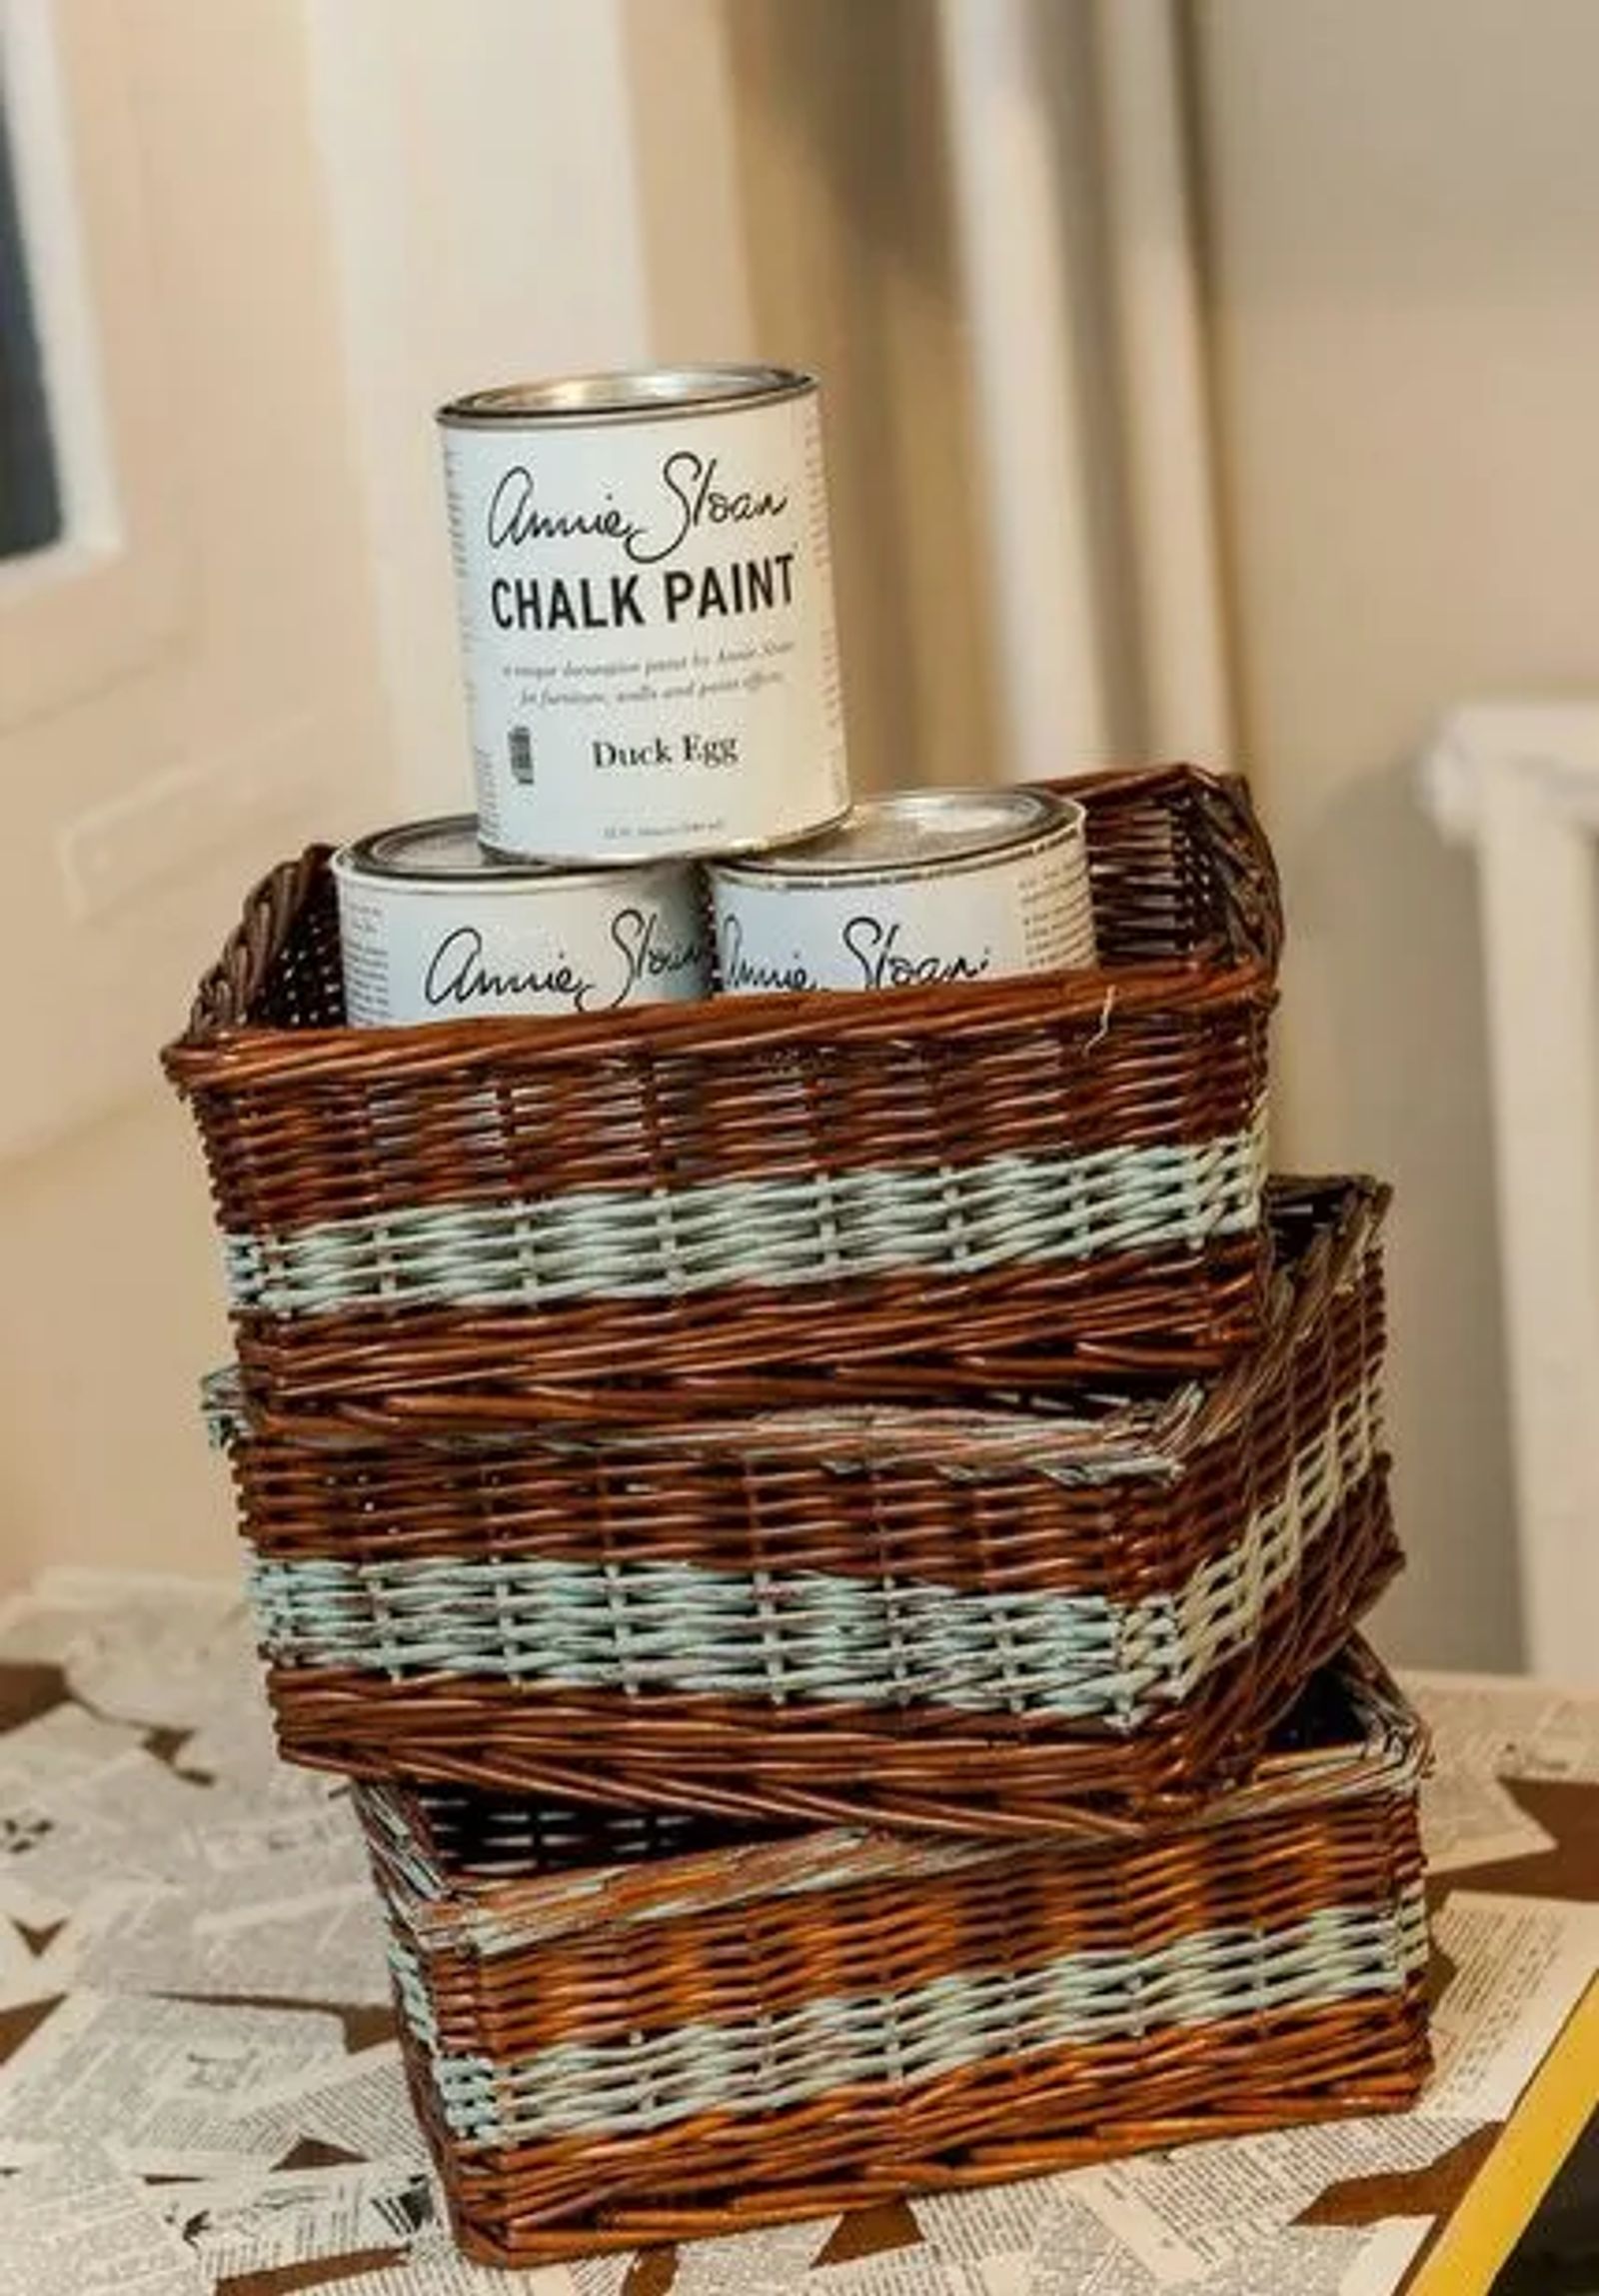
After searching my home for some old, unused baskets and striking out, I made the trek to one of the area thrift shops and hit the jackpot. I found a dark wicker set of three, and a small hamper with a lid. Then, it was time to break out the paint. All I needed to do was hit one of my closets. I’ve been using Annie Sloan Chalk Paint for a while and thought this was a perfect project to introduce it to you.
Chalk paint was designed to create timeworn finishes. This paint is very versatile. With it, it"s easy to create a distressed or a washed finish. It has a matte look when it dries, but if you buff it with some furniture wax, you can get a nice shine and bring out the color. It adheres well to most clean surfaces including non-porous ones like metal or plastic without sanding or priming first. There are close to 30 colors that are easy to mix to create an even wider color palette.
One misconception about chalk paint is that it is the same as chalkboard paint. It is not. The result with chalk paint is just an aged and distressed looking finish. Two different paints, similar name! Annie Sloan comes in quart cans that cover about 140 sq. feet. It is a little pricy at $37.00 a can, but a little goes a long way. It"s worth it when you think about the time saved not having to pre-sand to get the finish you want. You can find this paint at Salvage Designs in Billings.
WHAT YOU WILL NEED
- Baskets $4.00 each
- Paint
- Paint brush
- Masking tape
- Fine grit sand paper
HOW TO GET THE LOOK
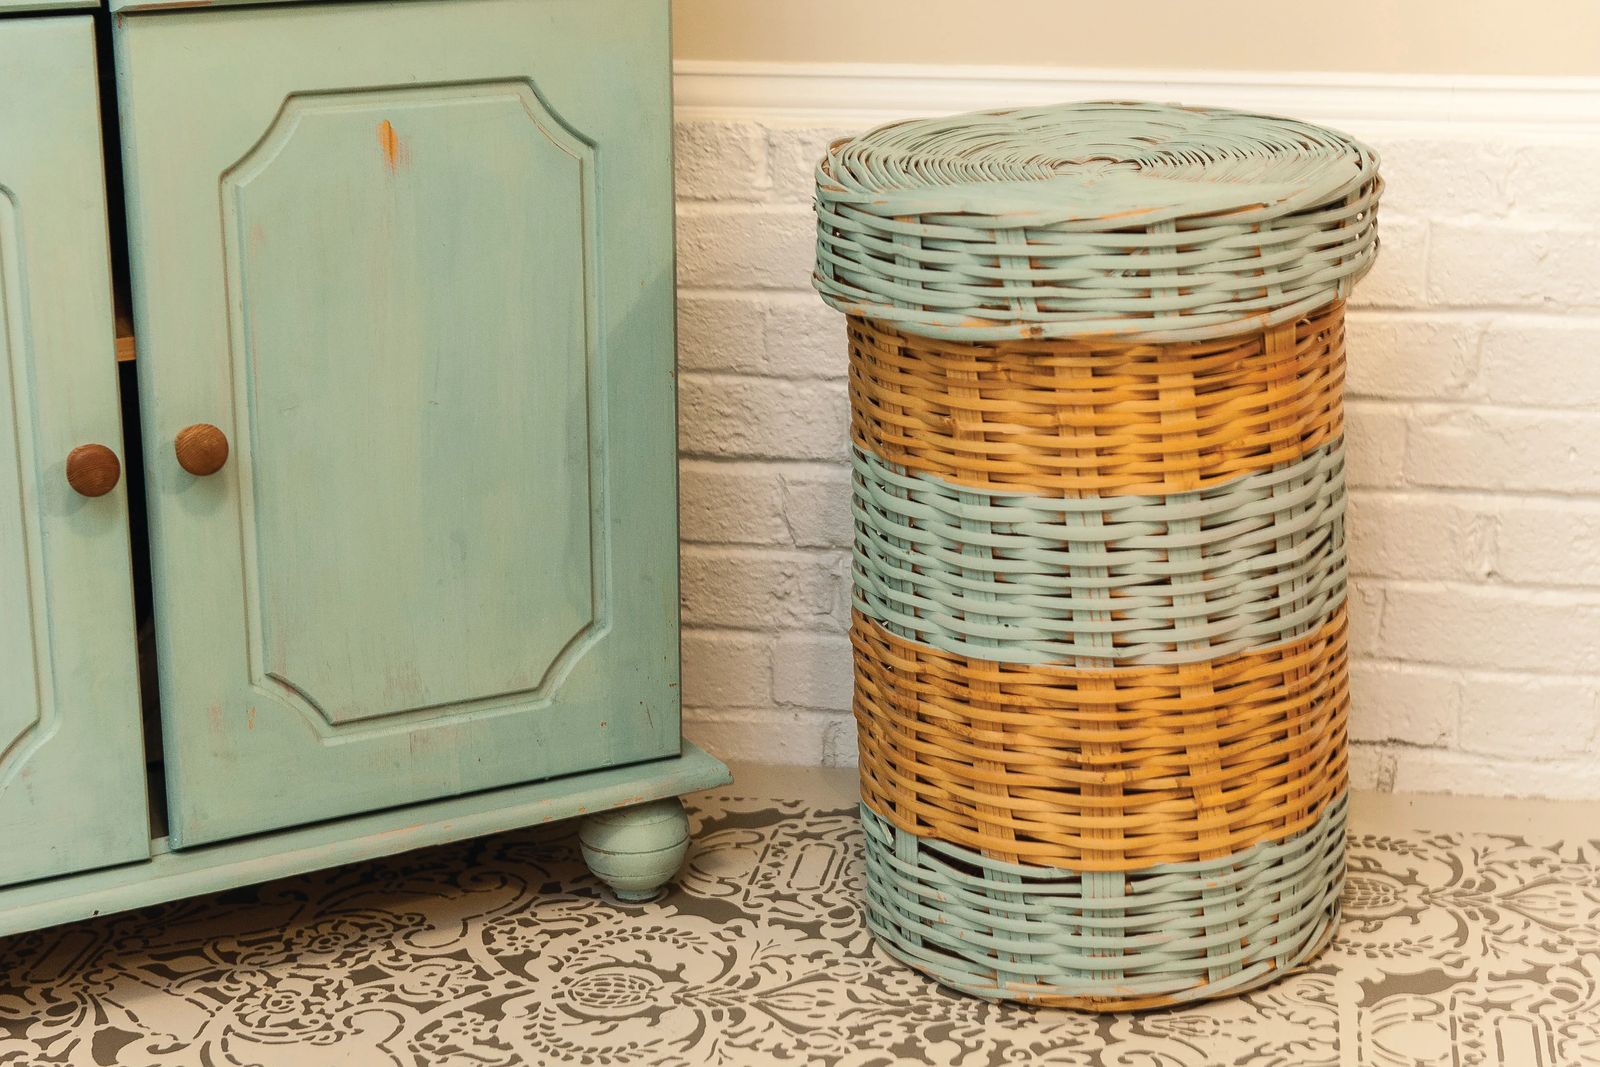
Take masking tape and tape off a design on your basket. I used the top and bottom of the basket as my straight line. I also made sure the tape was well adhered to protect paint from seeping underneath.
Stir paint well
By using a dry brush technique dip brush lightly into paint and apply to baskets; depending on the finish you want apply 1-2 coats.
Allow to dry
Take off tape and distress by sanding paint with sandpaper or rubbing with a wet towel until you get the desired effect
This is an easy project, with a lot of bang for the buck. With a lot of my supplies being from a previous project, my total for this project was just $12.00. If you need to purchase the paint, the project does add up to a little more. Considering many of these decked out baskets go for $20 to $50 each (depending on size), it"s still a bargain even if you do need to stock up on supplies first. So stock up on some baskets and grab a paint brush. You can start spring cleaning and save a little green along the way.


