

Look What We Found: Let It Roll!
Creative Crate for Storage
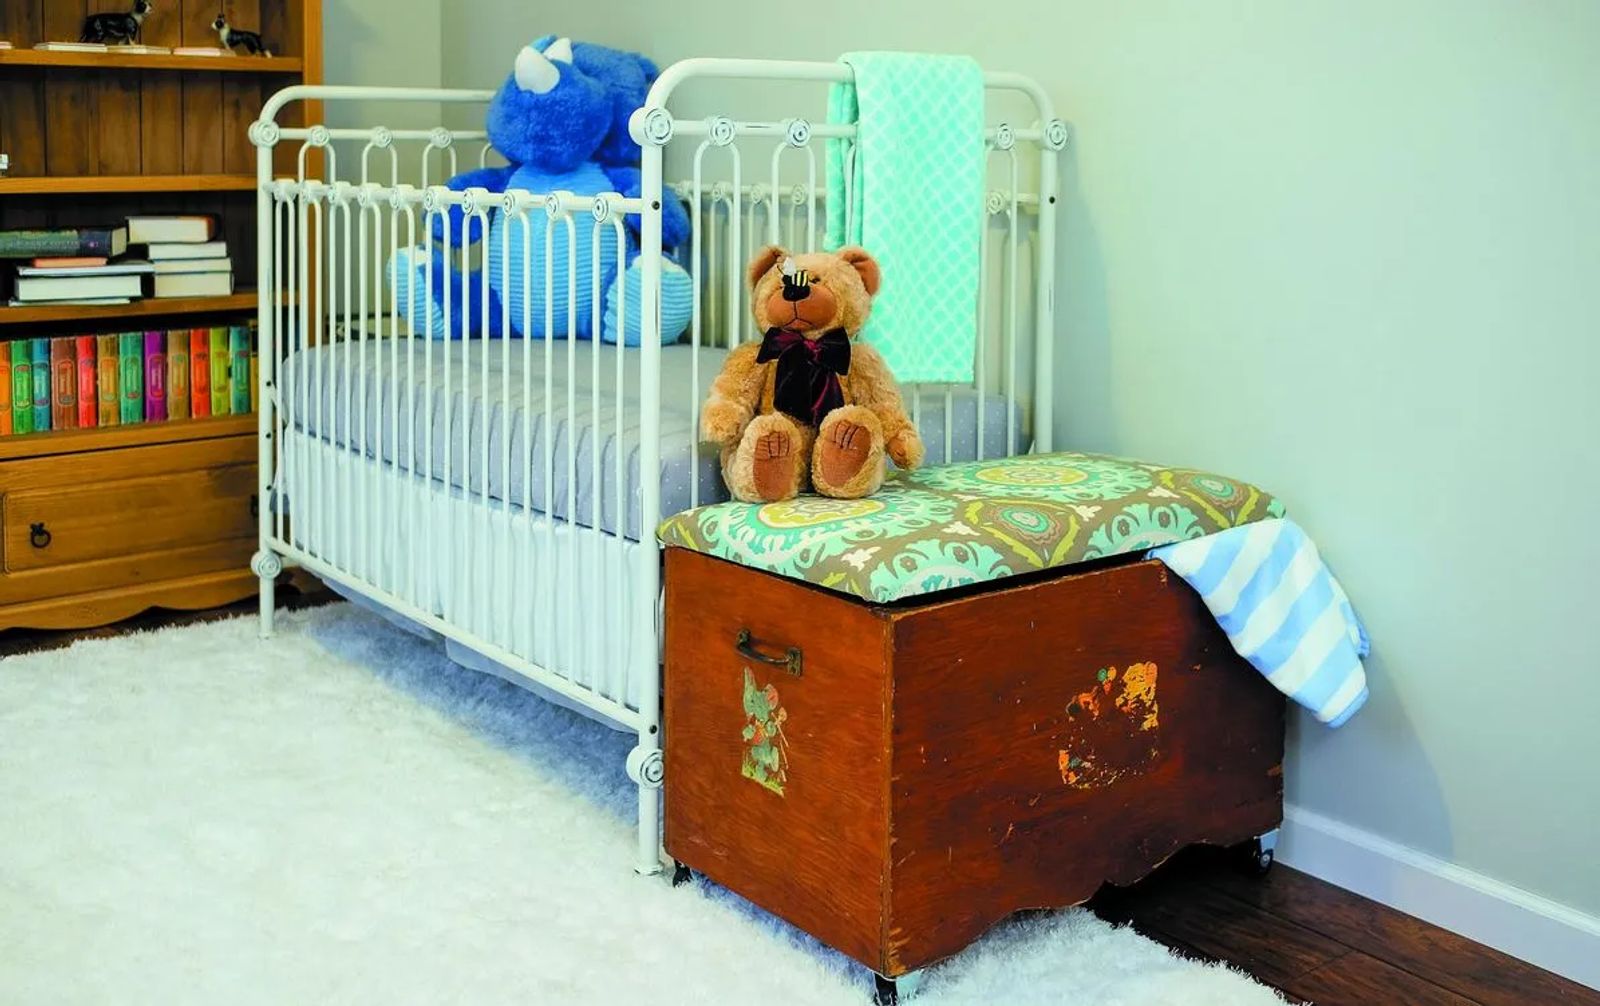
With a grandbaby on the way in the Jennings family, my latest project revolved around helping my daughter come up with storage solutions for her soon-to-be nursery. Whatever we chose had to be sturdy, moveable, safe and serve multiple purposes. While I envisioned an old crate with a vintage logo on it, everything I found was way out of the budget. I knew I wanted a lid, wheels and something that was big enough to actually hold things. After hitting the antique stores in town, I came across this old toy box that came complete with vintage bears painted on the side. It was perfect!

HERE'S WHAT YOU NEED
A box/vintage crate (if you are lucky to get one) $22.00
Fabric to cover the lid
2” foam
Staple gun and staples
4 casters, $4 each
Screws and washers
Plywood to fit the top of your crate (if you need to make the lid), hinges
SUPPLIES TOTAL = roughly $50
DIRECTIONS
To start, if your box has a lid, take it off, measure the size of the lid and cut your fabric 3" longer all the way around. This will allow for the foam and the material to wrap around the backside of the lid to be secured with a staple gun. Place the material right side down, layering the foam and the lid on top. Make sure all of the layers are centered on top of the fabric. Start by stapling once in the center of each of the four sides. It is very important to have the fabric tight and not puckered. Take a minute to fold the material to fit properly around the corners. You'll want to fold and figure out what type of fold looks best from the top. Staple around the entire lid and then set the lid aside. Examine the box portion and look for any rough edges or splinters. Sand anything that is rough and wipe down with a damp cloth. If you want to paint or stencil any designs on the box, you can do that now. Attach the hinges to both the box and lid. Flip the box over and set the casters on the edges using short screws. Screw in place. If your screws go through the base add washers between the caster and screw. I had to add three washers to each of my casters. This is very important since we don't want any sharp points sticking out and potentially hurting those little hands that might be digging into this toy chest. You can now add handles or nail head trim or any other accents you may want.
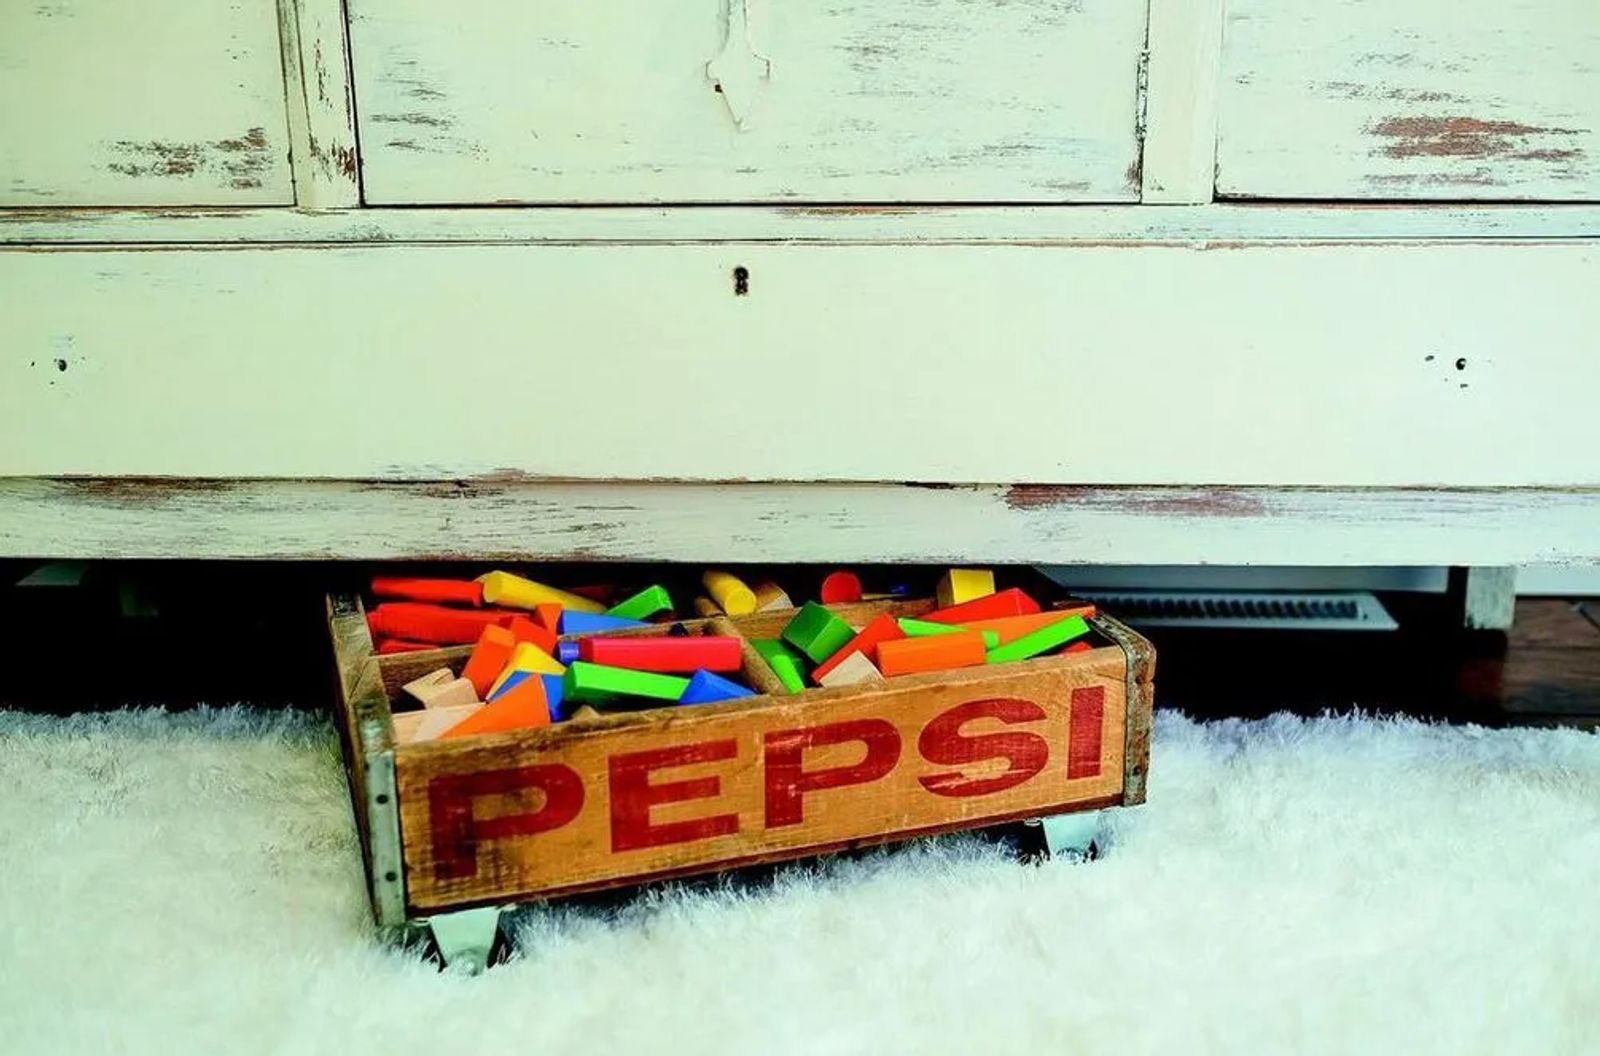
I loved the idea of using casters for this project. I ended up buying four more to attach to the bottom of an old Pepsi crate I had in the attic. The crate had dividers in it and so I cut some rubber liner to fit each section. By placing the liner inside, small items won’t slip through the cracks of the crate. These dividers can now hold blocks, small toys, or any other small items I might want to store. This piece would be great for a sewing, craft or even utility room.
What's fun about this project is the fact that it is super easy, not to mention affordable. The result is a storage piece that's 100% unique, which gives character and organization to any room in need.


