Look What We Found!
Stencils that will floor you
Not too long ago, we decided to turn our attached garage into a space for a workable home business. As we started the remodel, one problem area was the floor. It was 100 years old, cracked and uneven. We knew we had 300 square feet to cover. Price, durability and looks were all important. After scouring stores locally, I couldn't find anything that would fit in our budget. That's when I took my search to the web. Somehow, I came across the decorating blog "Young House Love" by Sherry and John Petersik. On their blog, they showcased a bathroom that they had remodeled complete with a stenciled floor. Their tutorial looked easy enough, and since the price was right, I decided to give it a try.
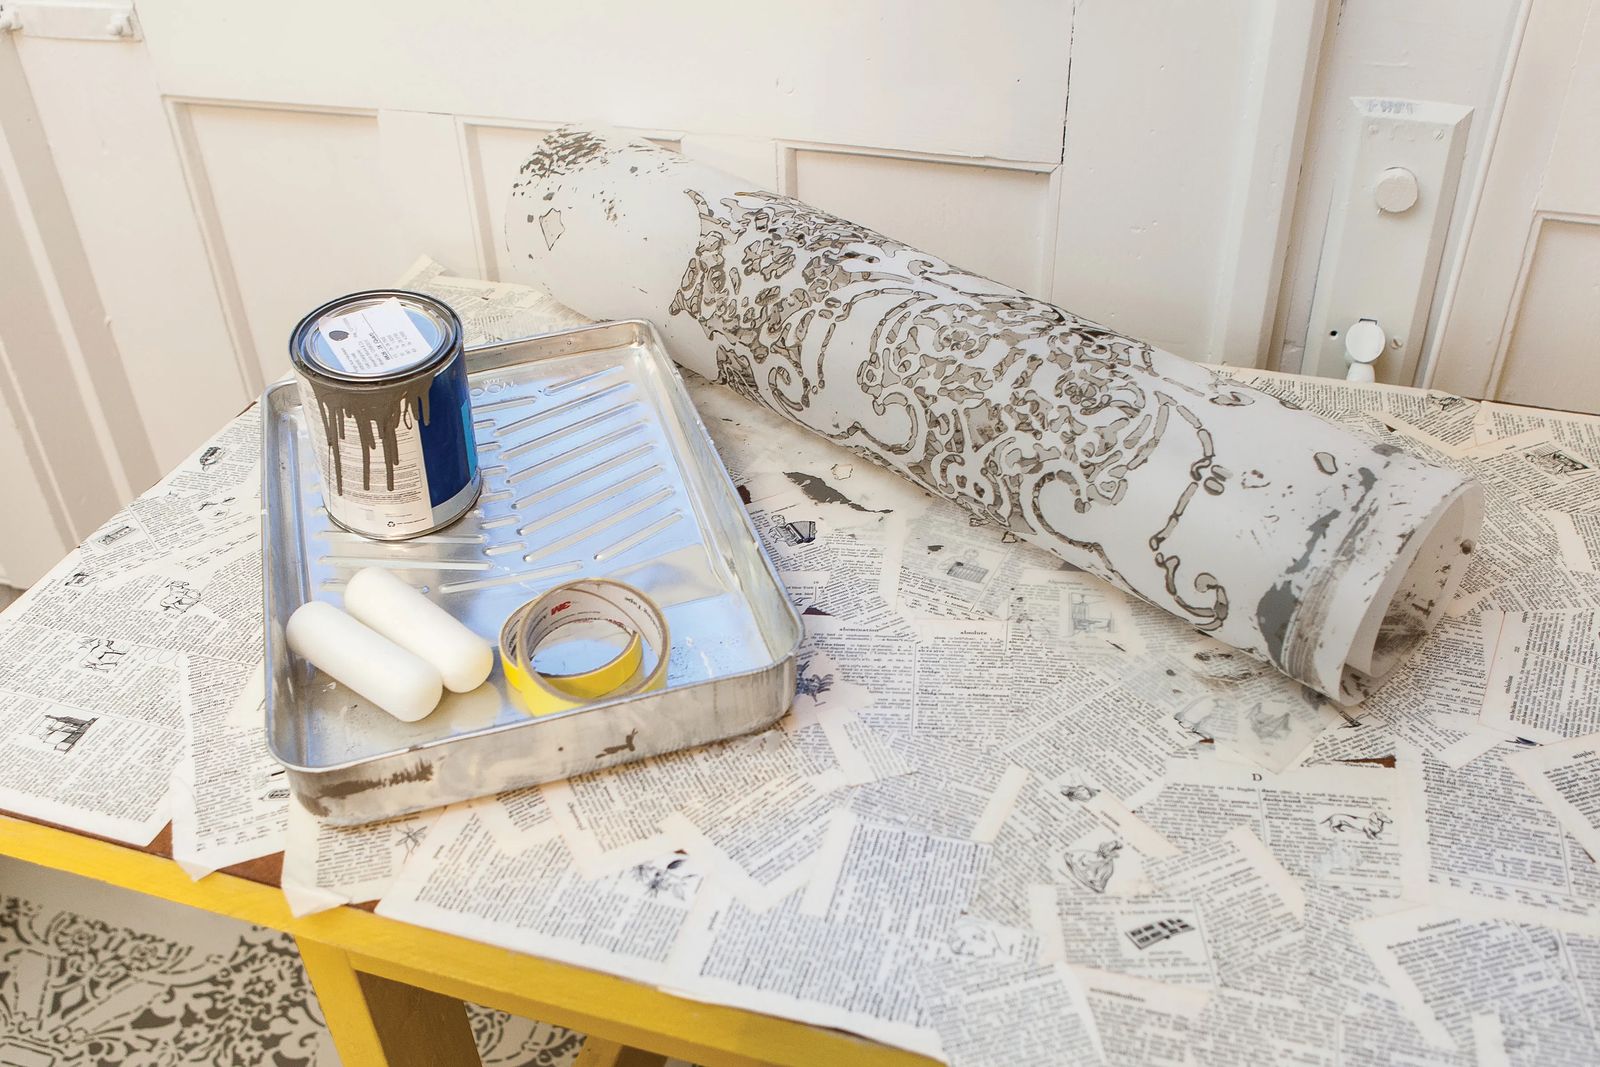
HERE'S WHAT YOU WILL NEED
· Wood filler
· Putty knife
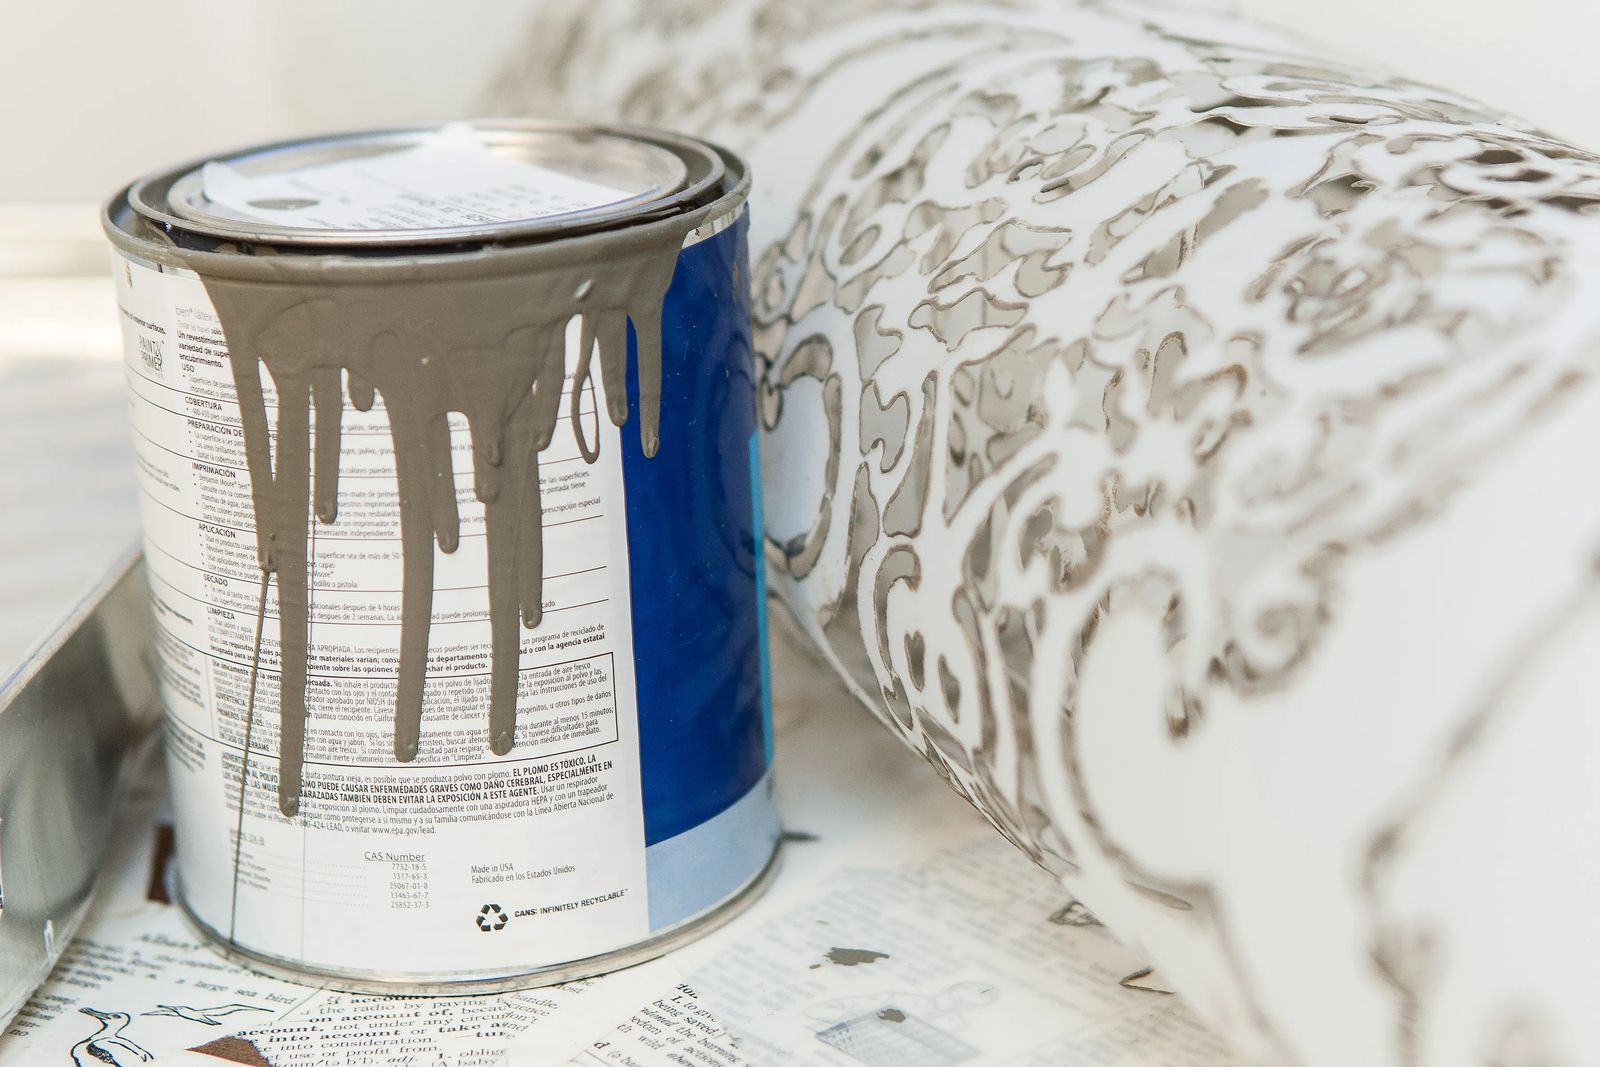
· Primer
· Paint color A
· Paint color B
· 2 paint rollers with a low knap
· 3 paint trays
· 1 small sponge roller
· Masking tape
· Stencil by Royal Design Studio
· Measuring tape
· Straightedge
· Pencil
Working with an old concrete floor, we decided to cover the space with a wood sub-floor to give us a smooth surface to work on. We filled all the seams with wood filler and sanded the area until it was smooth. This step sounds like a horrible amount of work, but it really wasn’t bad.
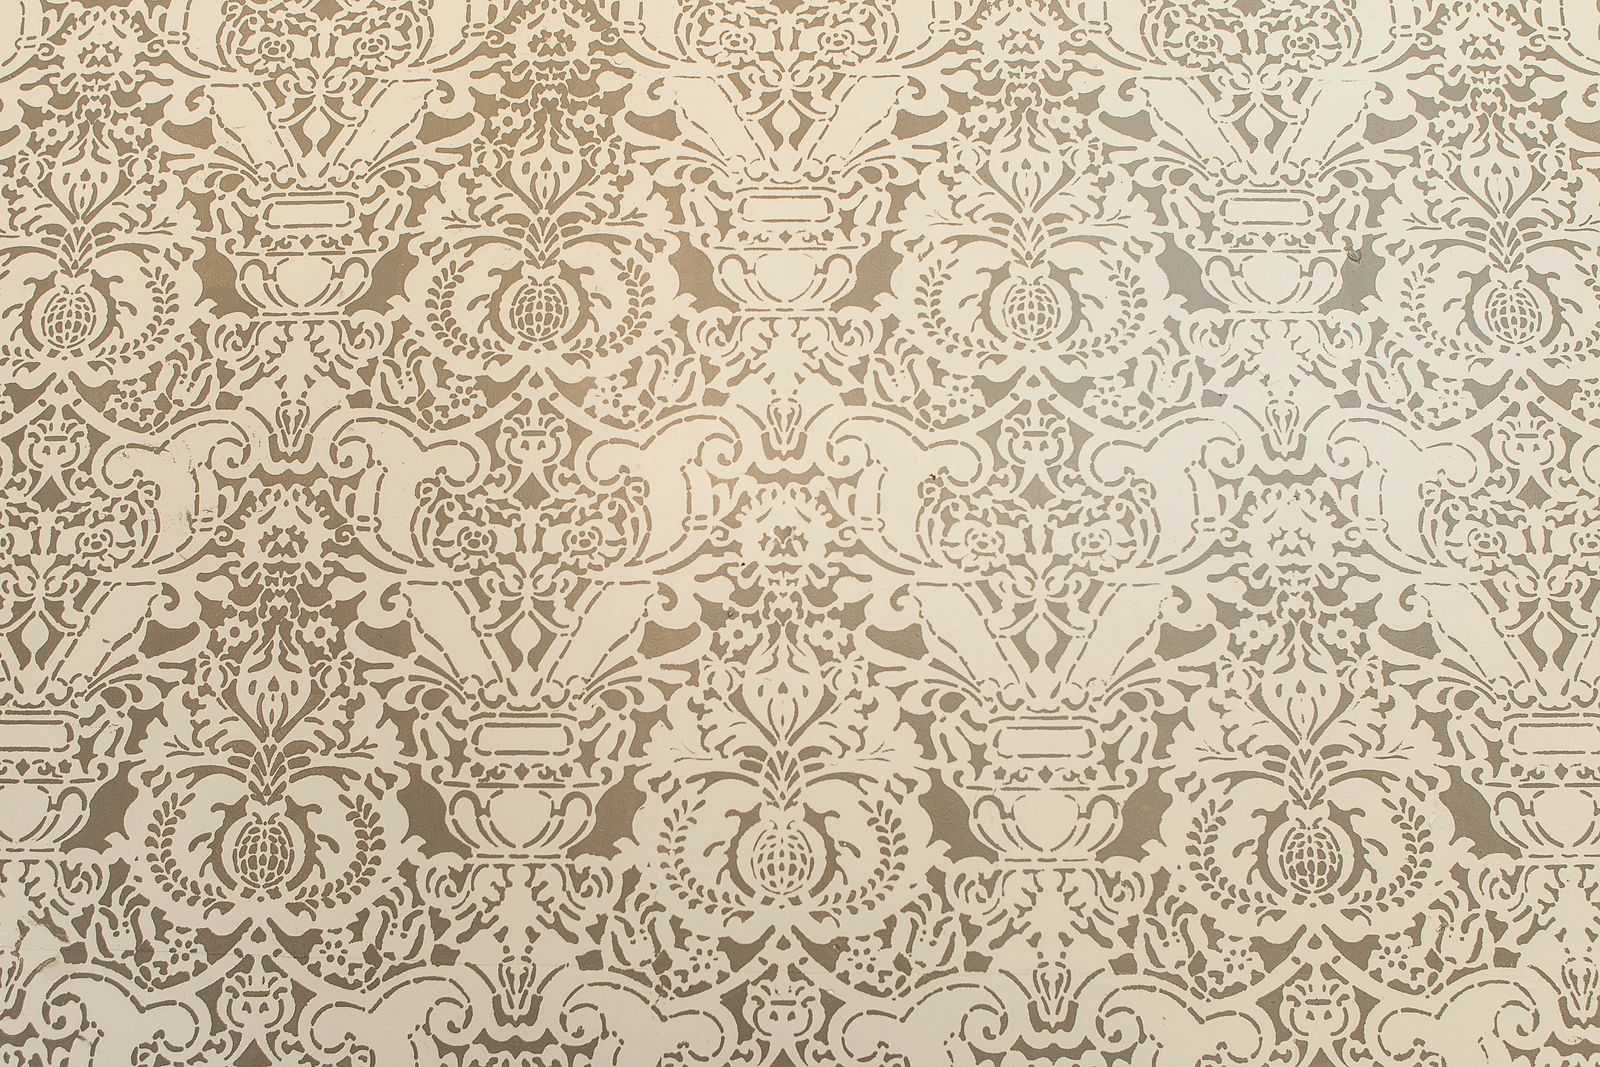
Make sure you clean up the dust very well. First apply a high quality primer and then, follow with two coats of your chosen base color. We chose a shade of light grey. After allowing the paint to dry, we taped a border around the edge along the wall. The width of the border is your personal choice. This gave us a finished, consistent edge around the room. To make sure the pattern stayed symmetrical we found the center of the room. We measured the width of the room and drew a line with a straightedge, and then we measured the length of the room and drew another line with a straightedge. Where the lines intersected, was the first placement of the stencil.
After we secured the stencil with masking tape, we took our second paint color and the foam roller, and carefully rolled the darker grey paint on. Immediately after painting, we removed the stencil taking a couple seconds to allow any seeping paint on the stencil to dry. We placed the stencil along the same line, working in a straight line and away from the wet pattern. When we finished our first row, we lined up the stencil until every row was tackled. The key for us was to work slowly and methodically. While the last row around the room seemed like it would be tricky, the stencil is flexible so it was easy to work around obstacles like walls. Once finished stenciling, while the paint was still wet, we removed the masking tape border being careful not to smear the wet paint. We admired our crisp edges and then let the floor dry for a couple days. To finish, we applied four coats of polyurethane allowing dry time in between coats for a protective finish. Once all was said, done and dry, our one-of-a-kind, attention grabbing floor cost us roughly $300. For about $1 a square foot, that's a great price and a great look for a little bit of work.