Paint it with Plaster
An instant and inexpensive lamp refresh
Rustic, pottery-inspired lamps are all the rage right now. What if I told you that you could use an old lamp and get the same look for just a few bucks? We all know that new lamps can be quite spendy. Why not either use an older lamp that needs some love, or take a trip and pick one up at a second-hand store for a few dollars? We are going to be using plaster of Paris, which is really quite fun to work with and has minimal cleanup.

HERE’S WHAT YOU WILL NEED
- Lamp
- Masking tape
- Sandpaper
- A small container of plaster of Paris
- Disposable cup
- Paper towels
- Paintbrush
- Old butter knife
- Paint
To start, remove the lampshade and clean the lamp of any dust or grime. I just gave mine a once-over with a paper towel and some Windex. Mask off the throat of the lamp and the cord. Next, using high-grit sandpaper, scuff the lamp. My lamp is ceramic and has a glossy finish, so I used the sandpaper to get rid of the lamp’s glossy spots. If you are using a lamp that is more matte in texture, don’t skip this step. It’s crucial and helps the plaster adhere to the lamp’s surface.
Continue by placing paper towels down to protect your work surface. Plaster of Paris comes in powder form. Just put a small amount, approximately ¼ of a cup, in the disposable cup. Add a small amount of cold water and stir. The consistency should resemble pancake batter. Add more water if the mixture is too thick or more plaster if it is too thin.
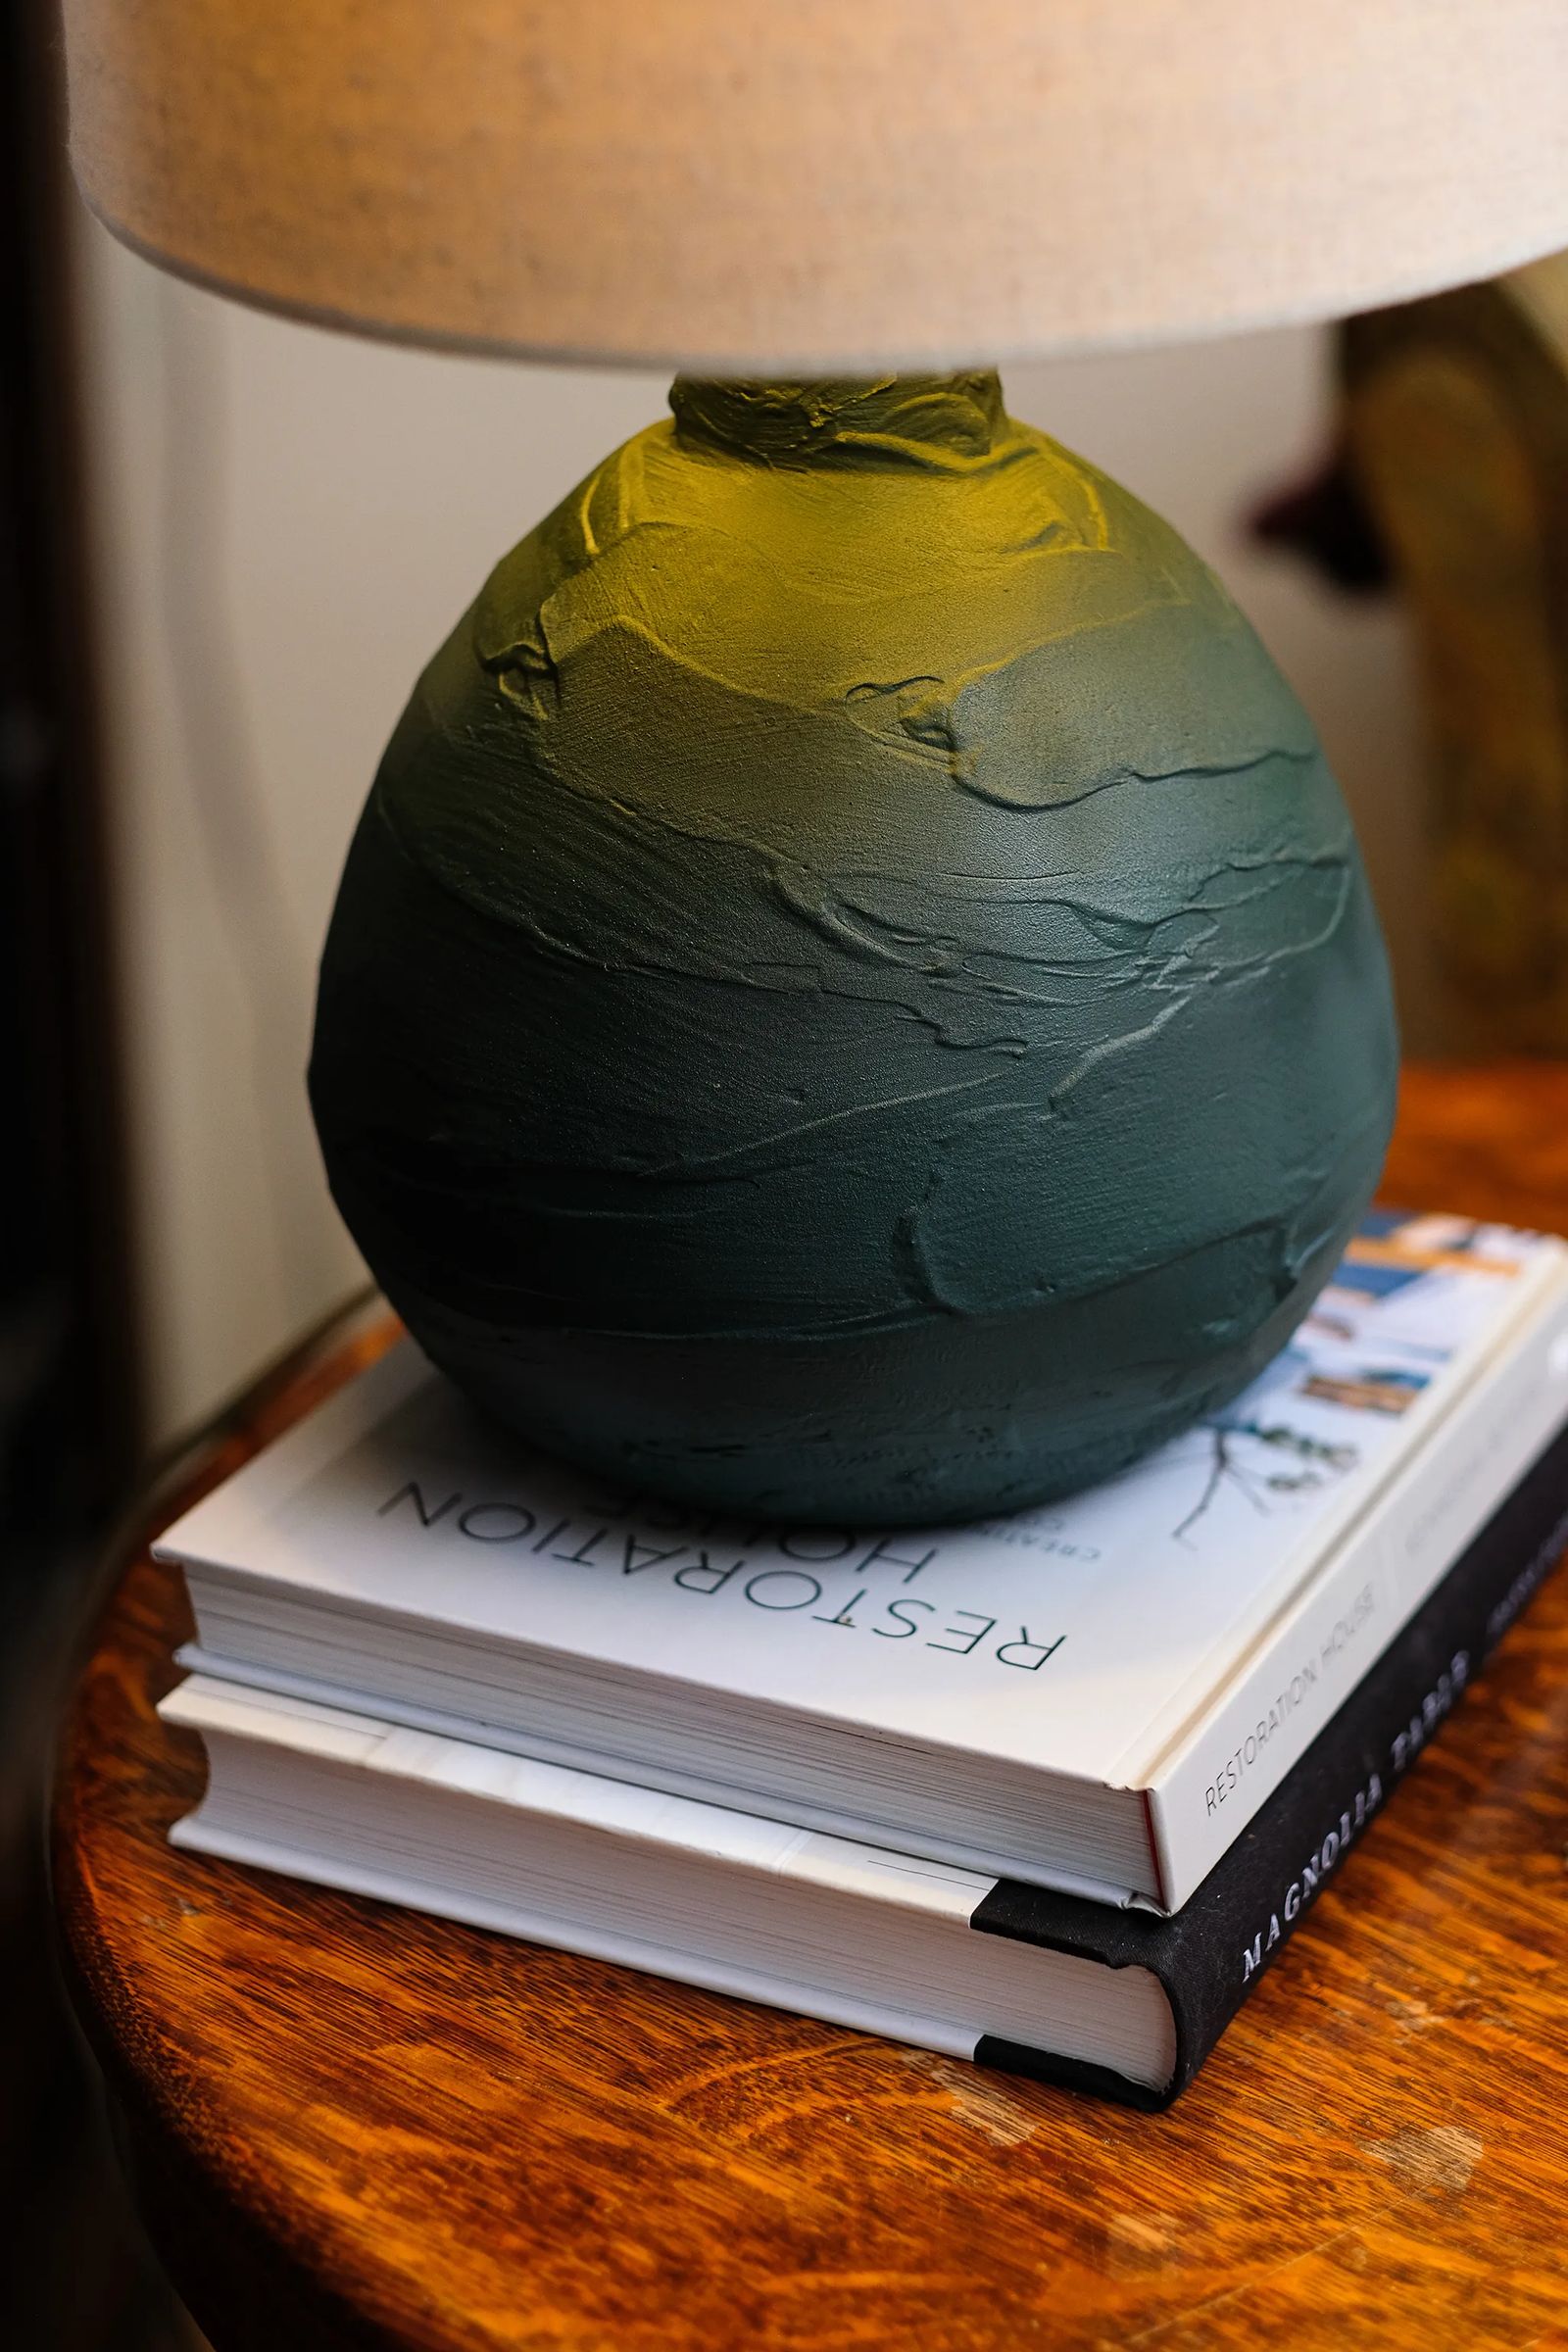
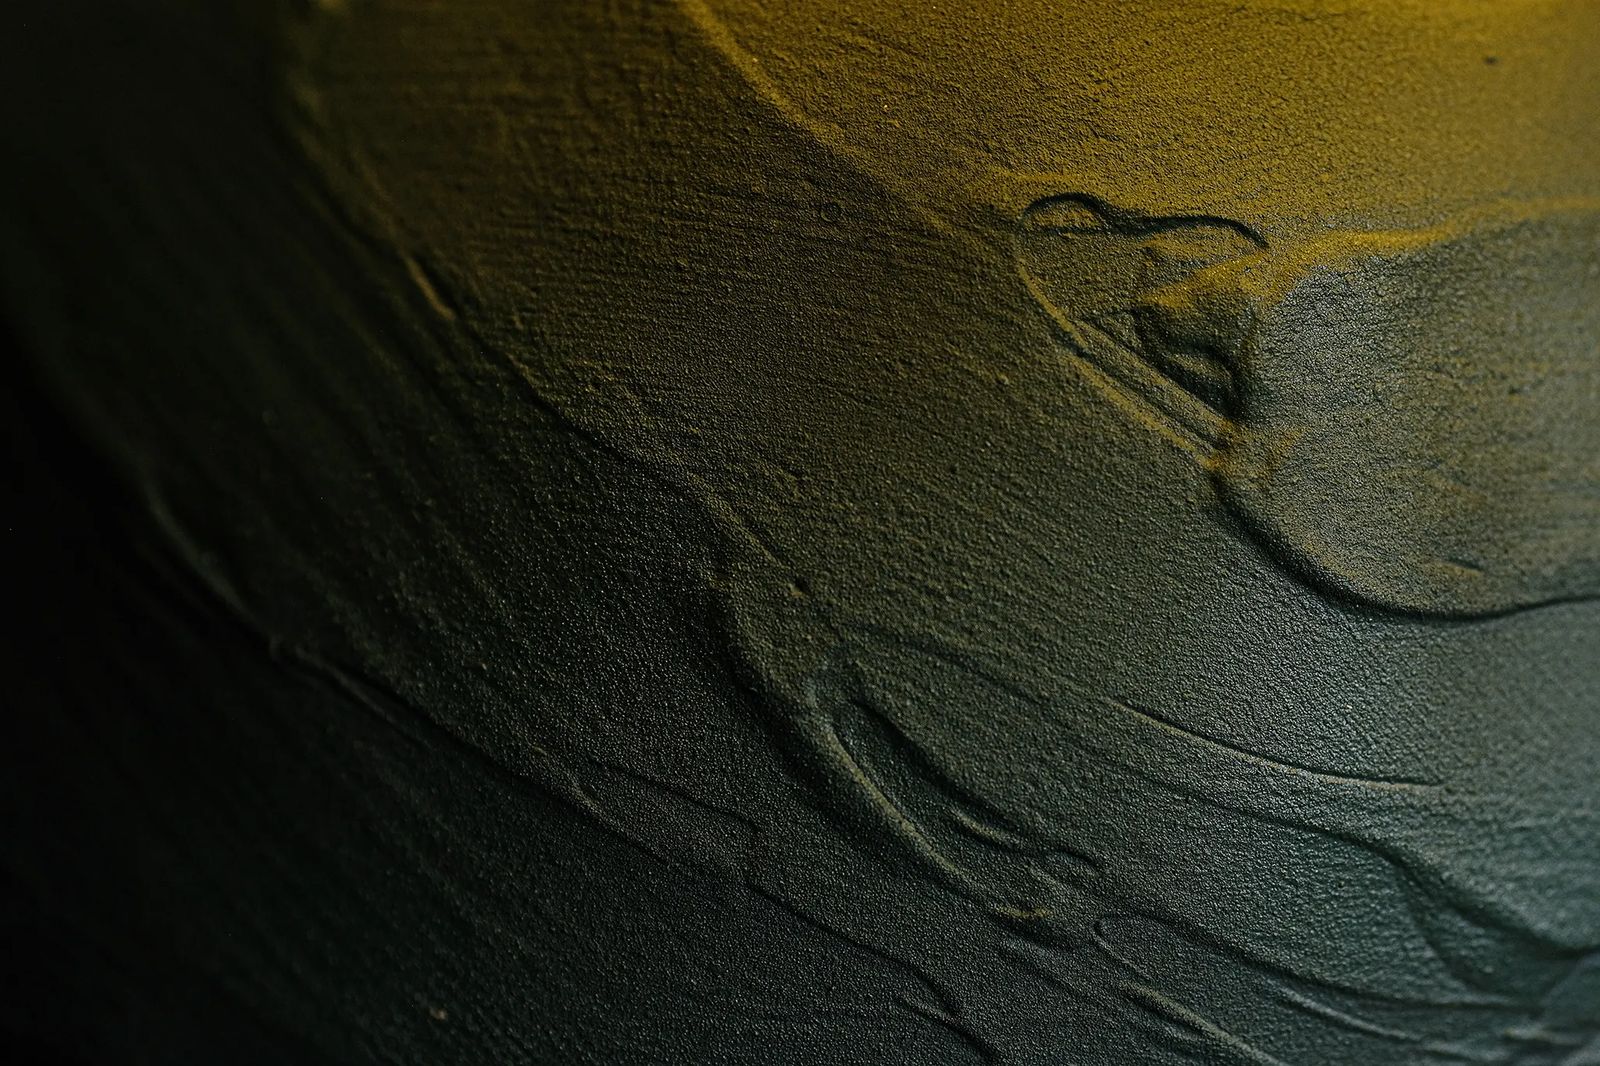
Once your mixture is the right consistency, start brushing the plaster on your lamp. “Paint” your lamp until it's fully covered. You will notice the plaster slowly getting thicker and thicker. I took an old butter knife and smoothed it all out until I got the look that I desired. The plaster of Paris has a good working window, but it will still harden rather quickly. When it reaches the consistency of frosting, this is the time when you can easily personalize your lamp. Carve your initials. Use the imprint of a leaf or flower. Let your creative juices flow!
Once you’re finished, let the plaster dry fully, about 24 hours. If you don't like the texture on your lamp, just sand down any high points and add a little more plaster before beginning the drying process again.
While some might like the plain white plaster appearance, I decided to paint my lamp, and the good news is that you can use any type of paint with any sheen. I chose a matte finish and when my project was done, I loved this lamp refresh. It was easy, fun and inexpensive — an instant update to my décor created with my personal touch.


