

As the World Turns
DIY creates a unique statement piece
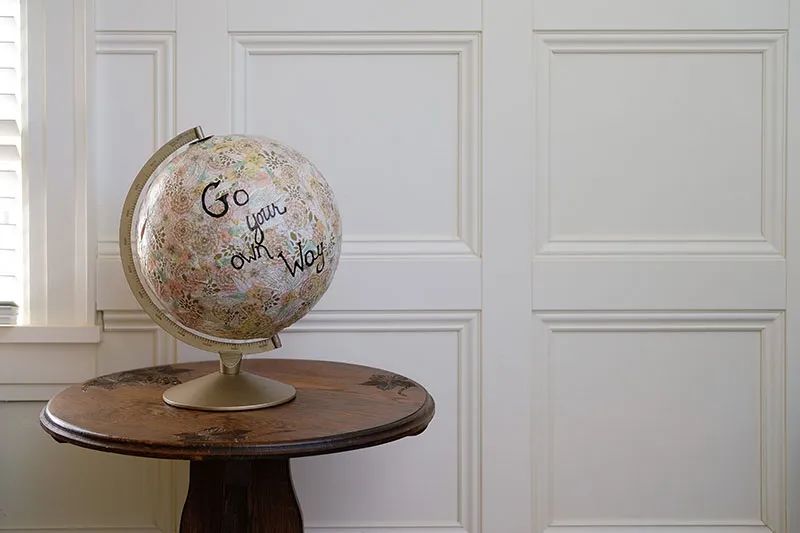
Globes used to be a staple in every home and classroom back in the day. Flash forward to today and home decorating gurus have put a new spin on this old-time favorite. After tracking down a globe for $12 at a secondhand store, I was ready to combine a few of my favorite mediums to make a statement piece that could be set in virtually any room of my home.
Decoupage has been around for years, and for good reason. Its ease of use and quick cleanup make it perfect for so many different kinds of DIYs. Pretty paper is another thing I like to reach for when prepping for my next afternoon project. There are so many colors, textures and designs. You can really let your imagination run wild with a unique decorative paper. These two items created the perfect mix to update my thrift store find into a chic home décor piece.
WHAT YOU WILL NEED
Two coordinating colors of tissue paper, 1 print 1 solid
Decoupage, 16 oz. jar
Foam paint brush
Stencil
Paint pens or paint
Globe

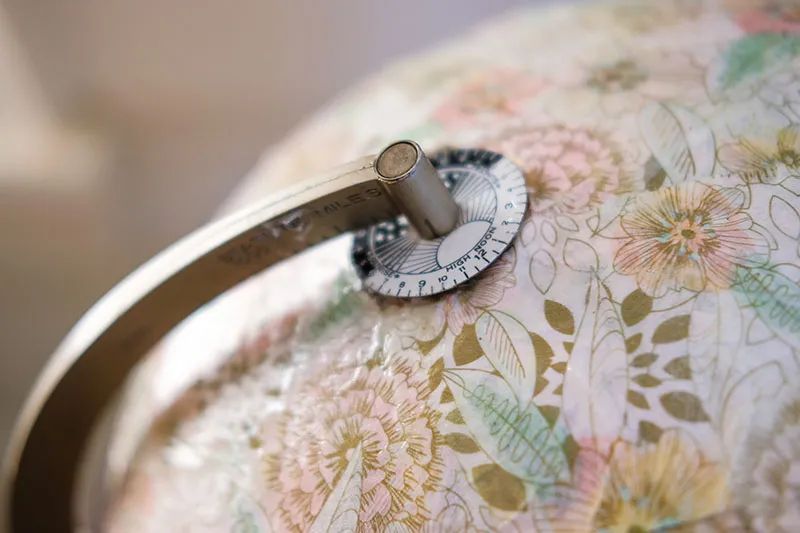
If you go hunting for a globe, you’ll find a lot of them in thrift or antique stores. If you luck out and find one on the cheap, this project can be pretty inexpensive. To start, my globe was a little weathered and dirty, so I took a few minutes to give it a good scrub with a damp cloth. Once clean, start by tearing the solid color paper into pieces, being careful not to have too many straight edges. Once you have about 20 good-sized pieces, start applying the decoupage glue to the globe with a foam brush. Work in small sections and apply the tissue paper to the globe. Don’t worry about any wrinkles in the paper after you apply the tissue to the globe, because it gives your project character. Continue working in sections until the entire globe is covered. The solid paper gives us a nice even background for our printed paper. Keep in mind, if you want a solid-colored globe, add two to three coats of solid-colored tissue paper. Start the process of tearing and gluing all over again with the printed tissue paper until your globe is covered completely, without being able to see the map underneath. Let the decoupage glue dry and then follow with two to three additional coats, allowing dry time between applications. This will seal your project and provide a shiny appearance. Let your project dry for 24 hours before moving on to the next step.
I decided to stencil my globe with an inspirational quote. If you are good with hand lettering, feel free to paint this next step by hand. After your text is applied, let everything dry. From there, this statement piece is ready inspire both young and old. A project like this is a one-of-a-kind décor element that helps your guests to truly “imagine the possibilities.”


