

DIY puts personal flair on display
Creating your own Gallery Wall
The gallery wall. You’ve seen this trendy look burning up Pinterest and you know you don’t want to miss out on the fun in designing your own. No matter your style of home or design personality, you can make this project truly one of a kind. If lining up art and adding accents seems a bit daunting, don’t worry. It’s rather easy if you have a few tips and tricks up your sleeve.

THINGS TO KEEP IN MIND BEFORE YOU START
Know where you want your gallery wall
Know the size of the space you want to occupy on your wall
Know the theme of your gallery wall (print, color, size of pictures, etc.)
Do you want matching frames or a more eclectic look?
What personal items can you hang (favorite quote, kids’ drawings, family photos)

WHAT YOU WILL NEED
Pictures
Nails
Hammer
Command strips
Pocket level
Easy release masking tape for painted walls
Measuring tape
HOW TO CREATE THE LOOK
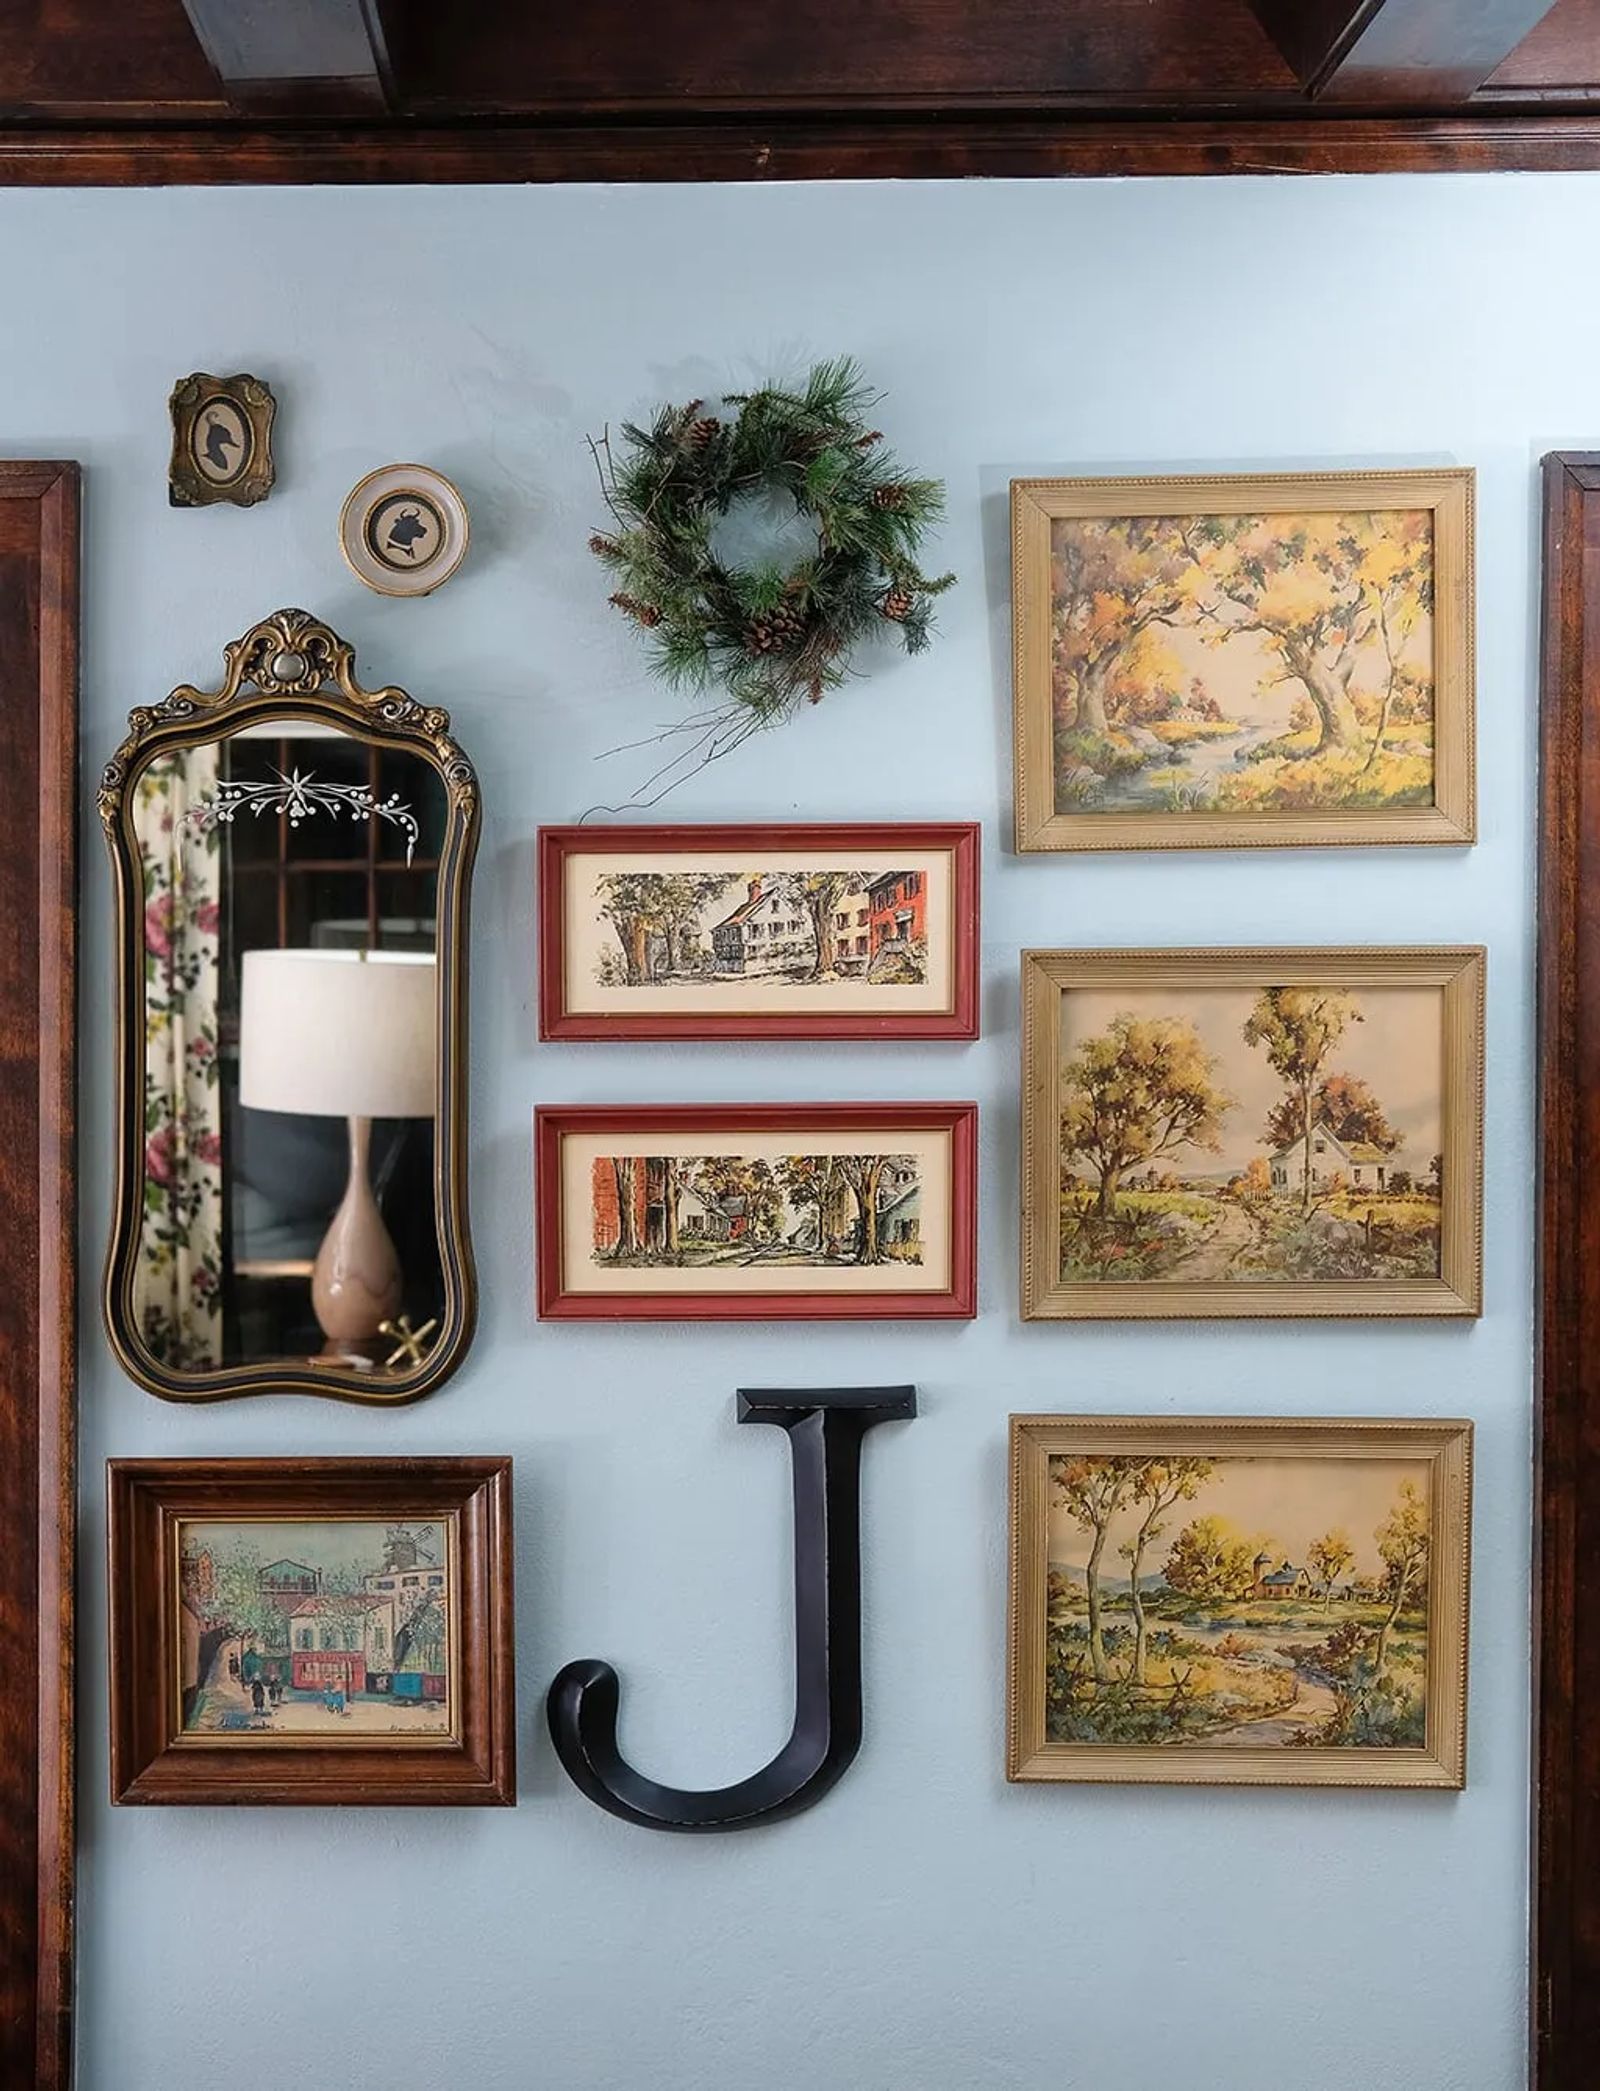
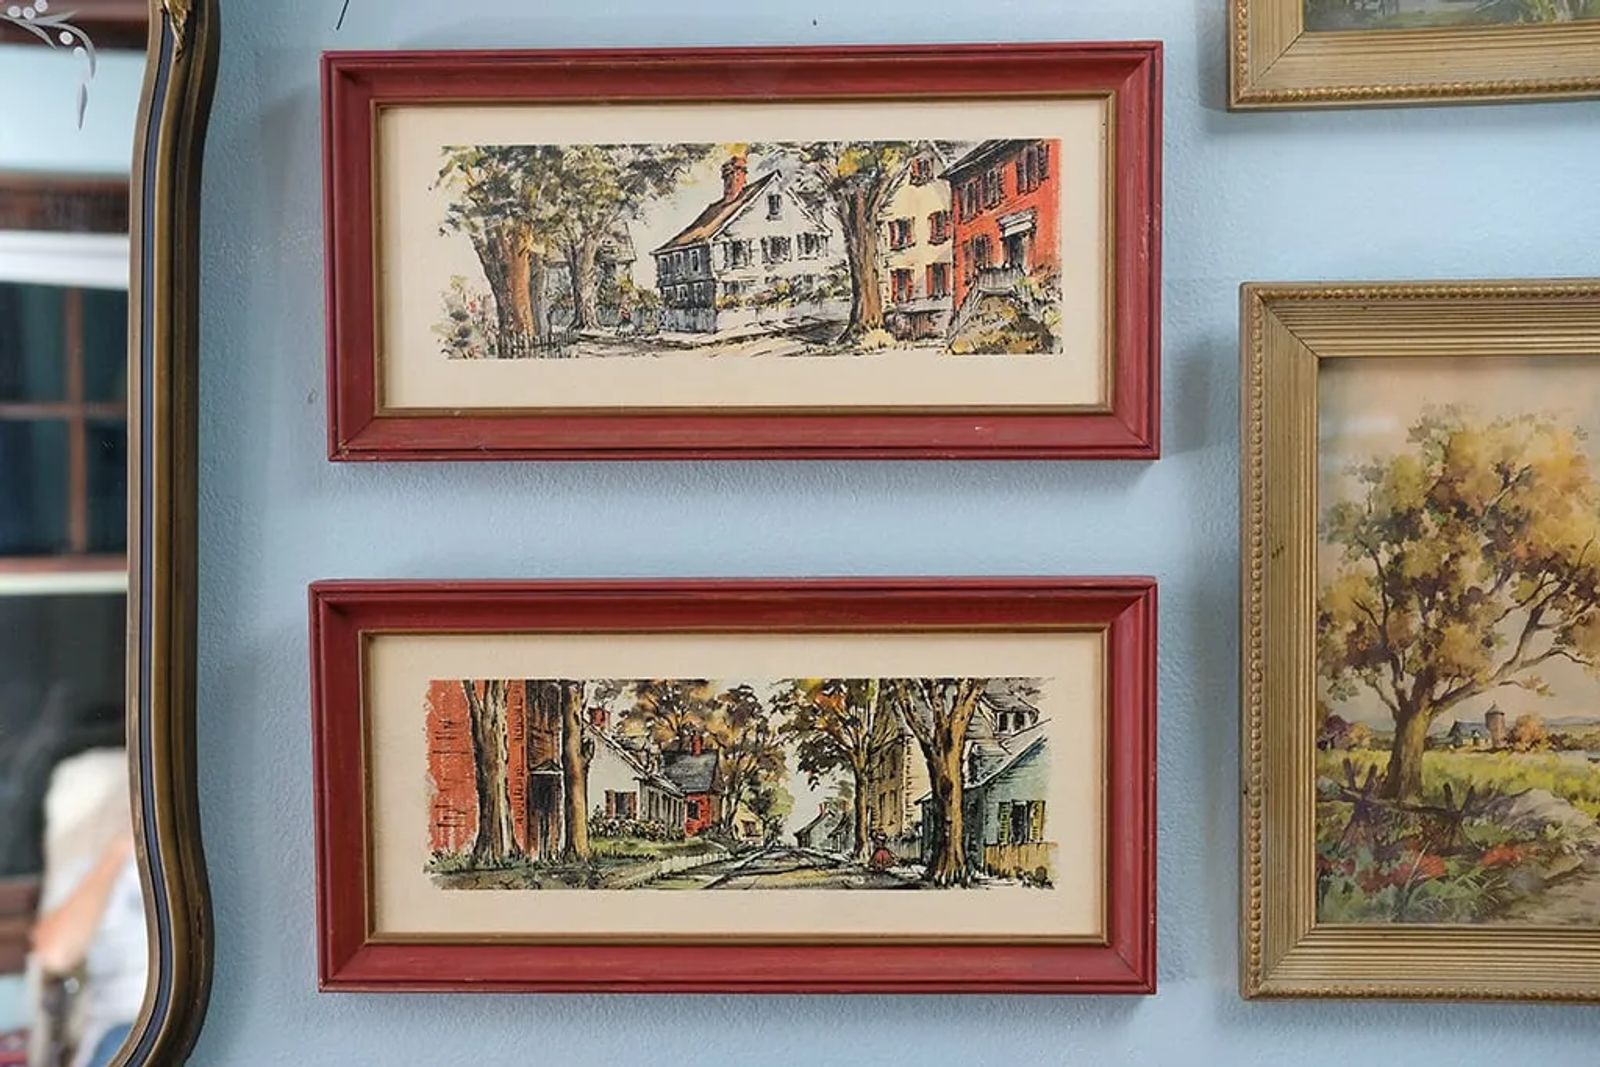
Step one is to gather all the photos and accents you want to use. Gather more than you think you will need, so you can play around with the orientation to find the right fit. I chose to use different-sized pictures with different frames in a house theme with touches of terra cotta color throughout. Some other ideas that would look great are matching gold or silver frames with black-and-white photos, or non-matching frames with hand-painted florals. It’s your gallery wall, let your personality shine through.
Mask the area for your gallery wall by using a pocket level and some easy-release masking tape. This border will keep your gallery in the desired space. The bigger your gallery space, the more items you will need to fill it. Be sure to “audition” each piece to see if you really like the vibe of each item before you put it on the wall.
Next up is the layout of your gallery. There are two ways to do this. One is to trace your pictures on old wrapping paper for size and shape, marking where the hangers are for easy nailing. Tape the wrapping paper to the wall, add the nails and voila! You have a gallery wall in a jiffy. The second way is to lay the pictures on the floor and play with the layout until you are happy with the look before transferring to the wall. You will need a measuring tape for this option. Be sure to measure the space between photos so you know exactly where the nails will be set.
After you’ve set your gallery wall, take out that level and make sure each picture or work of art is straight. The small-size level won’t disturb pictures that are close together. If you have a troublesome item, you can always roll some masking tape and place it on the back of the frame to properly secure it.
Gallery walls are a fun way to define a blank wall in your home. If you let your true self shine through this project, this little design element can become the heart and soul of a room.


