

Framing Holiday Treasures
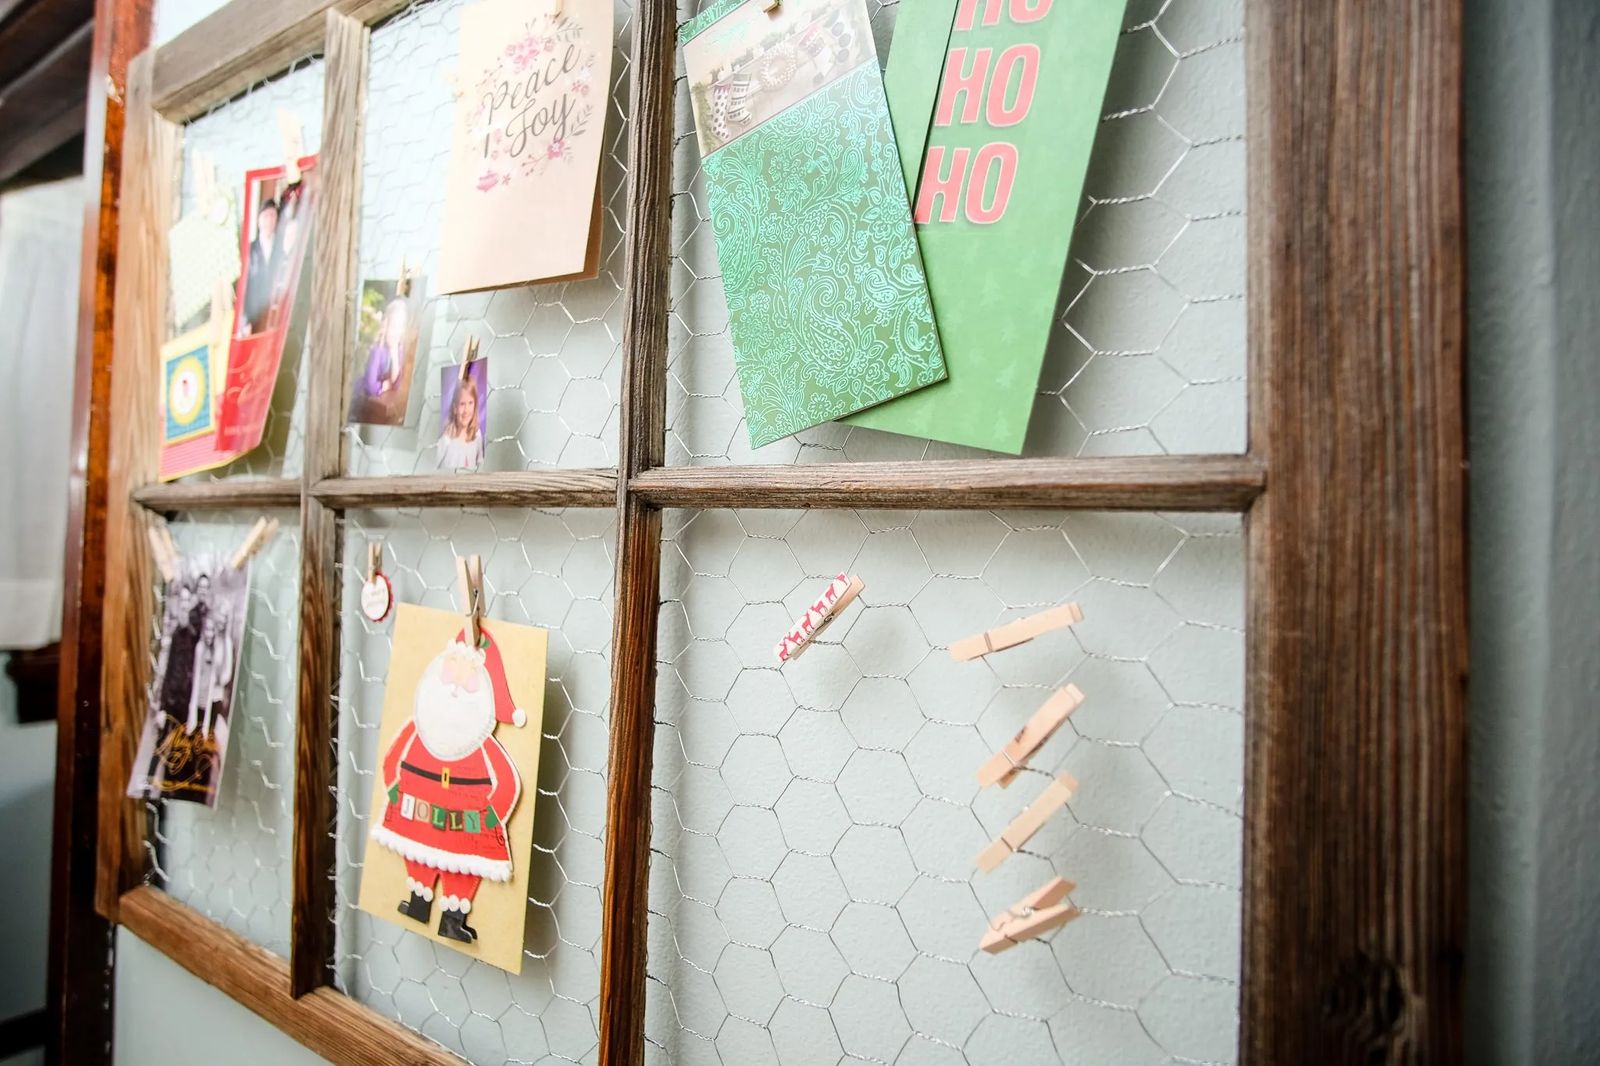
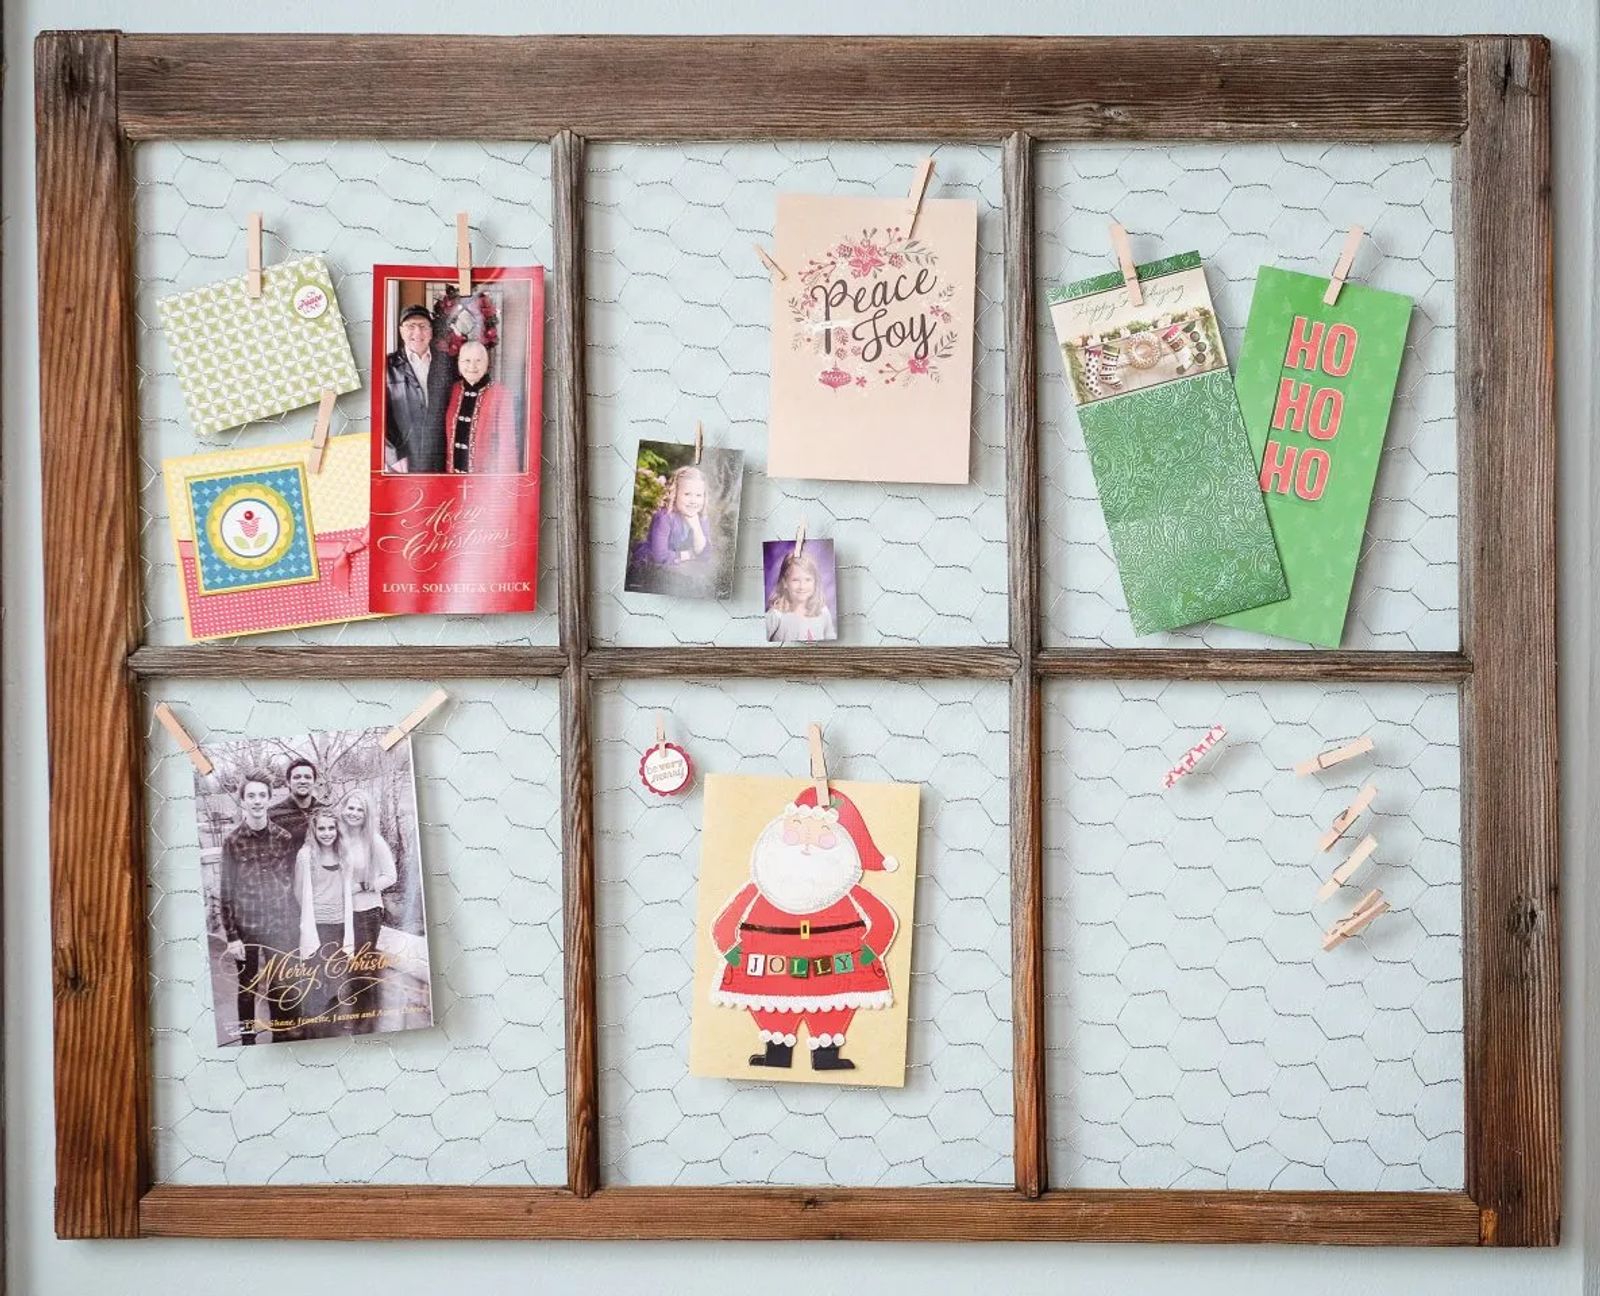
Old window = Christmas card display!
It’s always a special treat at the holidays to open the mailbox and pull out a handful of Christmas cards, letters and pictures sent across the miles from family and friends. When this festive time of year hits, I love to display these well wishes in a spot where I pass by frequently so I can see them several times through the day. How to do that has become a challenge. I want to make sure that each and every card, letter or picture has its own place instead of just being scattered through the house. I wanted this year to be different. I wanted to be able to hang my card display on the wall. It couldn’t be too time consuming to make and it has to match my Christmas décor. After digging through what I call my secret stash of treasures, I found the perfect base for an idea, an old window. Being taken from an old barn, it wasn’t fancy or clean. It was actually falling apart. The glass had long since been removed. It was perfect.
HERE’S WHAT YOU NEED
Old Window free -$30
Chicken wire $7.00
Picture hooks $5.00
clothes pins any size you like $3.00
Staple gun
½-inch staples
Screwdriver
Safety glasses
Gloves
Clamps
Wood glue
Spray polyurethane or paint (optional)

HOW TO CREATE THE PROJECT
If your window still has glass panes in it you will need to remove the glass. Wear safety glasses and heavy gloves to do so. Grab some masking tape and tape an asterisks pattern on each side of each pane. This is important. The tape holds the glass together, preventing glass from flying and hurting someone. Gently tap the glass with a hammer. Carefully grab the broken pieces with your gloved hands and gently remove. Continue doing this until all the panes are removed. Then discard. My window was very weathered and loose. I had to re-glue the joints to make it sturdy. To do that, I pulled the frame slightly apart, applied wood glue and slid the pieces back together. From there, I clamped it and let sit overnight. Wearing your safety glasses, loosen the old glazing with a screwdriver or utility knife. This is a tedious job, so work slowly and steady and be careful! My window needed a good sanding to help prevent slivers. I really liked the look of the rough window, so I gave it a quick spray of polyurethane to preserve the look and feel. Feel free to deck out your window however you see fit. Paint it. Stain it. Or, just leave it as is. For the next step, unroll the chicken wire and then stretch and bend one side of the wire until you have it molded around the “grid” portion and sides of the window. Secure by stapling the wire to the window frame and make sure that the staples don’t come through to the front side. Cut the wire from the roll. Take a screwdriver and crease the wire around the grid portion of your window. Do this all the way around the window’s edges. This tightens the wire for a picture like fit. Staple the wire in place wearing your safety goggles. With the wire secure, now it’s time to bend the cut wire down toward the wood of window to fold in all of the wire’s rough edges. Use a screwdriver for this. Decide how you want to hang your window and screw the wall hangers into the frame. Turn over your window and add the clothes pins which will serve as a way to hold each of your cards in place. Now, all you need to do is get ready for your family cards to roll in. When we’re not in the midst of the holiday season, this chicken wire frame is one that can be used all year long for organization. Simply hunt down a window that appeals to you, take an afternoon of creativity, then enjoy through the holidays and on into the New Year!


