

Look What We Found
Make telling time trendy, chic & affordable!
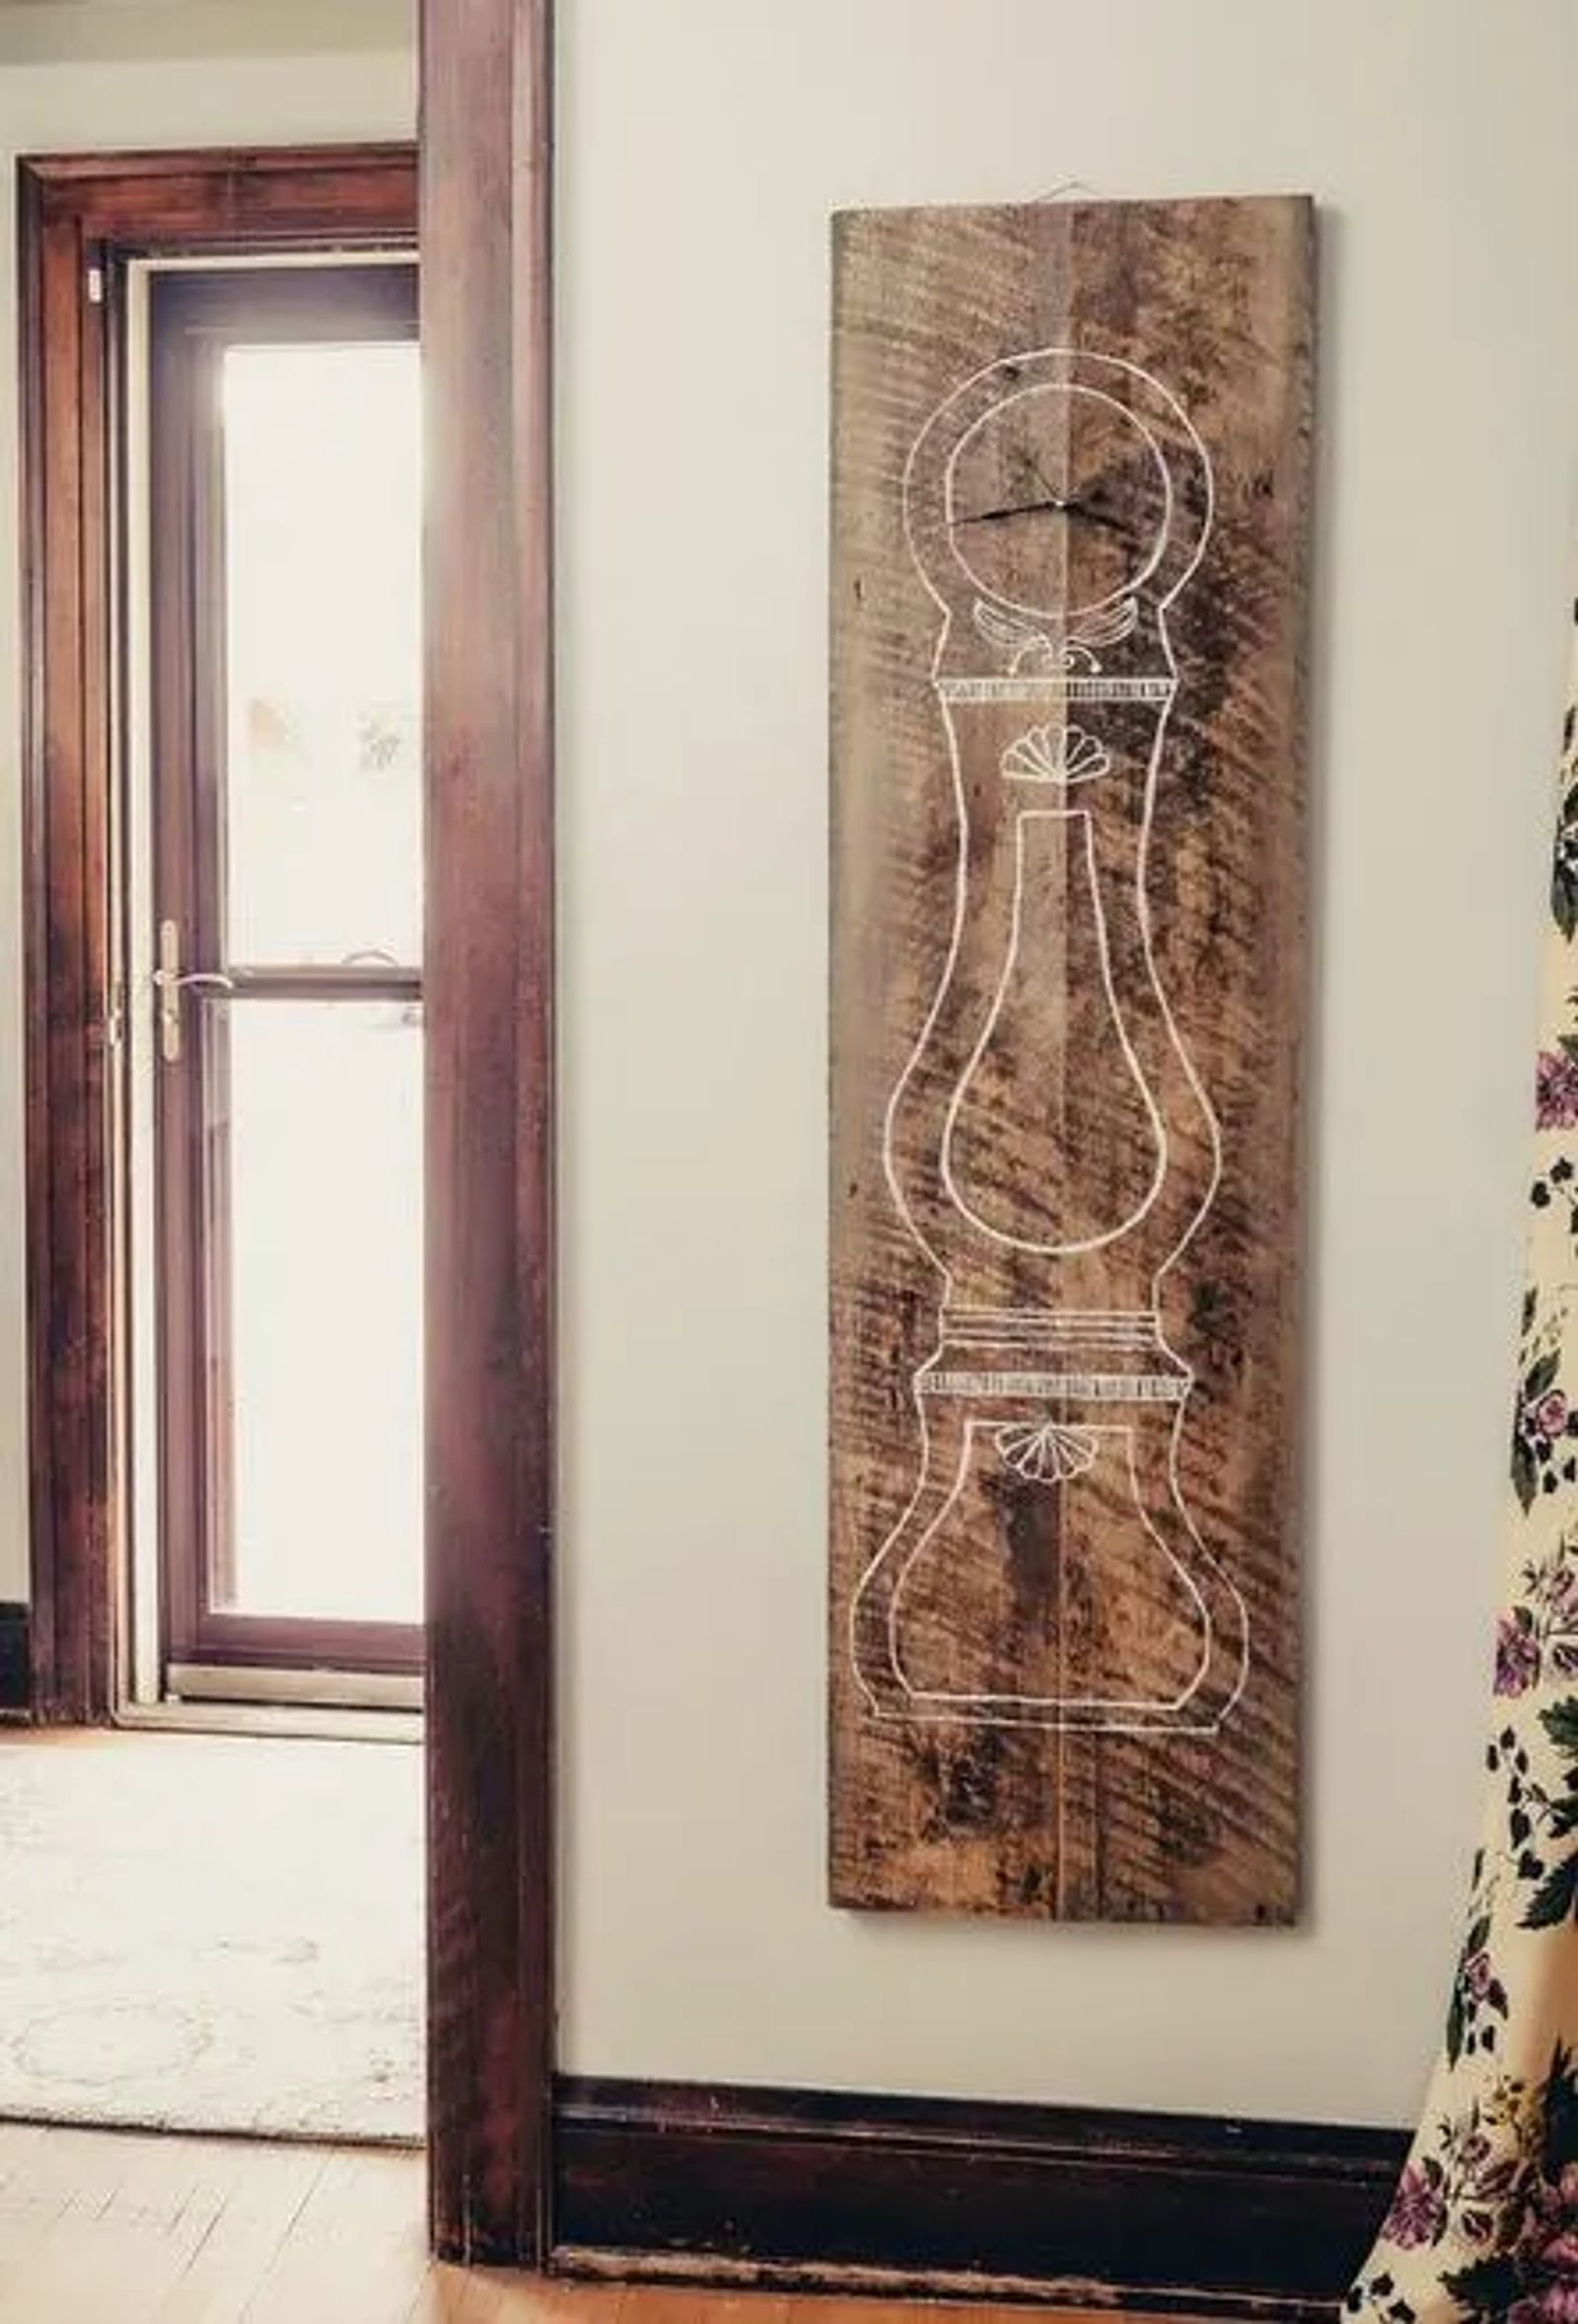
As a self-confessed "junker," my passion is to take everyday items and reuse or recycle them and make them into a brand new creation. I love finding new uses for old and rustic salvaged fence boards. I scour garage and estate sales looking for treasures. I find many gems in the rough. So, when I saw this idea from Amy Azzarito in her new book Past & Present, I knew I had to take her idea and make it my own. And with so many images available to download from the World Wide Web, the options are endless for a DIY project of your own. I love this idea because it takes up no floor space and is a fun, inexpensive way to have the trendy look of a traditional grandfather clock in your home.

WHAT YOU WILL NEED
3 planks of salvaged wood approximately 3/4" thick x 5' tall and 5-1/2" wide
Wood glue
Acrylic paint in your color of choice ($2)
Clock kit (3/4" deep surface) ($12)
Small eye hooks ($2)
Picture wire ($2)
3 adjustable clamps
Straight edge
Chalk
Saw
Large sheet of carbon paper ($10)
Pencil
Small paint brush
Drill with 5/16" bit
HOW TO CREATE
Find your boards; they can be old fence boards, salvaged barn wood or anything that looks old and has character. Keep in mind, stay away from boards that show signs of rot. The boards also should be free from bowed or curved edges.
Clean and lightly sand your boards.
Decide how you want your boards to lie. Run a bead of glue down both lengths of the middle board and clamp them together with the other boards. Use a damp cloth to wipe up drips of glue and let it dry overnight. After the glue dries, your three boards should look like one large sturdy board.
Using a straightedge mark a straight line across the top and bottom of the boards. Saw along line for a clean edge and then sand for a smooth finish.
If you are an artist, you can draw on your own clock face. You can also visit a copy store and have them enlarge your image to achieve the right size. Our finished image measured 48" tall by 14-¼" wide. While we found the image in Amy Azzarito's book, search the web for grandfather clock illustrations. We found several images with different design styles that might appeal to you.
Tape a piece of carbon paper over the entire surface. Then, over top, tape the clock image down and trace over the image with a pencil pressing firmly to get the outline on the board.
Get your brush and paint over the traced line. Don’t strive for perfection. It's the rustic edges that give this piece its appeal! Let the paint dry.
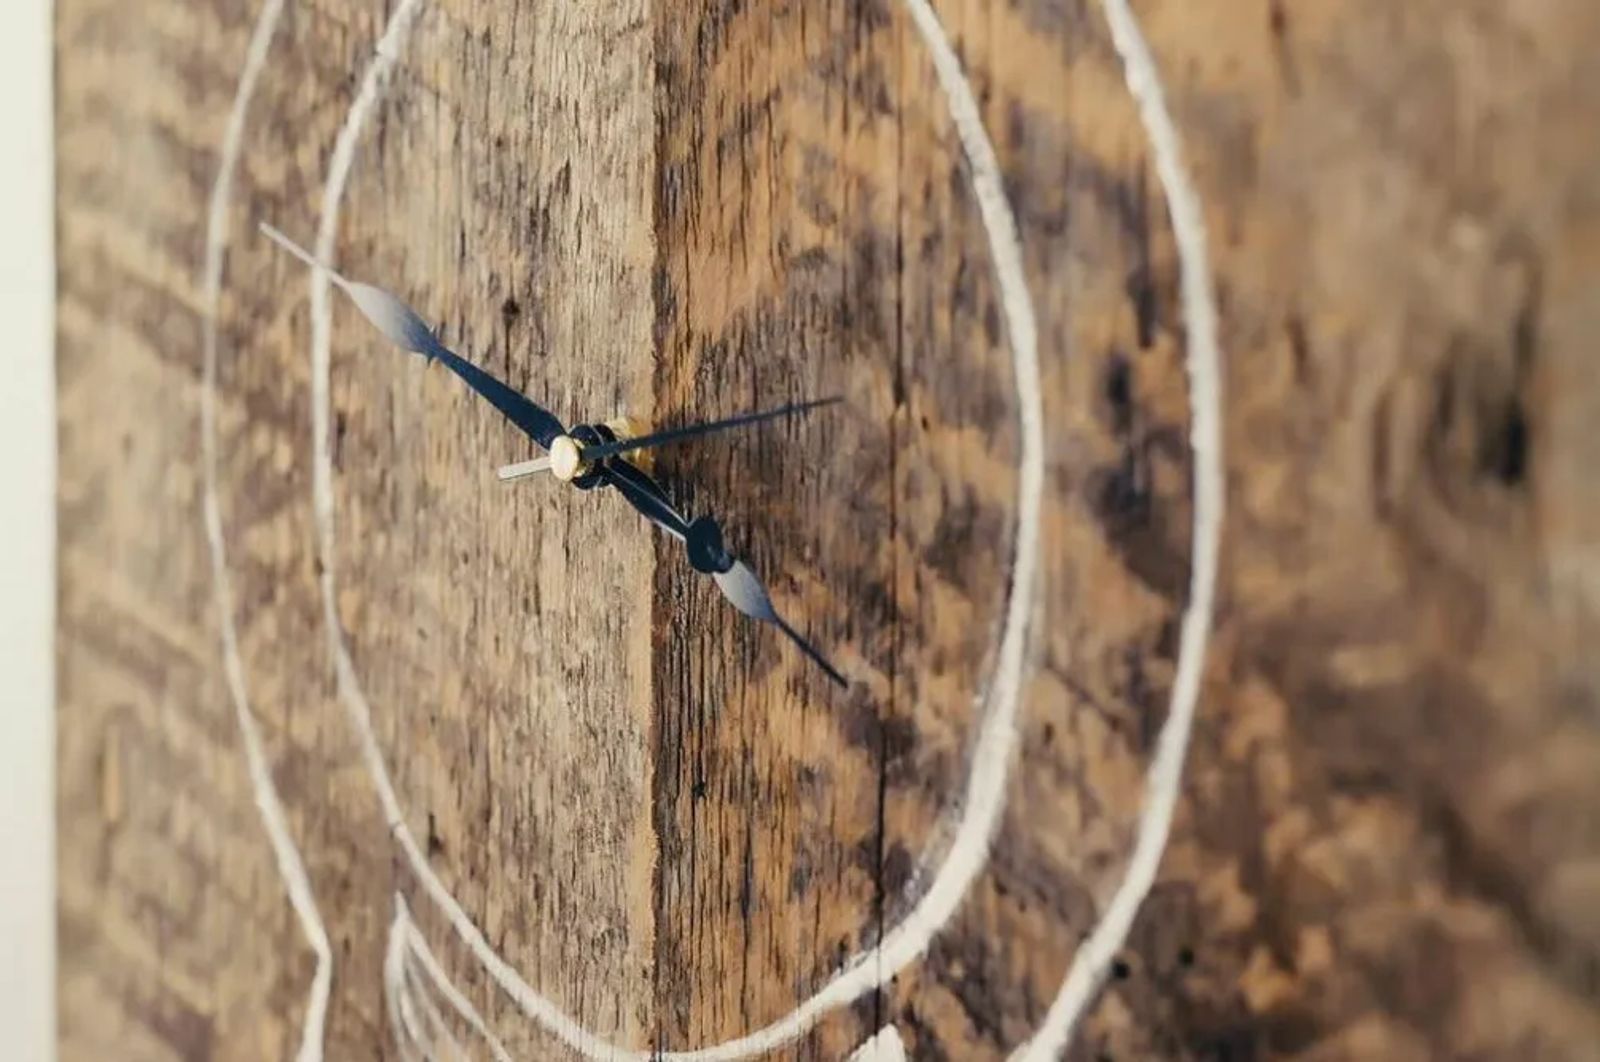
Find the center of the face of the clock and drill a small hole to assemble the clock kit. Follow the kit's directions.
Attach small eye hooks and picture wire. Hang and enjoy!
With an entire world of knock off salvage signs out there, I knew this clock would be a hit. Who said you couldn't have a rustic grandfather clock at a price you can afford? When all was said and done, the total for our project rang in at just $28!


