

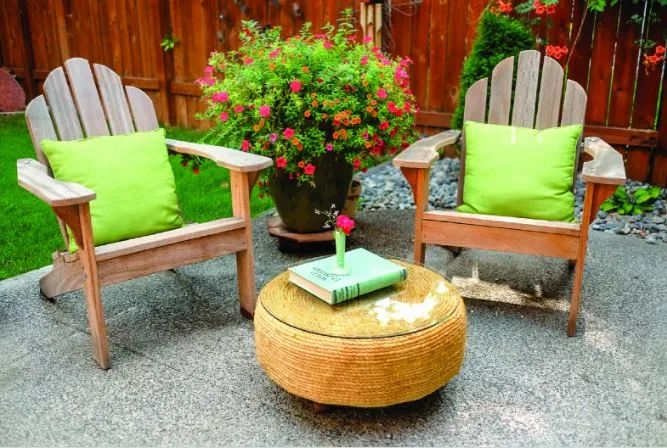
Old Tire Gets a Stylish Facelift
When you think of a stylish ottoman perfect for all types of weather, an old tire usually doesn’t come to mind. But in my search for one last outdoor project for the year, I found something so versatile that it can be used inside or out and uses that one thing that many of us have rolling around in our garages or sheds — an old tire. Better yet, if you need one, many times you can pick a used tire up for free. You really can give any space a stylish update in just an afternoon with just a few low to no cost items.
WHAT YOU WILL NEED
Tire: Free
150 feet of nylon rope: $12
6 packages of 150 feet 3/8”sisal rope: $9
3 decorative legs: price varies
6 tubes construction adhesive: $4
Hot glue & hot glue gun
Scrap wood blocks
2’ by 2’ scrap of plywood
Jig saw
Sealer: $12
Paint brushes

HOW TO GET THE LOOK
The first thing to do is round up an old car tire. If you are at a loss for one in your garage, contact a tire shop. They cast aside old tires every day and most will give you one for free or for a small fee. Thanks to Edam Tire and Automotive, we got ours for free.
Start by taking your plywood and trace a circle that is slightly smaller than your tire. If free-handing the shape isn’t something you feel you can do, make a simple compass by using a pencil attached to a string secured with a screw. Using a jigsaw, cut along the penciled line. Don’t forget your safety glasses. Place your three legs equal distance from the center and from each other, screwing into the board. Set aside.
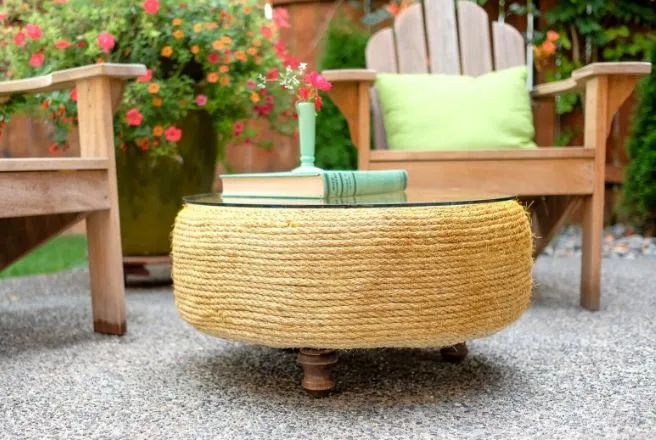
Grab the nylon rope, tie it to the tire and begin wrapping it around your tire base similar to the photo, and tie it to the tire. The rope will give the tire a little more structure and prevent any sagging. Wrap the nylon rope across the tire, making concentric circles. Make sure to keep the spacing between the rope roughly 2 to 3” apart. Once you have built the rope up like the photo, tie the rope on the back side to secure. Now it’s time to attach the plywood circle base. You’ll set your scrap blocks inside the tire and then screw the board through the tire, holding the scrap blocks inside until the screw grabs hold of wood block. This will make the table very stable. Watch your fingers and make sure your screws aren’t so long they poke through your wood scrap. Apply construction adhesive to the tread of tire, starting at the wood base. Only apply about 2” at a time to prevent the glue from drying. Start placing the sisal rope to the glued areas, going around and covering the tire completely with the rope to prevent the rubber from showing through. Keep pressing the rope so the edges of rope fit tightly together, and keep applying more glue and rope until the tire is completely covered. Don’t worry about the nylon rope underneath, just keep moving over the top of it. Eventually you will come to a part of the tire that slopes away from the nylon rope. Warm up your hot glue gun and start gluing the sisal rope to the previous row of sisal rope and nylon rope below. Try to be careful not to apply so much glue that it seeps out the top. Unfortunately, this will happen. It is unavoidable. Don’t worry however, I have a fix below. As you add more rope, the inner circle of your soon-to-be ottoman will get smaller and smaller. When the inner circle is about the size of a quarter, squirt a big glob of construction adhesive in the hole, continue to hot glue sisal rope in place right over the adhesive. Cut to fit and push in the final bit of rope.
Now it is time to take a little break to let everything dry. Once dry, apply a sealer to your roped areas with a paint brush. This will help keep your ottoman weather resistant and keep the rope from fraying. I bought an amber tinted sealer to help blend any excess glue that had seeped out between the edges of the rope. Apply several coats and allow drying in between each coat.
Not only is this project easy, it is fun, stylish, and versatile. In very high end stores, I’ve seen similar stools for $700 and higher. From the list of supplies, you can see this ottoman can be made at just a fraction of that cost. This project also falls in line with my R.R.R theme to REDUCE, REUSE, and RECYCLE. It is good when you can combine updating a space, saving money, and recycling all into a day’s work.


