

Serving Up the Spirit of the Holidays
Old picture frame gets a whole new look
With the holidays near and houses citywide opening their doors to guests and festive affairs, serving ware and trays get pulled out of cabinets and put to good use. Since I knew I would need a way to reduce trips to and from the kitchen, I decided to repurpose some items to create my own serving tray. After all, repurposed items have so much more character and always seem to have a story to tell. After digging around my attic, I ended up uncovering a surprise. I found an antique looking frame that had just the right look for my soon-to-be tray. I paired it with some old cedar fence boards that I knew could be used to form the base of my tray. While the items on my list could have added up to roughly $40 if I had to purchase them, foraging around the attic and garage delivered all the goods. That’s the beauty behind repurposing.
WHAT YOU NEED
Old frame without glass
Cedar boards
Small screws
Paint
Spray polyurethane
Stain marker
adhesive
DIRECTIONS
I started by painting my frame with chalk paint, using a dry brush technique. This method is exactly like it sounds, using just a little paint on the tip of the brush to achieve a distressed look. Afterward, the cedar boards were cut to fit the picture part of the frame.


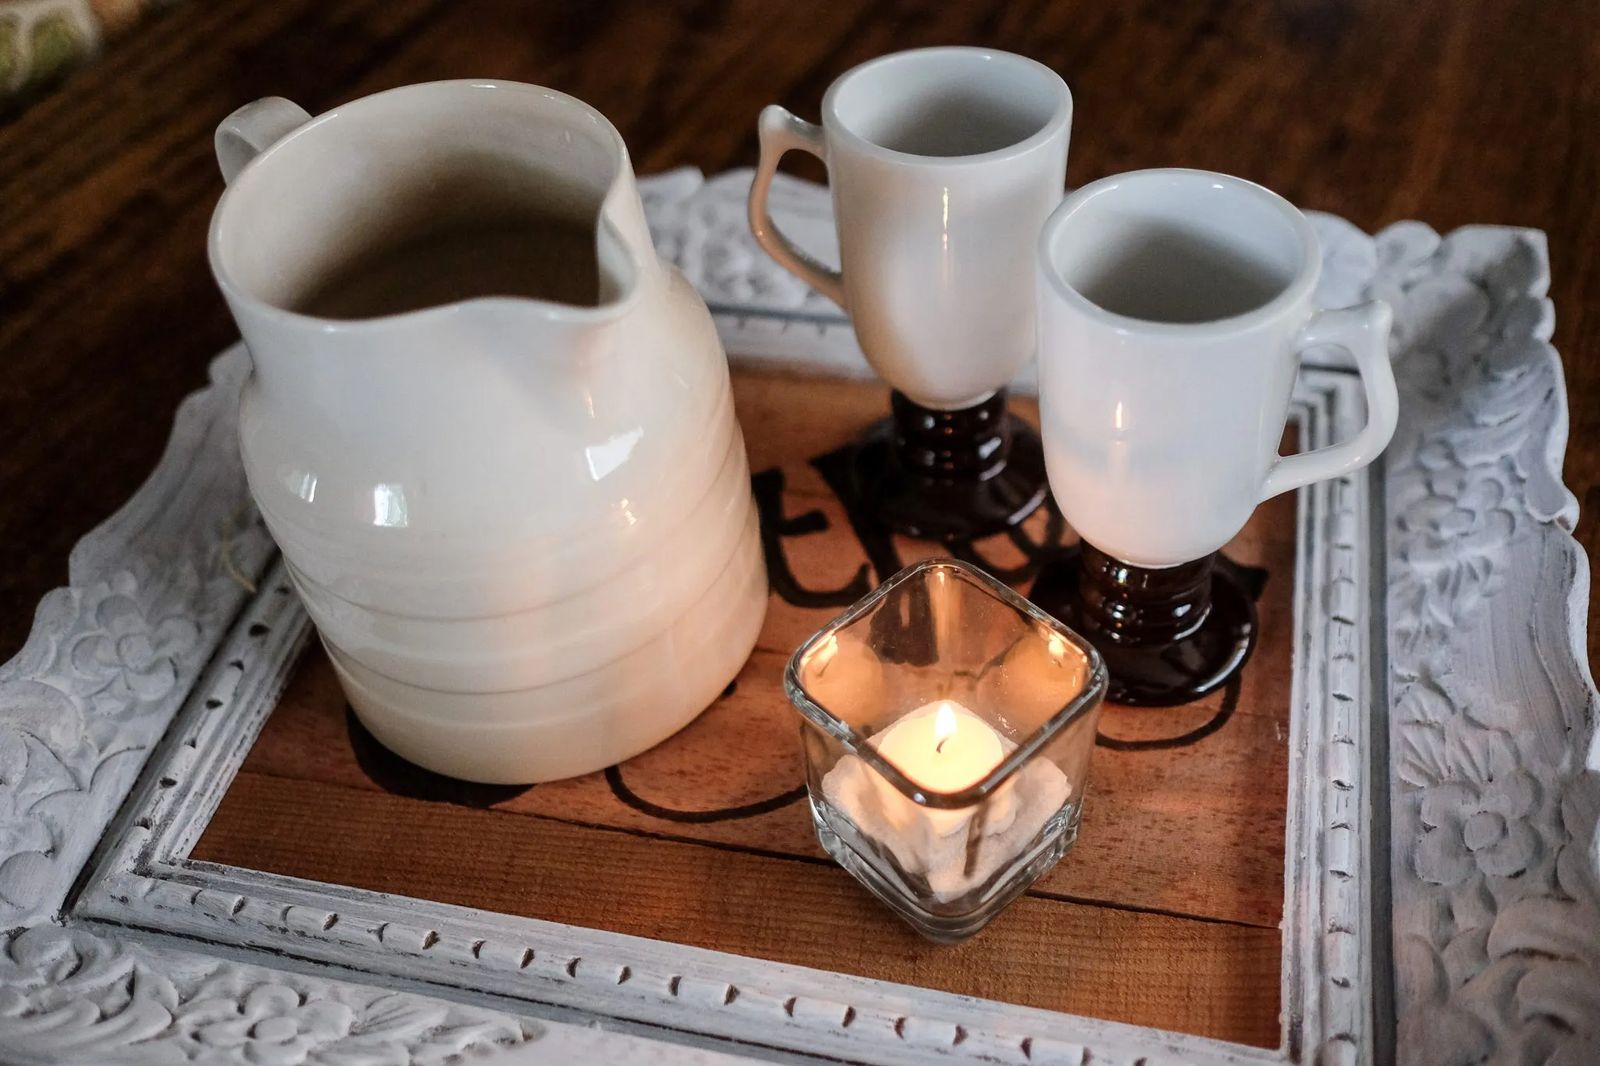
Be sure to dry fit the boards before applying adhesive to the edge. To prevent the glue from seeping, don’t get the adhesive too close to the edge of the frame. To give the base of your tray even more stability, take some small screws and situate them in a discreet way. You’ll want to double check the screws’ lengths against the frame’s thickness to make sure the screws will not pop through to the top of your tray. You may have to toenail the screws in, which means setting them at an angle. Let the glue dry. From here, I freehanded the word “gather” on the boards to serve as a bit of a statement.

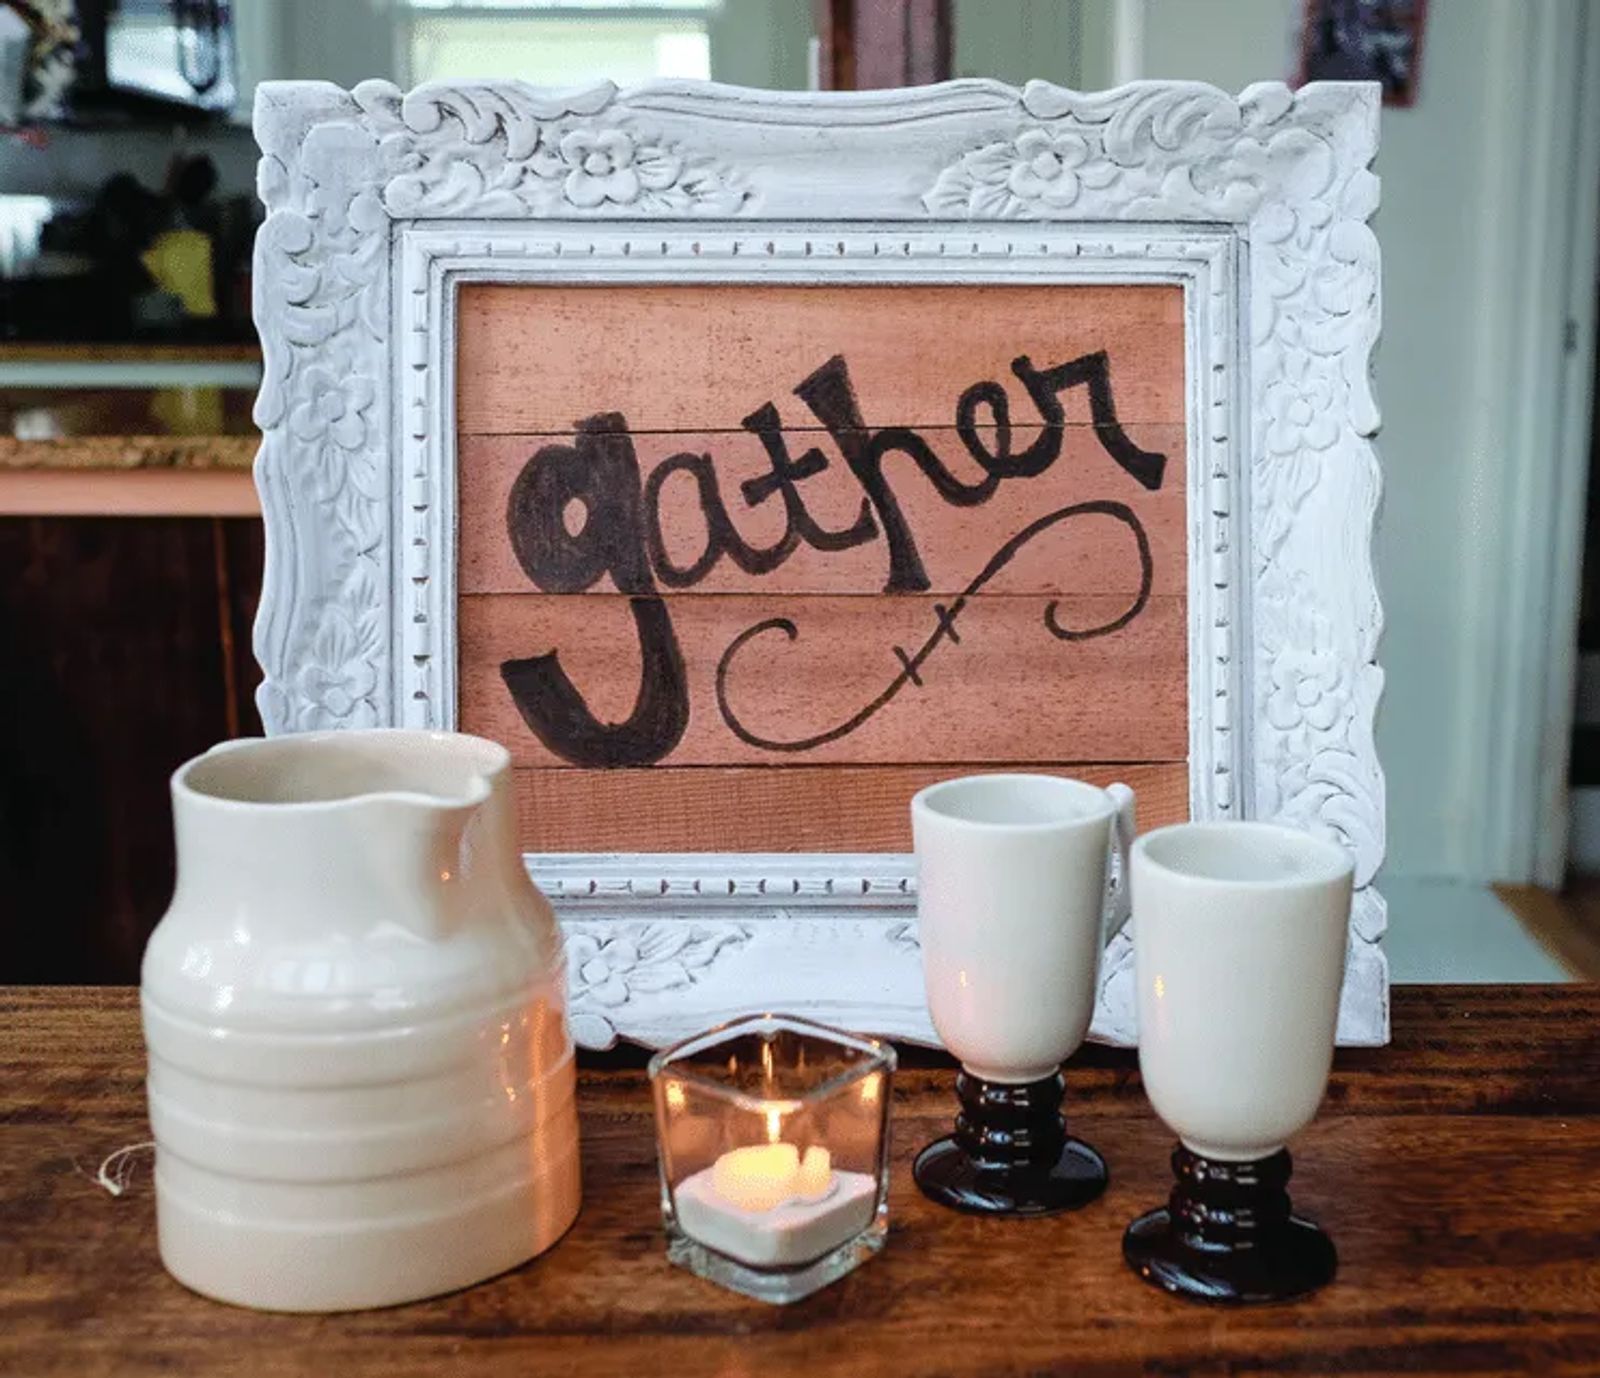
Initials, last names or even addresses would also be fun. Practice using chalk on the boards before coloring in the word or letters permanently. If you aren’t comfortable with your handwriting, try stencils or even vinyl lettering to adorn your tray. I used a stain marker and went over my chalk etchings and then let it dry. Seal with 2-4 coats of aerosol polyurethane over the whole piece to protect it from wear and tear or the occasional spill.
This tray is a simple project that can be done in an afternoon. I love that it was a free piece that was put together with items that I found right in my own home. Now I am ready for entertaining and have a unique tray that guests will be asking, “Where did you find that?”


