

Stylish, Quick & Concrete!
Enhance your outdoor space with DIY cement planters
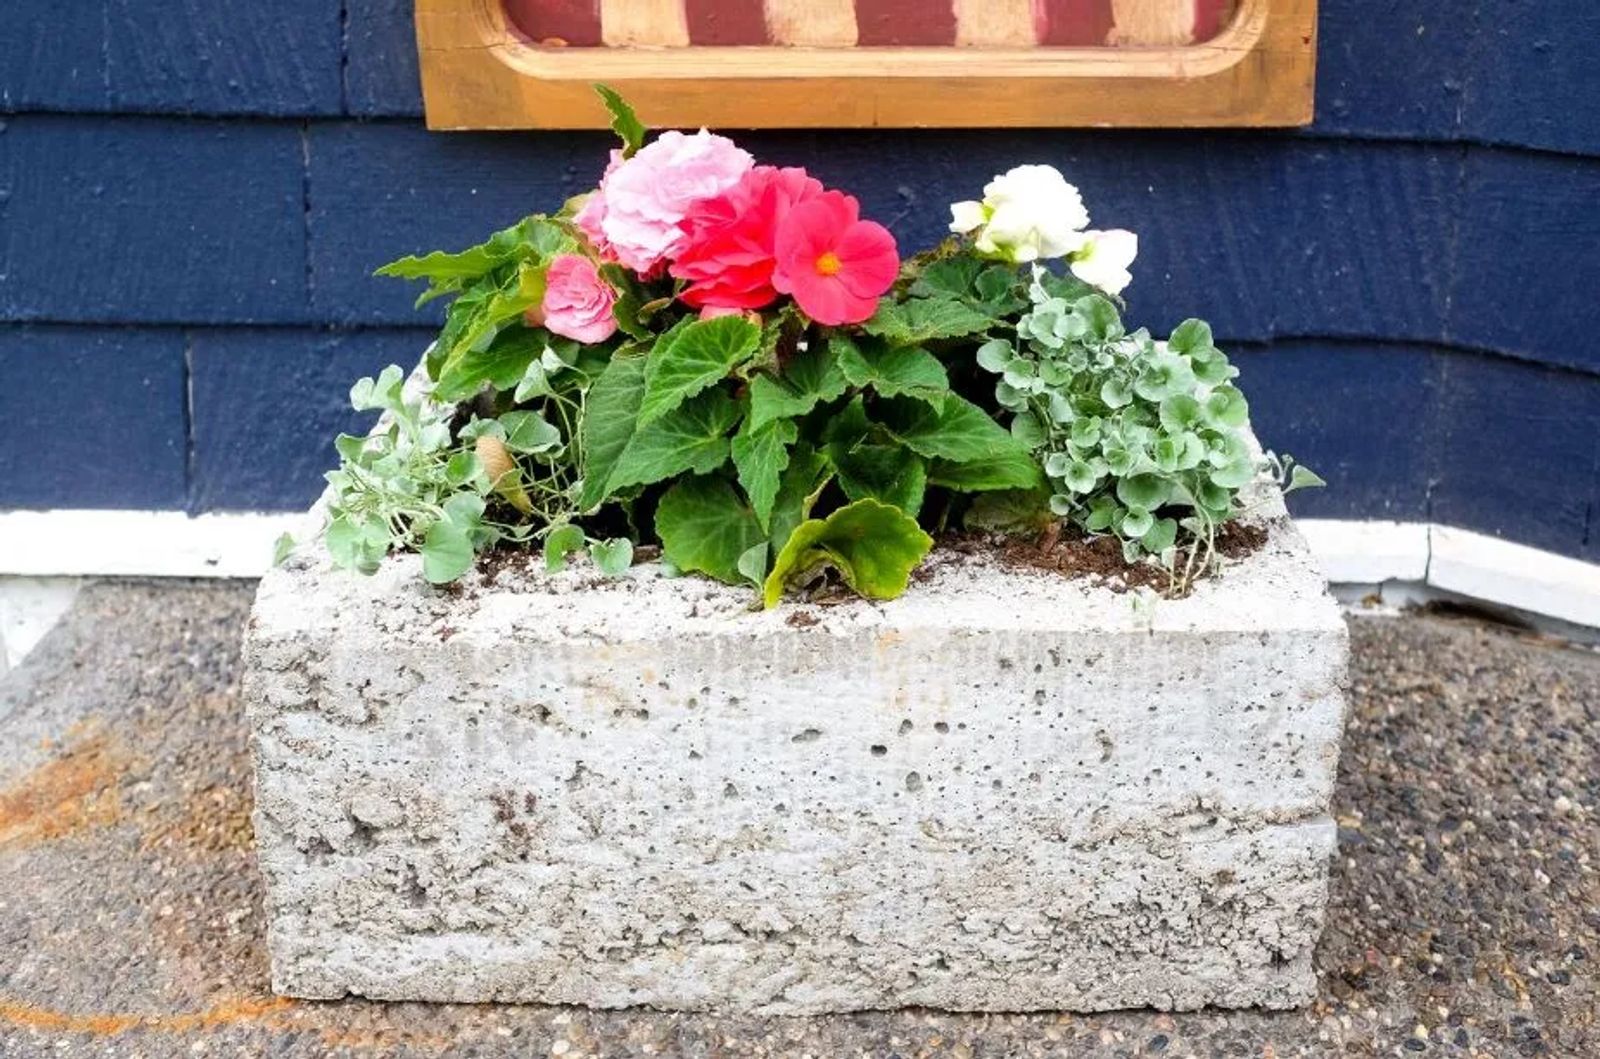
If you look at the style guides for outdoor living, cement planters are the “it” outdoor item right now. These heavy duty, weather resistant planters can set you back a few hundred dollars if you want to purchase one. After hunting all over town in search of just the right style, I decided why not D.I.Y.? The Internet search provided never-ending results on how to get the job done, including the project I picked for hypertufa pots. This style produces results that are very porous and, when finished, resembles limestone. These pots are lighter in weight and offer great texture. The longer you have these pots, moss will develop, providing an even better look. With three affordable ingredients, it’s a budget-friendly way to give your landscape a chic and modern look.
WHAT YOU WILL NEED
Gloves
Peat moss
Perlite
Portland cement
Non-stick cooking spray
Forms

HOW TO CREATE
Finding the forms or thinking of what to use for forms was the hardest part of this project. I couldn’t quite wrap my mind around it. I decided to go with cardboard boxes for the outer and inner molds. The size and shape were good and I had them lying around. Old plastic containers, cups, bowls, and boxes of all shapes and sizes make good forms. Put equal parts of the peat moss, perlite, and portland cement in a wheel barrel and mix up. My pot size is 12”x18”. It took 10 quarts of each ingredient and about 5 quarts of water. I thoroughly mixed this with my gloved hands before slowly adding water. When the water is added the consistency should resemble cottage cheese. I added the mixture to the form by hand until the base was about 1 inch thick. Spray the inner form with non- stick cooking spray. Place inside the form sitting on the base. Continue to add the mixture around the inner form to create your planter. For strength make sure the sides are about 1 inch thick. Smooth the exposed concrete, when the form is full. This step saves you sanding at the end. To cure the planters cover with plastic and wait 24 hours. The best way to cure is slowly. The slower it dries the stronger the pots are so don’t rush it. After 24 hours remove the inner mold, cover with plastic and wait another 24 hours. Remove the outer mold and wait another 24 hours. Remember patience is the key for drying. When I took off the outer mold I was very pleased with the turnout. My forms were very easily removed; because I used cardboard it just peeled off. The plastic mold I used was a little harder but just go slow and be patient. If the edges of your planter aren’t smooth enough take some 80 grit sandpaper and sand the rough spots.
This was one of my favorite projects. It was easy and very gratifying. My begonias are going to look great in this. I have already decided I am going to make some more.


