

The Gift that Keeps Giving
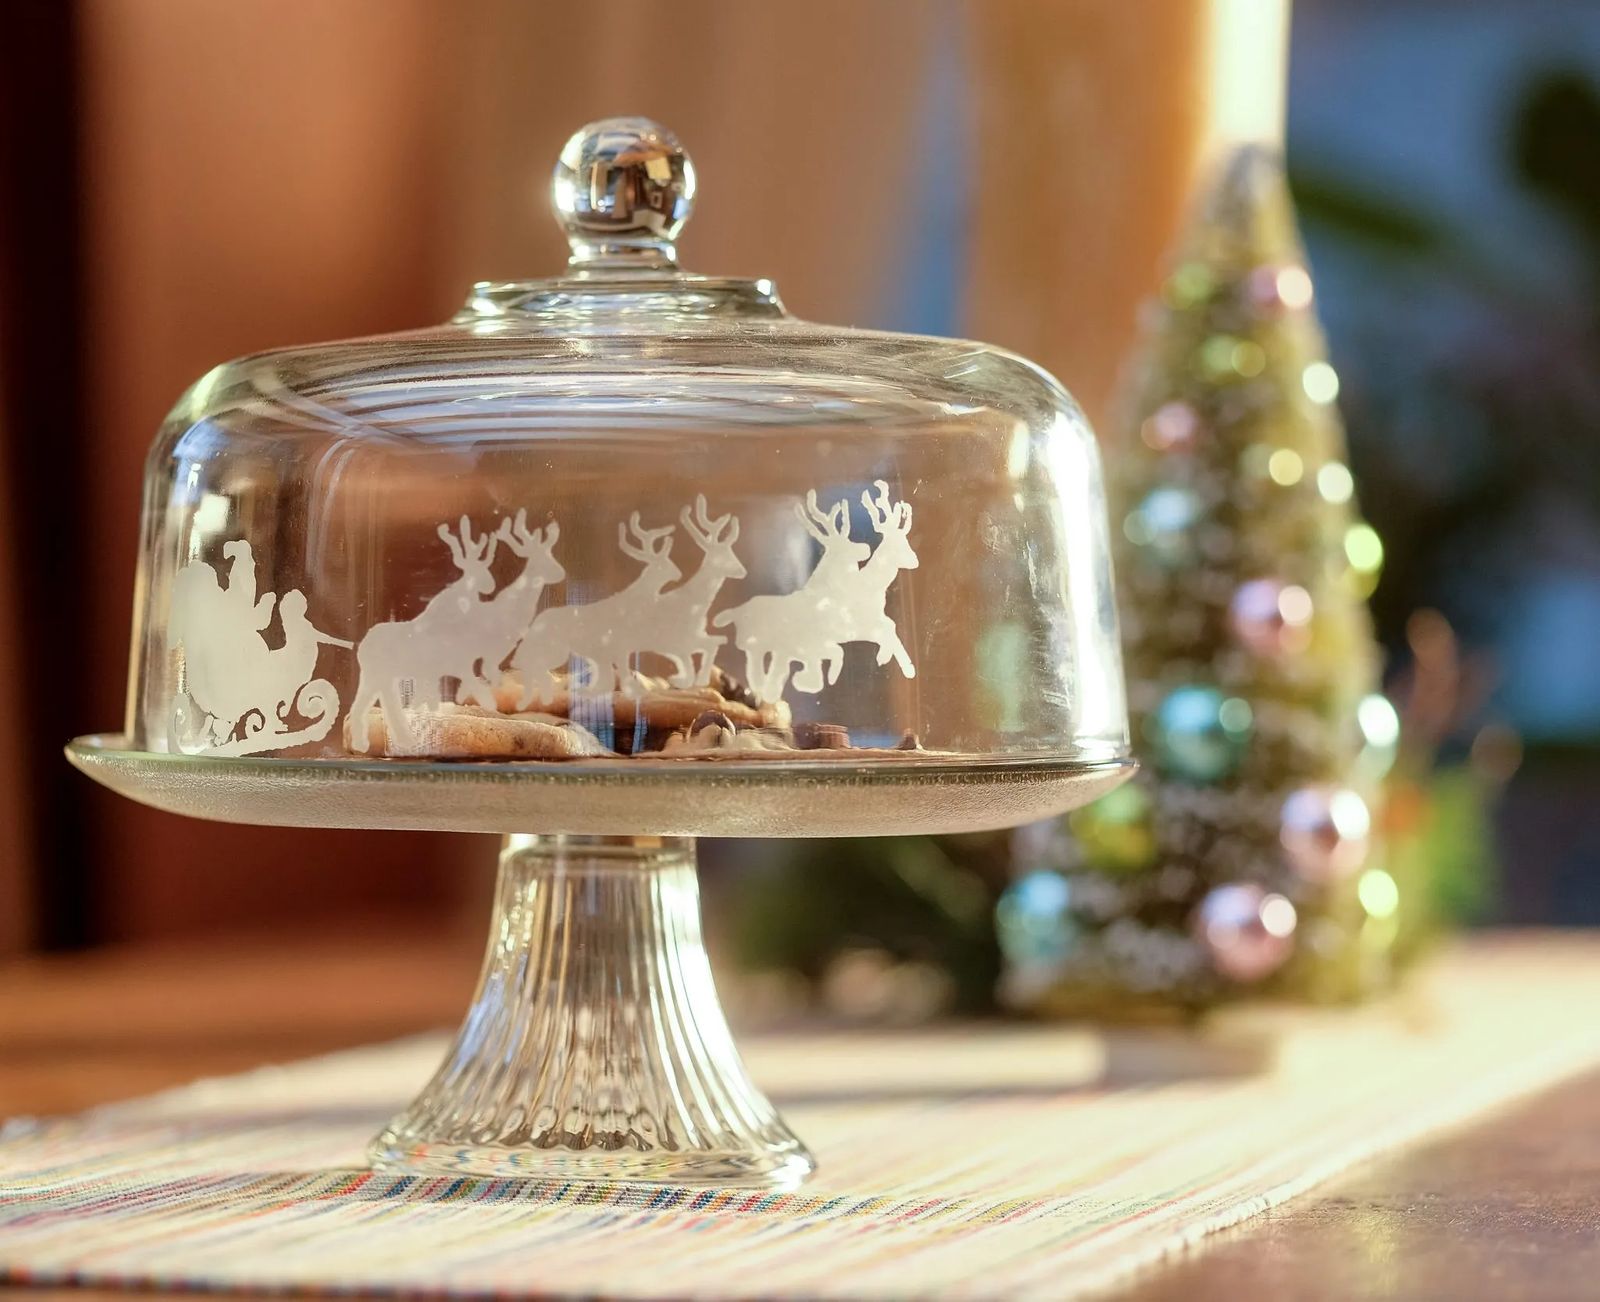
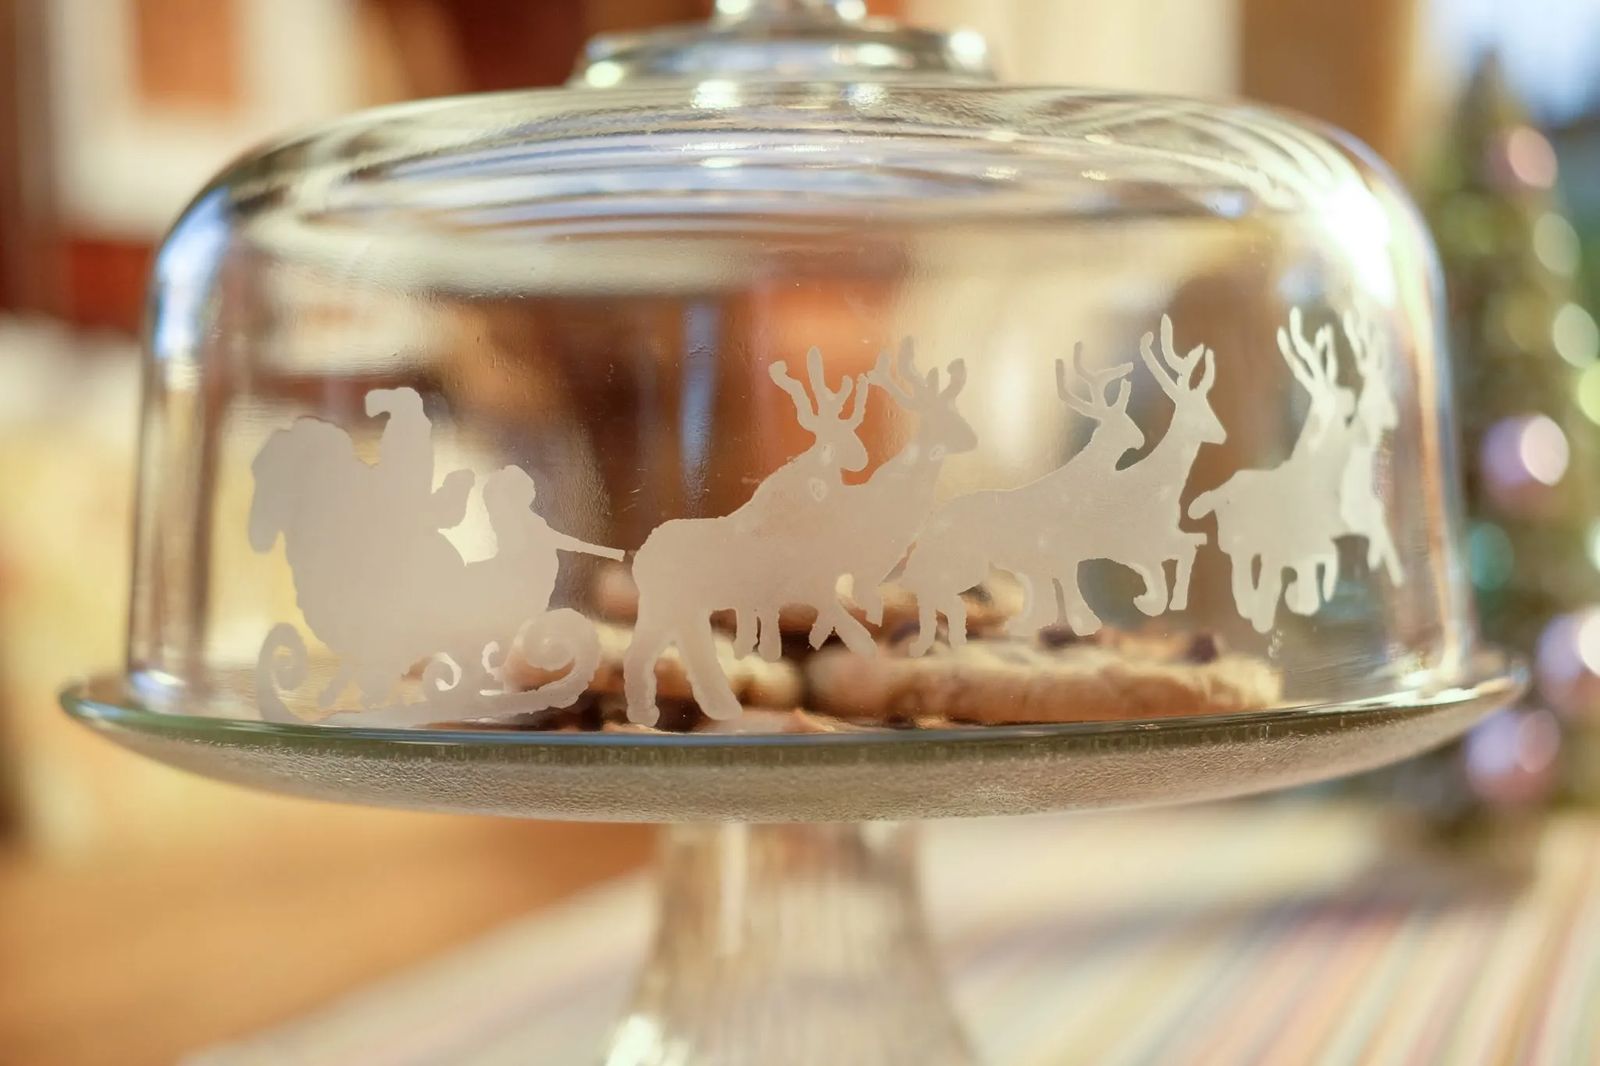
DIY etched glassware with a personal touch
Sweets, treats and friends are some of my favorite things. That’s why when the holiday season rolls around, I know I am not alone in sharing sweet confections baked straight from my own kitchen. This year, you can join me in treating friends, neighbors or even your child’s teacher with an easy and inexpensive way to personalize your home baked cookies and candies. DIY etched glassware is the gift that keeps on giving. Choose a fun holiday design, add some initials, a family name or a holiday border. After you grab some etching solution and a stencil, the list of items you can personalize is endless. Think serving platters, dessert plates or even a wine glass. Let your imagination flow and try your hand at creating custom glassware that is sure to add some wow factor to your hand delivered holiday goodies.

HERE’S WHAT YOU WILL NEED
- Purchased stencil or one created with a vinyl cutting machine like the Silhouette or Cricut
- Armor Etch, glass etching compound
- Spray adhesive
- Disposable paint brush
- Glassware of choice
- Q-Tips
- Disposable gloves
- Alcohol prep pads
HOW TO DIY
You can start this project by going on a hunt at your local thrift store, dollar store or discount store in search of the perfect glassware to personalize. To find your stencil, you have a few options. Look at craft stores or online by searching for glass etching stencils. “Martha” has a whole line of these adhesive stencils. Or, if you have access to a personalized cutting machine like a Silhouette or Cricut, you can choose from thousands of designs for a truly custom look. If you’re truly brave, you can create your own stencil by printing an image and using an X-Acto knife to cut out the image on contact paper.
Begin by cleaning your glassware and find the perfect spot for your stencil. Clean that area with an alcohol prep pad and let dry. Don’t touch the freshly cleaned area; you don’t want the oils from your fingertips to mar the surface. If you’re using a non-stick stencil, lightly spray the stencil with spray adhesive and wait 30 seconds. Place the stencil tacky side down on the designated spot on your glassware. Take a Q-tip and press firmly to assure you have a good seal on all edges. Remember, the stencil acts as a protective barrier and you don’t want the etching solution to seep under the stencil. Using rubber gloves, apply a thick coat of Armor Etch over the stenciled area. Make sure the solution doesn’t come in contact with any other part of the exposed glassware. This is an acid-based product, so read the manufacturer’s warnings when using this product. Wait 15 minutes and then rinse before removing the stencil. If needed, use an alcohol prep pad to get rid of any left-over adhesive residue. If your stencil is reusable, clean both sides of your stencil well. Once you’re done with clean up, you will have a personalized gift or dessert plate that is perfect to brighten the holiday season for friends or family.


