A Handful of Holiday Cheer
DIY Ornaments to add that Farmhouse Christmas Flair
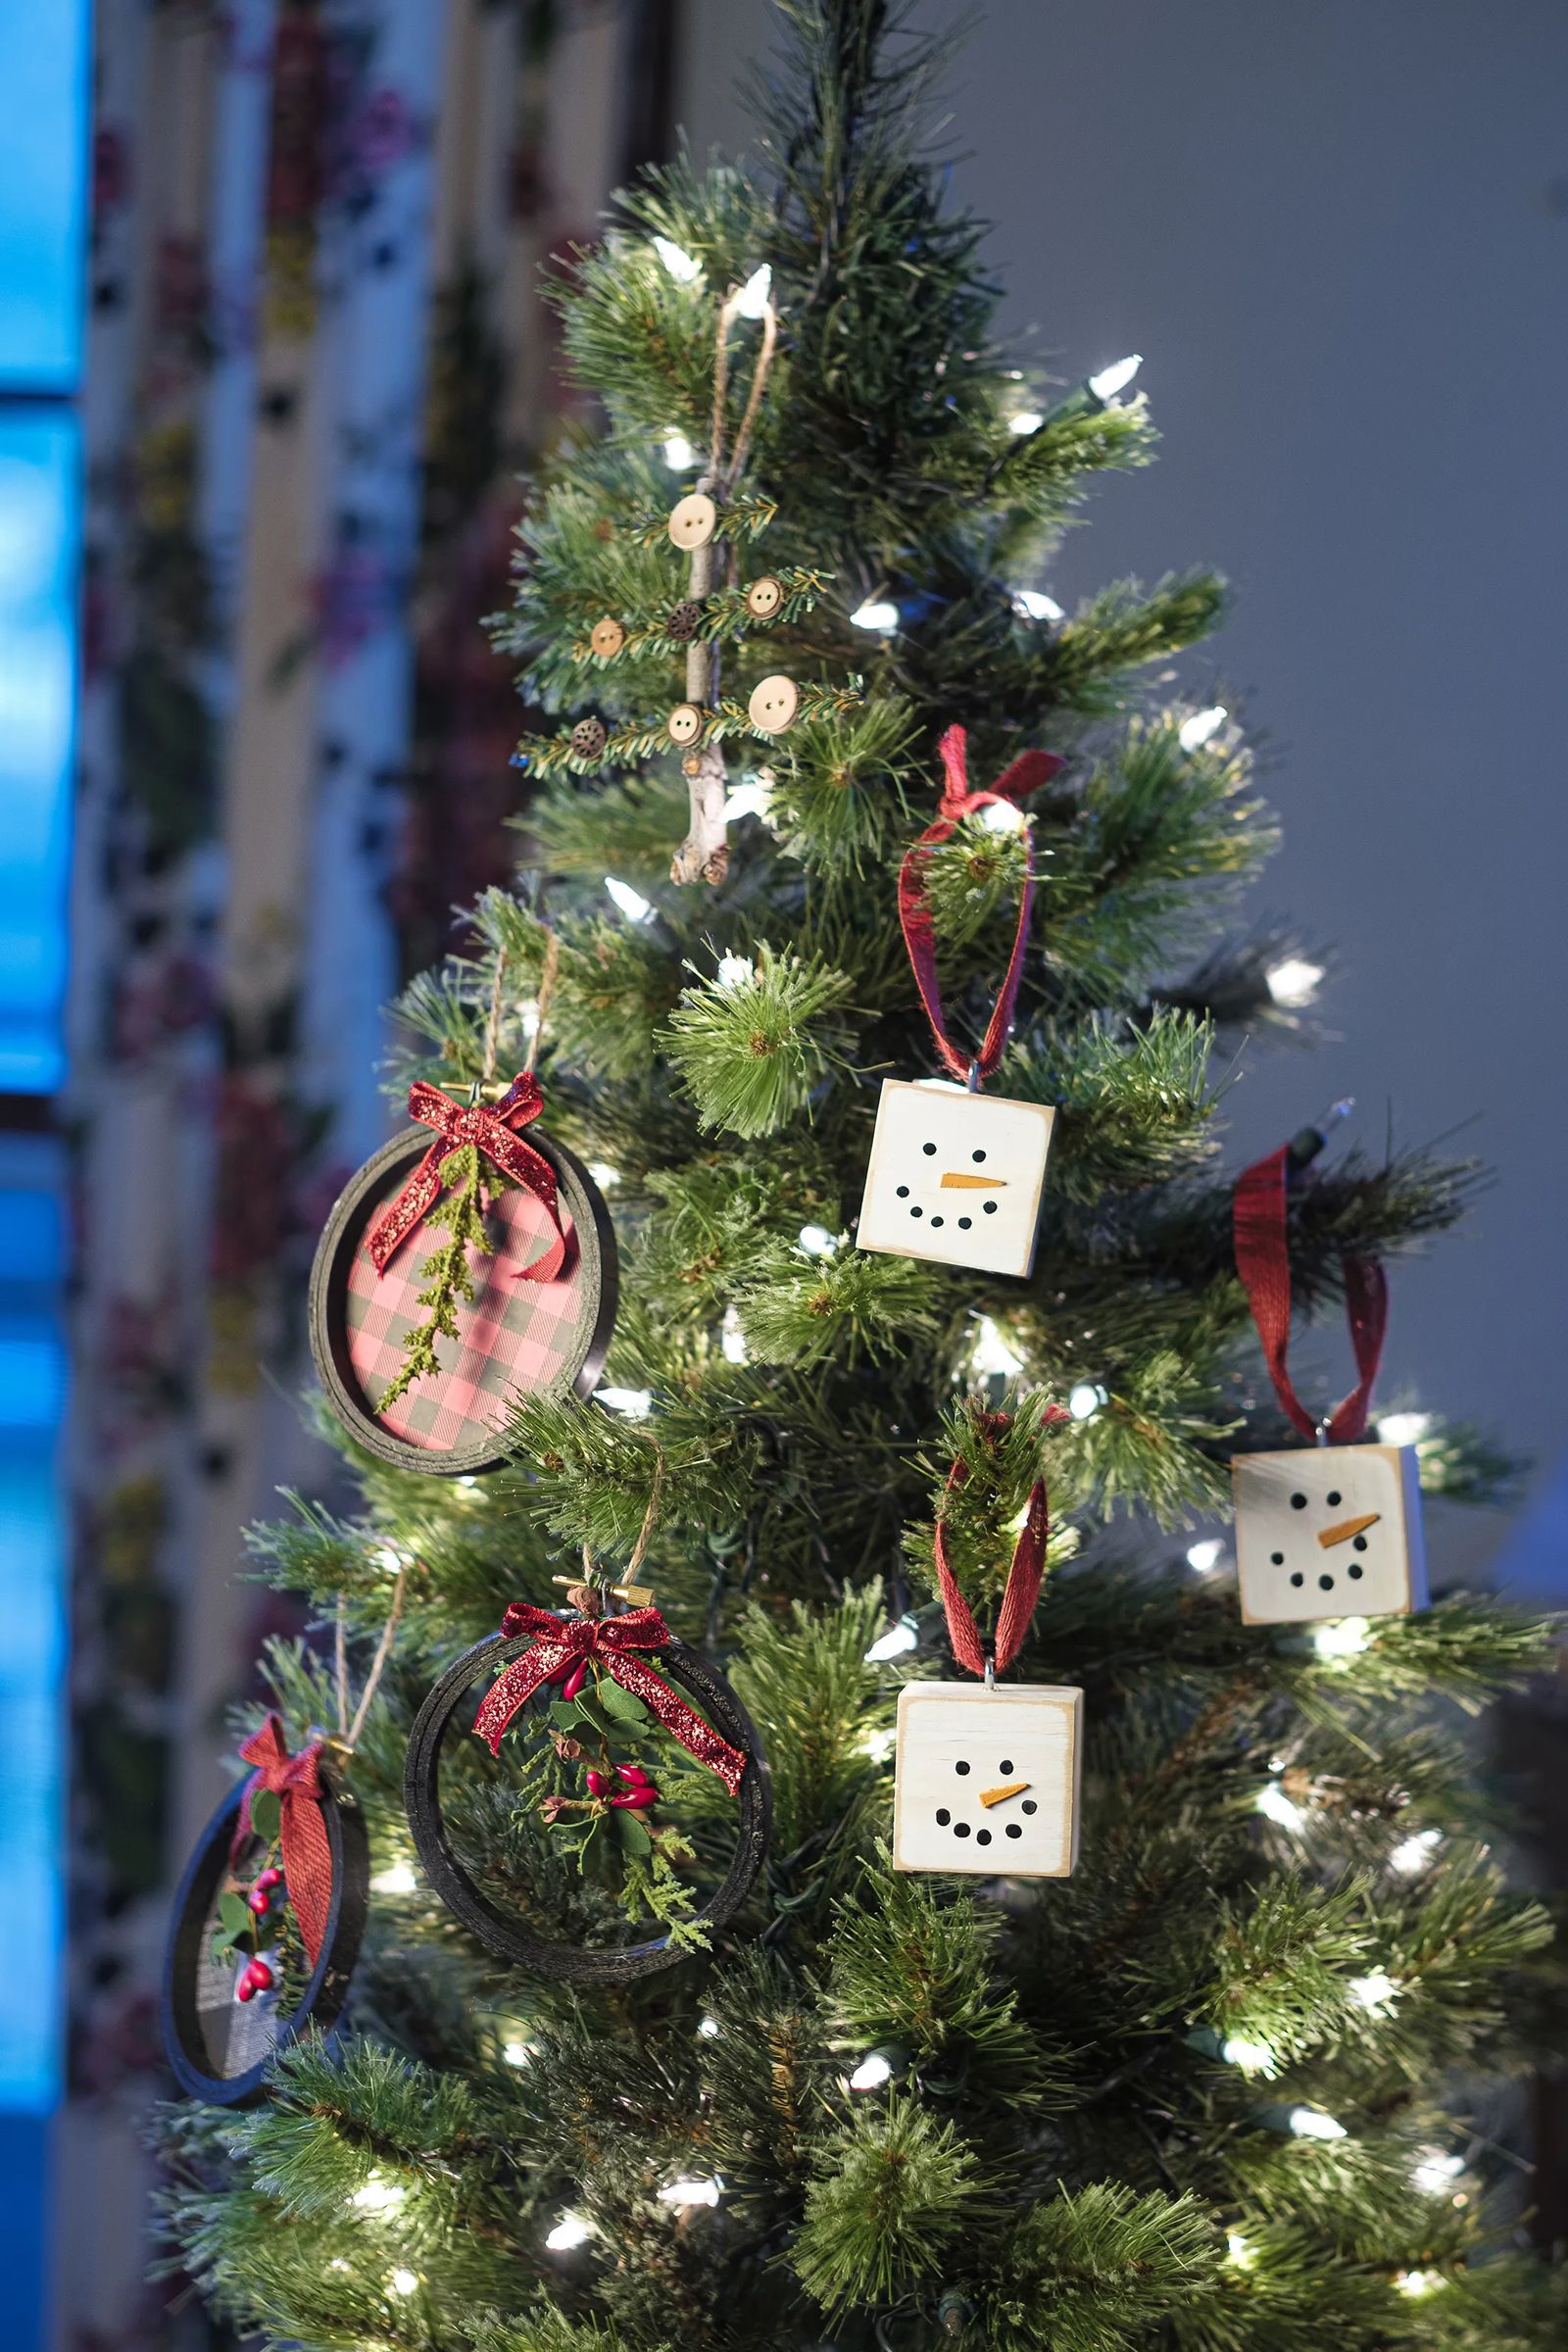
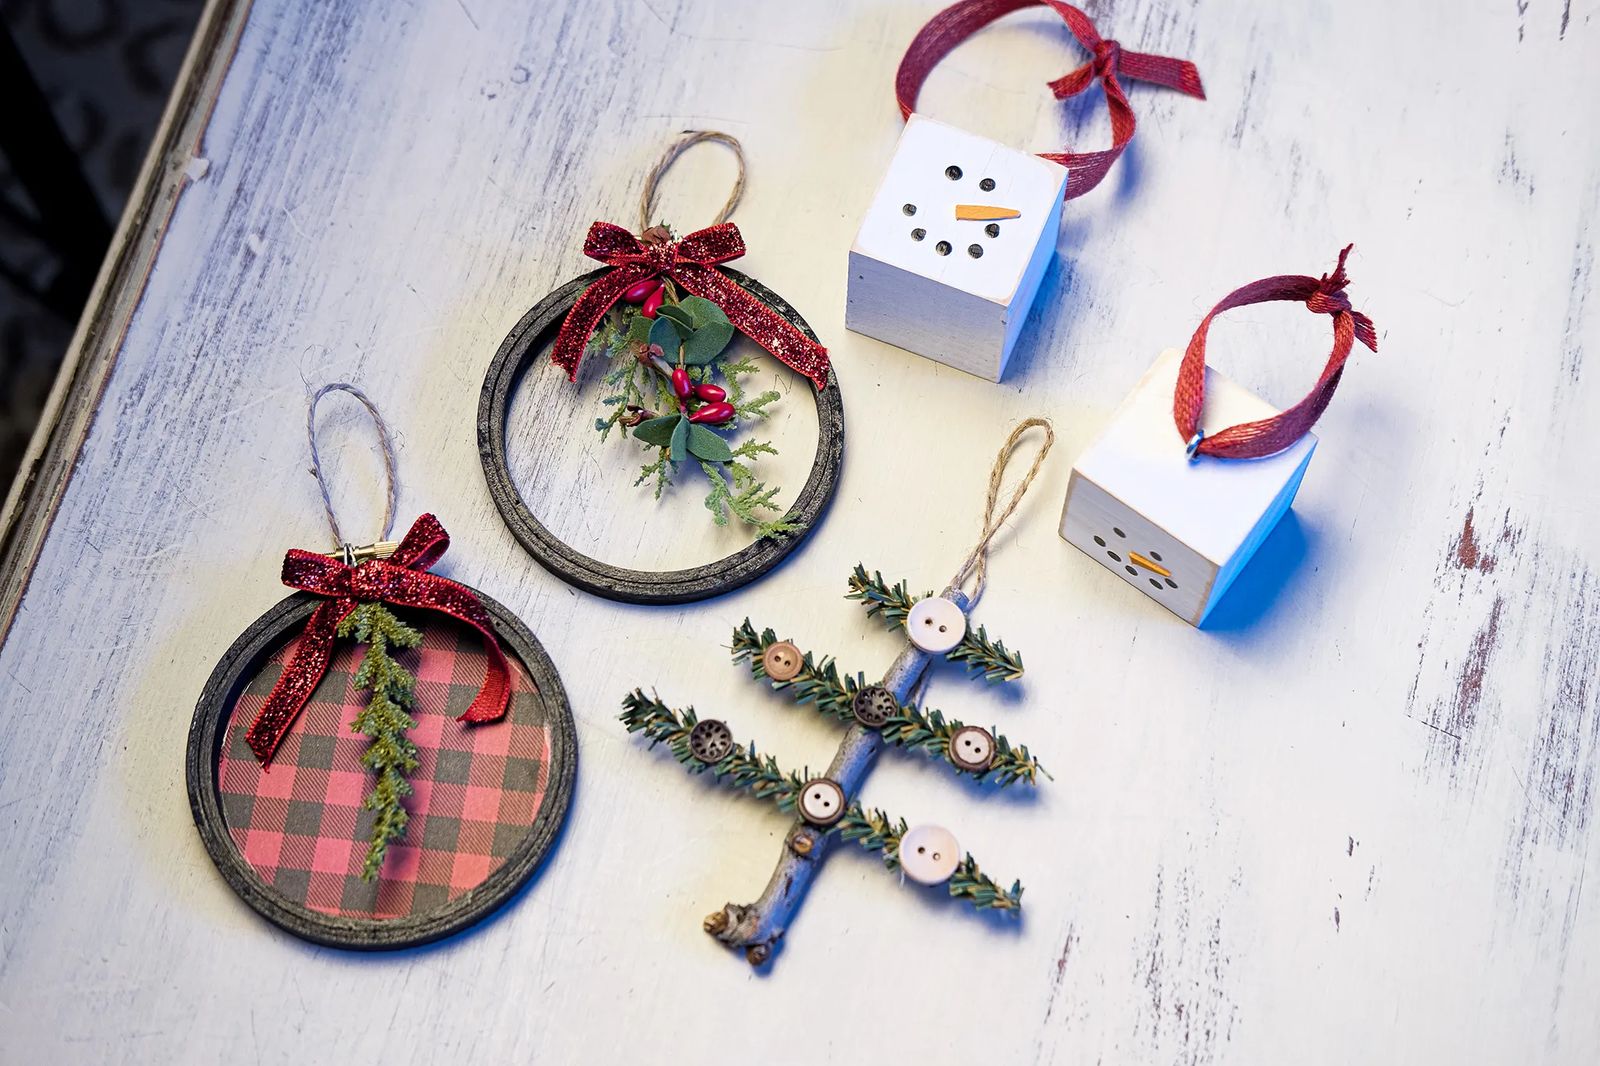
When the holidays roll around, there’s nothing like a family-friendly ornament party to have all hands on deck to add a little homespun charm to your tree. I have not one, not two, but three ornaments that are quick and easy to assemble and most of these supplies can be easily found at your local craft store. Make some memories as a family and create a little magic with these farmhouse-style Christmas treasures. Make a few extras to dress up a gift or give as a homemade gift.

No. 1 WOOD BLOCK SNOWMAN
WHAT YOU WILL NEED
Unpainted wood blocks
White, black and orange acrylic paint
Eyelet screws
Twine/ribbon
Small wood applicator sticks
Paintbrushes
Fine grit sandpaper
Wood glue
Optional: wood wax in a dark shade
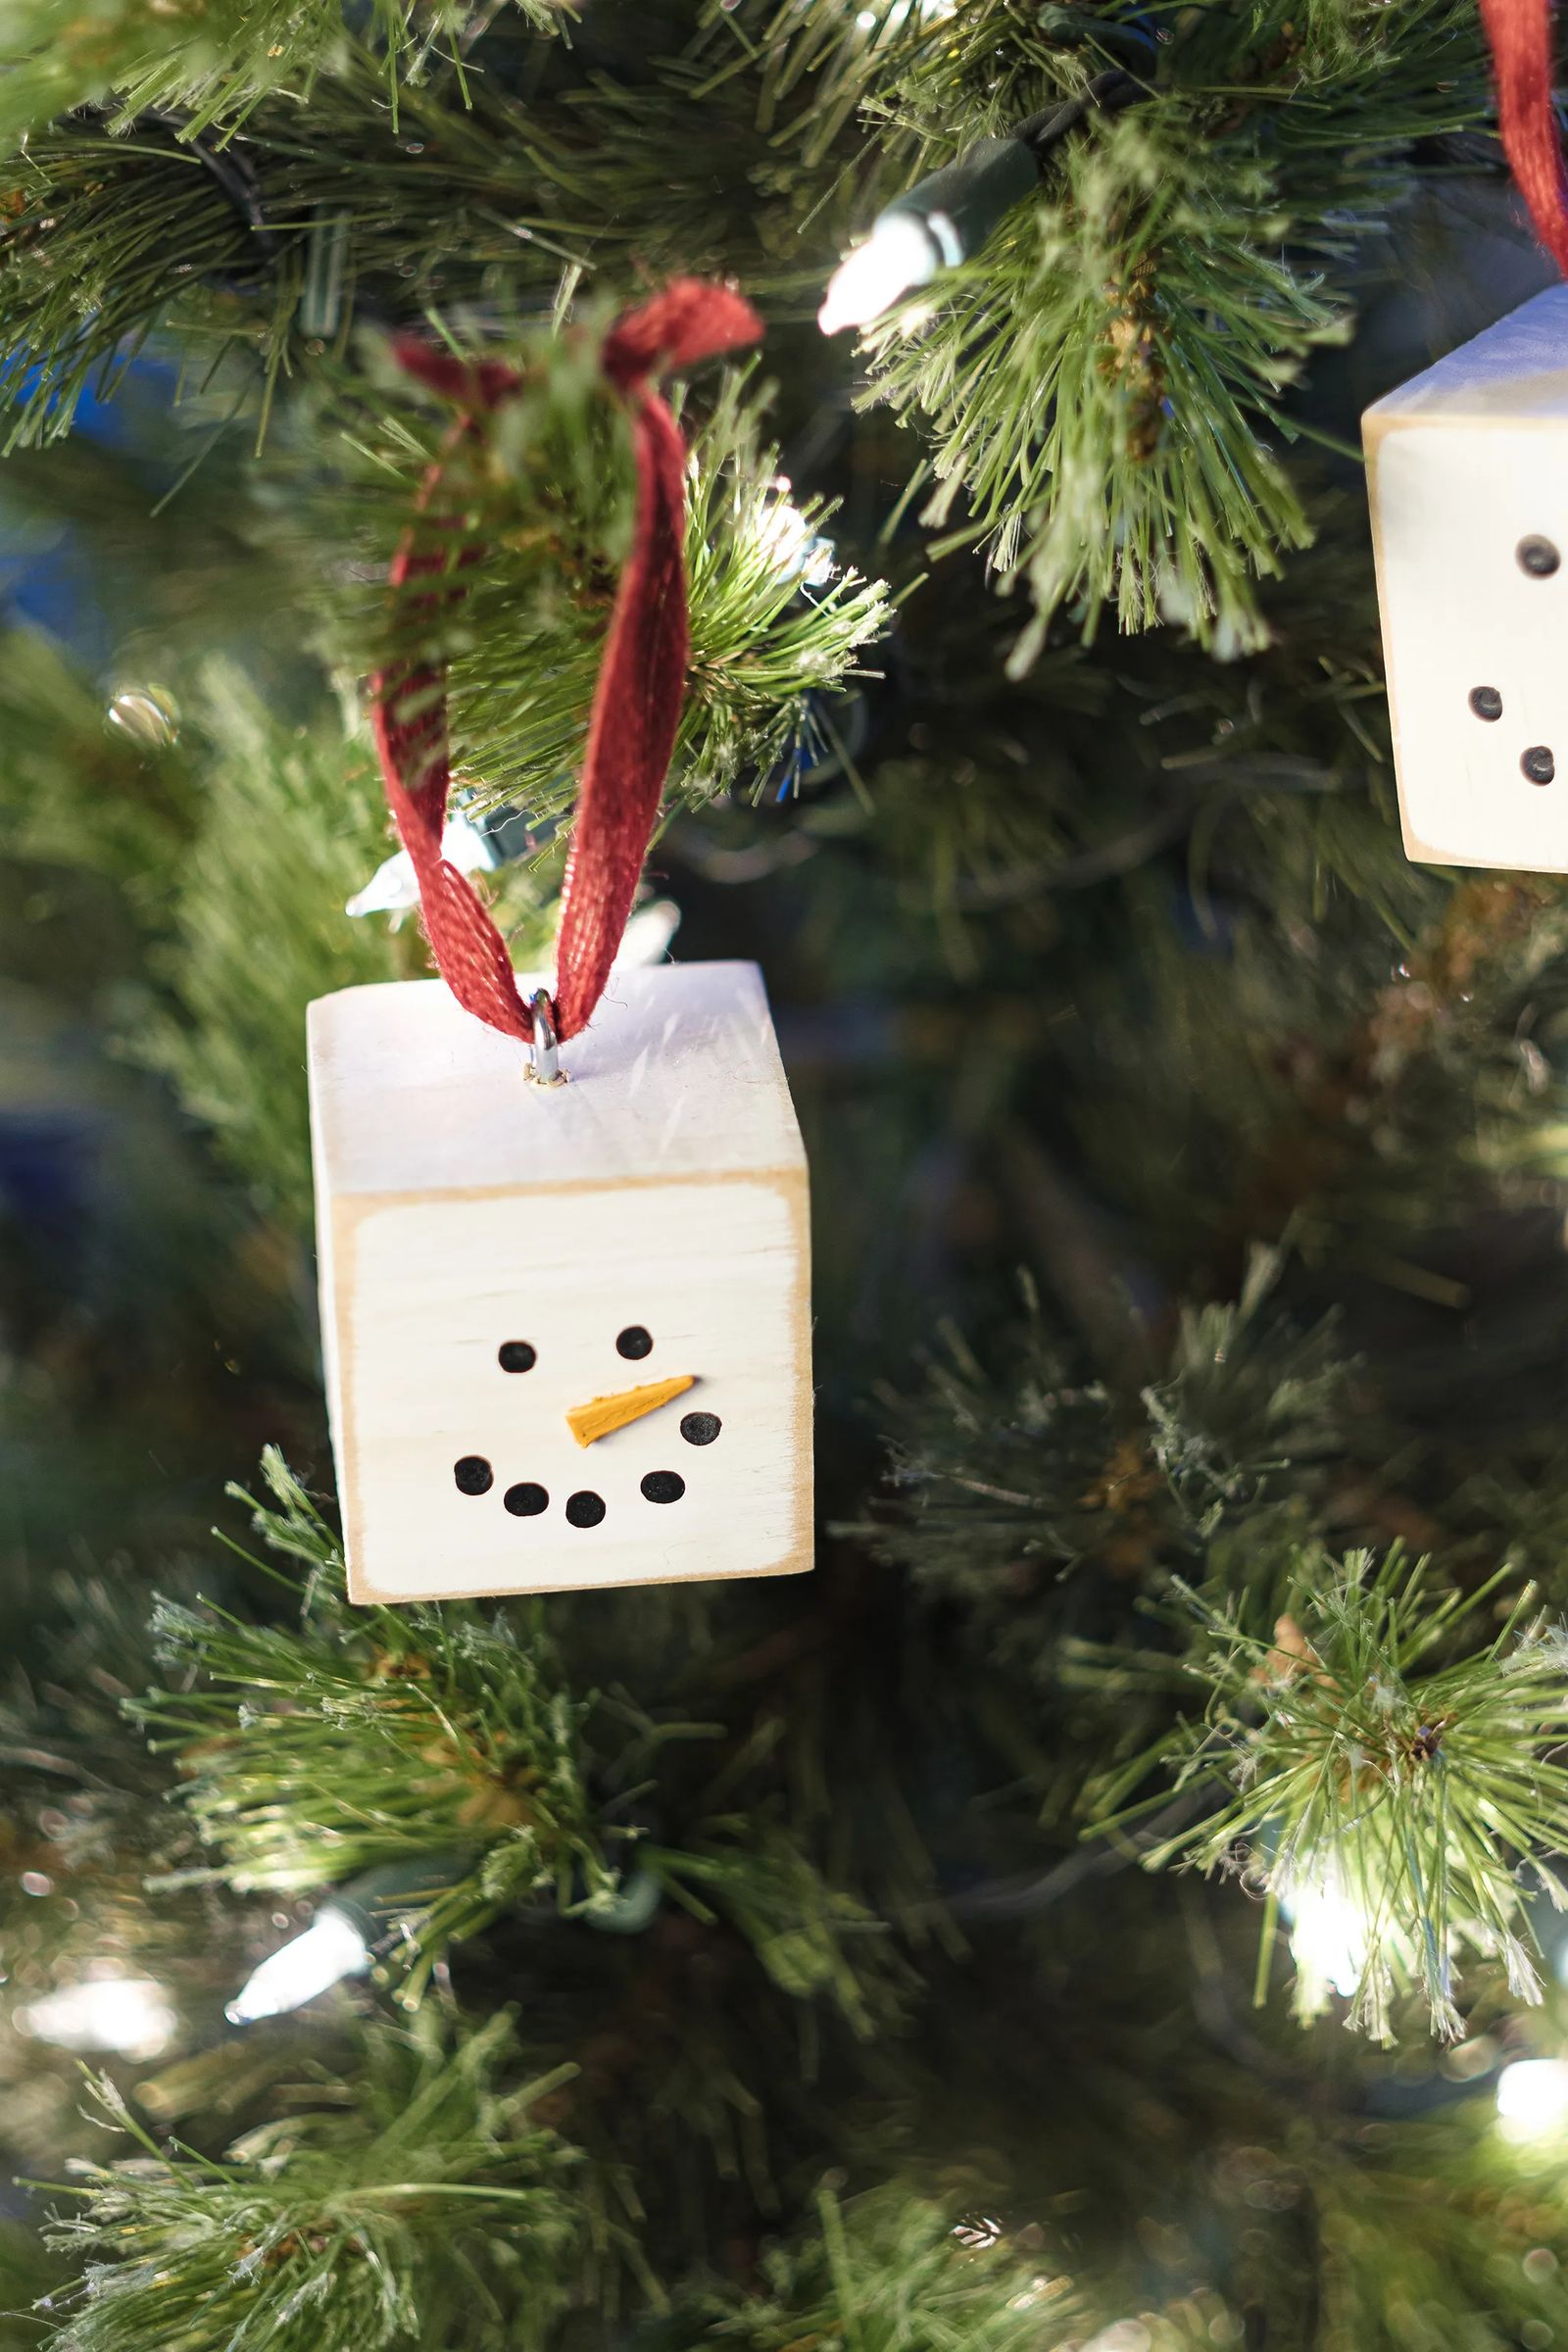
Start by painting the wood blocks white on all sides, letting them dry in between coats. When the blocks have dried, sand and distress with sandpaper. If you want a vintage look, apply a dark shade of wax to the block. Start by applying a small amount of wax to a rag and begin by rubbing it into a hidden spot on the block and expand your area until the entire block is covered. Choose a side of the block for your snowman’s face and lightly pencil in the eyes and mouth. Give the black and orange paint a good shake, open the lids and use the lid as your paint pot. With a fine-tipped paintbrush or even a glass head stick pin, dip in the black paint. Before you rush to the block, practice your face on a paper towel or a piece of scratch paper before moving on to the block. Next, open the orange paint and working from the lid, paint the pointed ends of the small wood applicators. Let everything dry. Trim the orange noses to size and glue into place. The painted wood applicators will add a 3-D effect. Next, screw in the metal eyelet, string a piece of twine through, tie it in a bow and it’s ready to hang on the tree.

No. 2 WREATH ORNAMENT
WHAT YOU WILL NEED
Faux pine greenery
Small embroidery hoops
Ribbon or twine
Scrapbook paper
Black paint
Elmer’s glue
Surebonder 9001 glue or hot glue gun
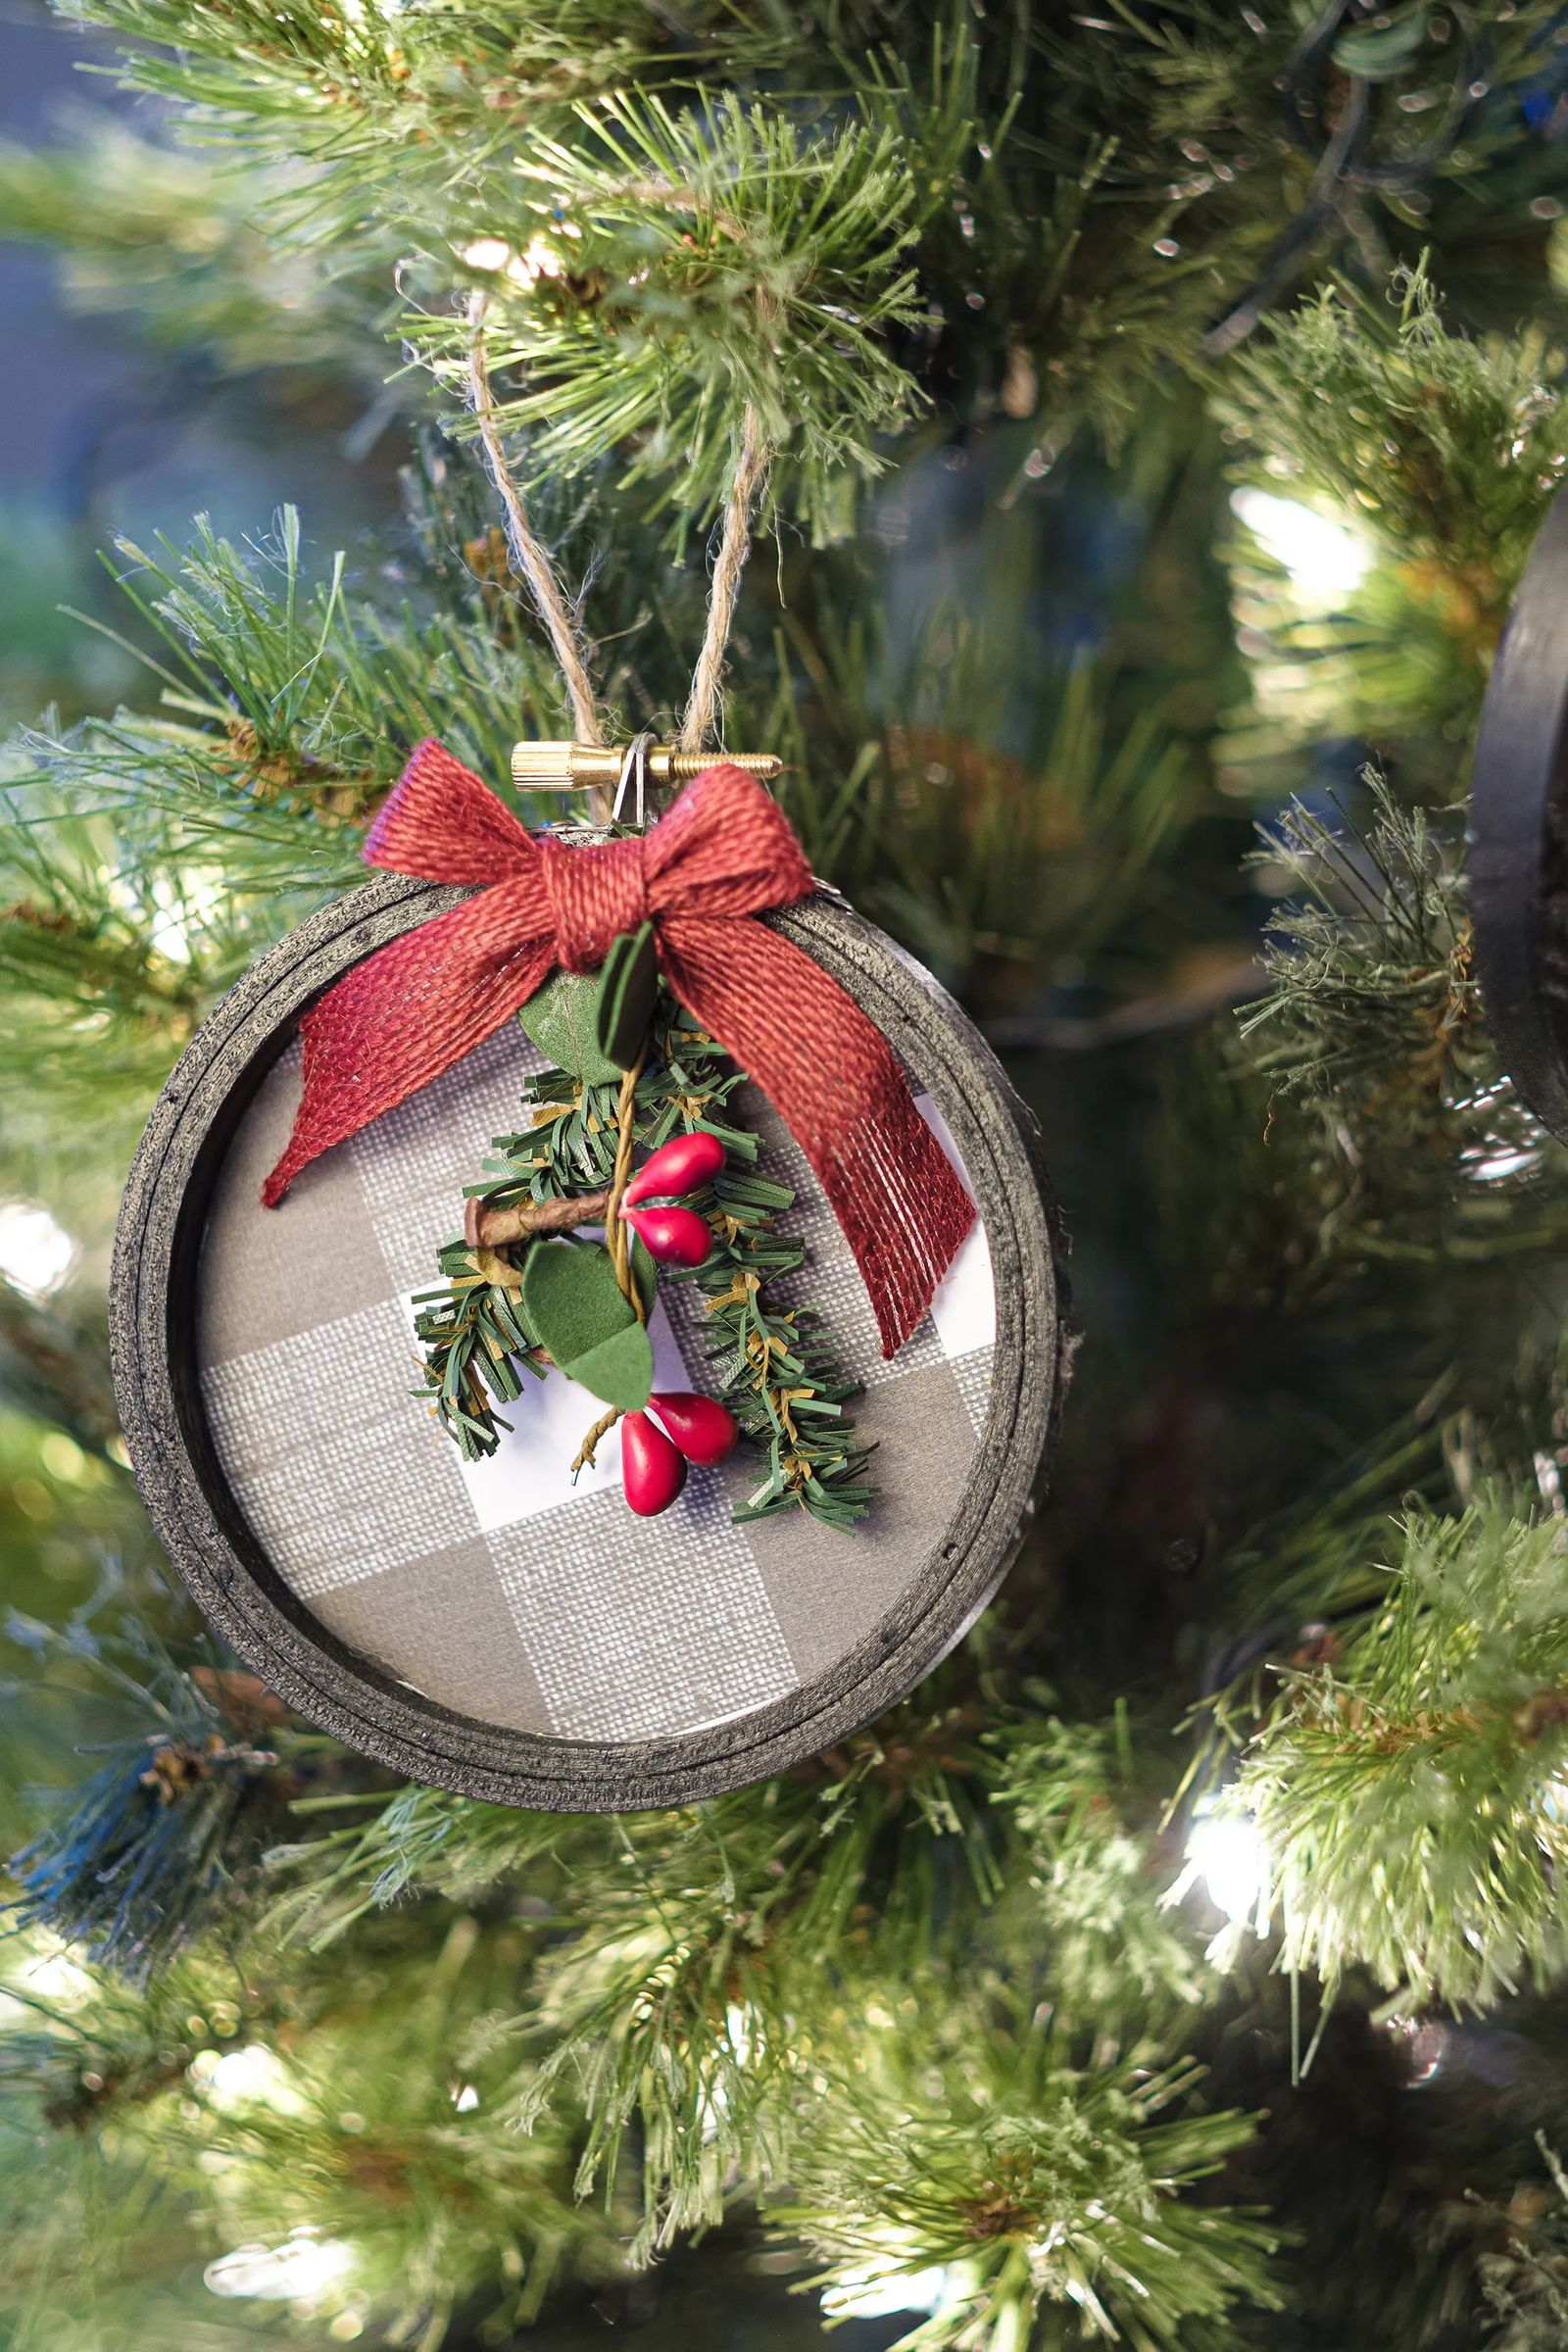
Separate the hoops and give all sides a good coat of paint and let it dry. Trace the outside of the inner loop onto the back of your scrapbook paper and cut out the shape. Put the hoops back together and glue the paper to the back of the hoop. Make a loop with your ribbon or twine and glue that to the top of the hoop on the backside. While the glue is drying, play with the Christmas greenery making small sprigs that are pleasing to the eye. I chose greenery with red berries attached. Remember to keep in mind the length of your sprig and the length of your hoop. I always see what the greenery will look like before I glue it in place. Using a glue gun, attach to the front of the hoop. Add a festive bow and your wreath is ready to hang.

No. 3 BUTTON TREE ORNAMENT
WHAT YOU WILL NEED
A small wood branch, 4-6 inches long
Buttons
Faux pine stems
Wire cutters/wire nippers
Clothespins
Twine
While most of the items for these ornaments were purchased, for this button tree, I wanted to use a real wood twig for the trunk on the ornament. I needed a branch the size of my pinky finger, so I walked around my alley and found what I was looking for (and much more). Foraging in common areas is a great place to find natural supplies with zero cost. I might head back to my alley soon!
Lay your faux pine stems onto the twig to get an idea of the sizing you like. I opted for a wider space between branches. Cut the foraged twig to the size you want using a set of nippers, roughly 4-6 inches. Glue a twine loop at the top of the twig for hanging. Now, cut the faux pine branches to your desired length. I didn’t measure, I just looked at what I thought looked good and cut. The measurements turned out to be 2 inches, 3½ inches, and 5 inches. I dry fit my buttons onto each branch. I went with a neutral look, but you can match your buttons to the rest of your tree’s décor. Once I found the perfect placement for the buttons, I glued them down and held them in place by clipping a clothespin on top of each button. Once the buttons are snugly in place and dry, glue the faux branches to the trunk of the tree. Add a drop of glue to the trunk of the tree and to the branch in the middle. If your clothespin opens wide enough, use that to secure the branches to the trunk. Once the glue is set, your button tee is standing tall and ready to dress up your tree!


