Create a Command Central
DIY to keep your school days organized with ease
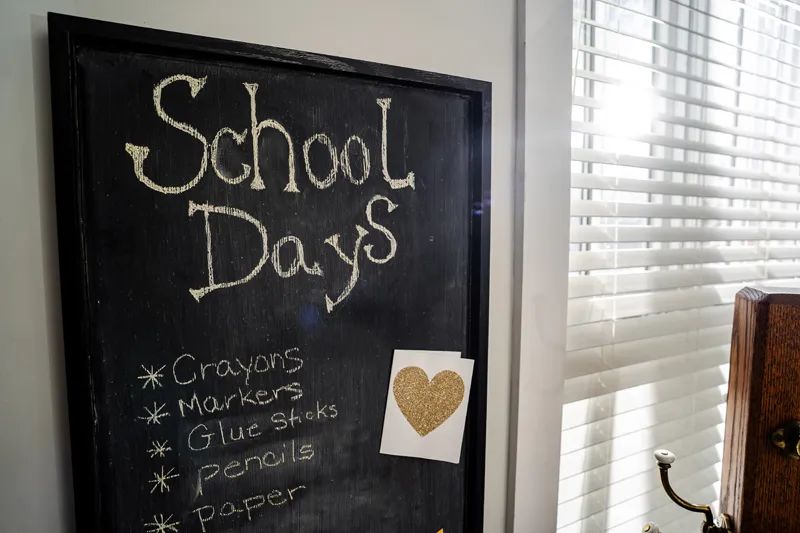
With the new school year here, how would you like a way to make your busy mornings flow a little smoother? A communication board can help track library day, days your child needs to remember their sports gear or their musical instruments. Just jot down your notes and everyone will be on the same page with no surprises as you start your day. Here is a quick, easy and fun way to make your own that can be modified to fit any space.
WHAT YOU WILL NEED:
- Unwanted framed art
- Magnetic paint
- Chalkboard paint
- Masking tape
- Small foam paint brushes and rollers
- Magnets
- Chalk
HOW TO CREATE:
The beauty of this project is the perfect start is finding a frame you no longer use. I wanted something large enough to hold several pictures and a few announcements. And, as always, I didn’t want to spend a lot of money. I looked at home and didn’t find anything, so I hit up local thrift stores. The price point there, however, was still too high.
As I was gathering other materials from a local craft store, I decided to check out the clearance aisle. That’s where I found a piece of art that was on sale for 90 percent off. I didn't care about the image, I was looking more for size. Not only was the frame in good condition, but it also already had mounting hardware on the back. You can look anywhere for supplies but, as I discovered, if you’re lucky enough, brand new can be the cheapest option.
To begin, I masked off the frame using painter’s tape to protect it as I brushed paint over my image. I made sure to paint on a level surface to get the smoothest finish possible. I started with magnetic paint, adding a thin layer, and letting each coat dry for 24 hours before adding another coat. Keep in mind, magnetic paint is very thick, and unlike any paint I’ve used before. I ended up applying six coats, making sure I had thick coverage with a good magnetic hold. Foam brushes helped prevent brush strokes and keep a smooth finish.
I used the chalkboard paint next, making sure to give the can a good shake before each one of my six coats. Again, I let each coat dry for about 24 hours before adding the next coat.
After applying all my paint, it was the moment of truth. I placed a magnet on my magnetic surface to see if it worked and … Hooray! It did, just as the directions said it would.
Once the painting was finished, I took a razor knife to score the edge of the tape on the frame and chalkboard. I did this to protect the paint from peeling as I removed my painter’s tape. It was tedious but necessary. After I removed the tape, I needed to touch up a few spots with a small paint brush.
Keep in mind, when using chalkboard paint, you’ll need to prime your chalkboard by taking a piece of chalk, laying it on its side and rubbing the whole board down with it. Afterward, wipe off the chalk with an eraser or soft cloth. Priming helps to erase the board with future use so there’s no memory of previous messages. Now it’s time to hang your board on the wall.
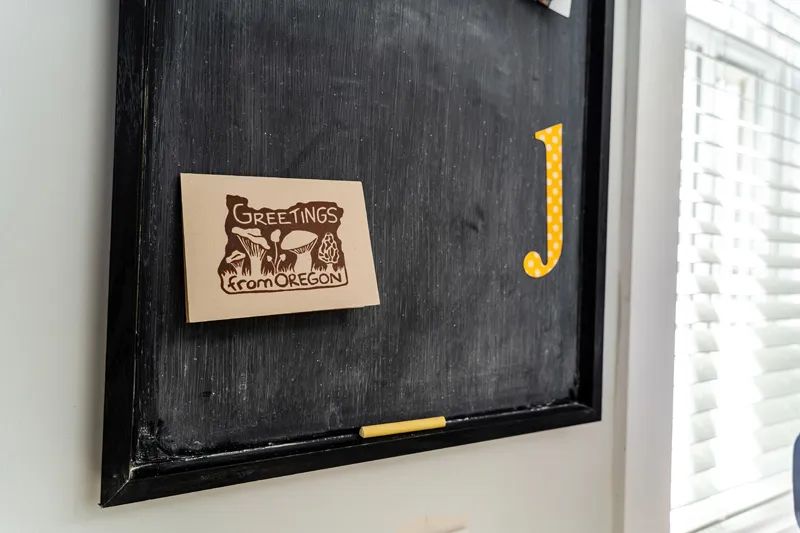
In an easy few days, we transformed a piece of unwanted art into a communication board ready to jump-start organization for a new school year. It’s the perfect space for those “works of art” made at school, for any reminders from teachers or a place to make a note of special days at school. One space to make those busy school mornings run a little more smoothly.