Painted Planters
An old bucket and a little paint can add charm to your patio
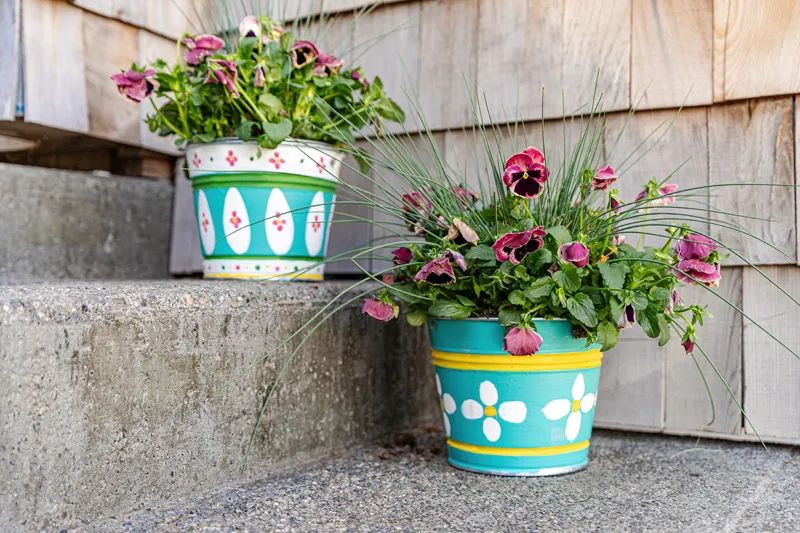
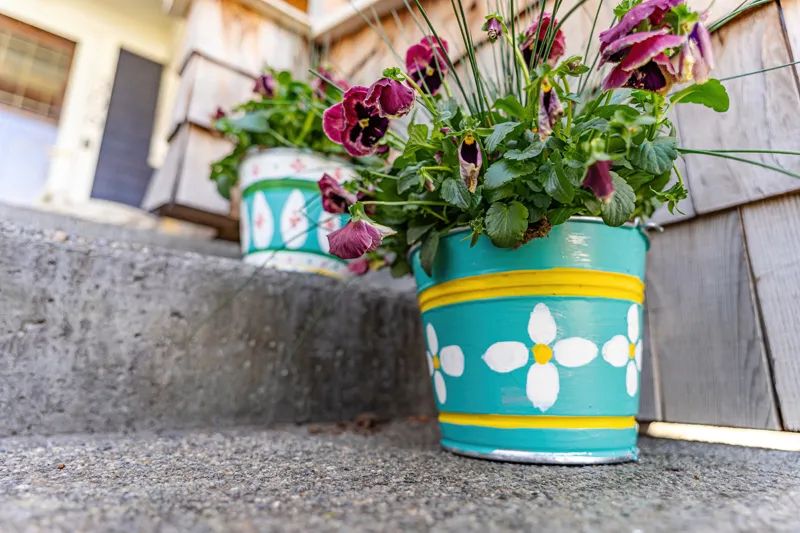
With warmer weather here, there’s no time like the present to get our hands in the dirt. What better way to signal spring than to craft some affordable and vibrant planters perfect for all our favorite annuals. Transforming galvanized buckets into charming spring planters is a delightful way to enhance your outdoor space. Not only does this project allow your creative juices to flow, but it also repurposes durable materials, giving them a new lease on life. Galvanized buckets are sturdy, weather-resistant, and add a bit of whimsy to any garden. Their timeless appeal makes them perfect for so many different decorating styles. Additionally, their durability ensures that your planters will withstand the elements for seasons to come.
WHAT YOU WILL NEED:
- Galvanized buckets
- 220 grit sandpaper
- Primer for metal surfaces (I used Zinsser)
- Acrylic paint
- Paint brushes
- Spray clear top coat
STEP-BY-STEP
As we get started, you should know that the zinc coating on galvanized metal can prevent paint from sticking well to the bucket. Lightly sanding the surface with fine-grit sandpaper helps create a texture for the paint to grip. Also, washing the surface with vinegar can etch it, which will help the paint to stick better. To prepare the buckets for painting, we need to clean the surface to remove any dirt, grease, leftover labels, or any dust left from our quick sanding. A mixture of soap and water, followed by a quick rinse, will do the trick.
I used a primer made for shiny metal surfaces. This step is crucial as it promotes better paint adhesion and provides an extra layer of protection against rust.
Choose a well-ventilated area for painting, preferably outdoors, to avoid inhaling fumes.
Apply thin, even coats of paint, allowing each coat to dry according to the manufacturer's instructions. Multiple thin coats are preferable to one thick coat, as they reduce the risk of drips and ensure a smoother finish.
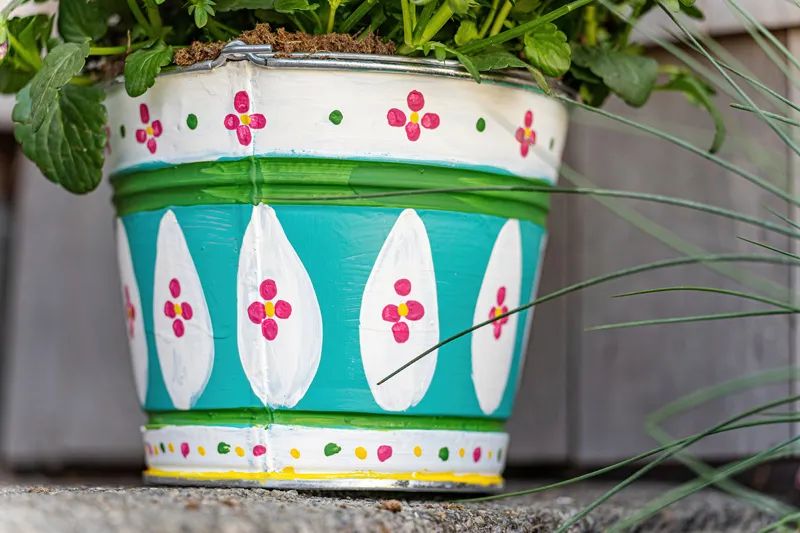
You can add a personal touch by incorporating stencils or hand-painted designs to your buckets. This makes your planters unique and reflective of your style. For my designs I used acrylic latex paints, which are easy to find, easy to use and have great durability. After you finish, let the paint dry completely. Some paints may require a curing period to achieve maximum durability. I usually allow 24 hours before sealing. After everything is dry, use a clear spray paint sealer. I sprayed on three to four light coats, letting each coat dry fully before moving on to the next. The sealer will protect your planter from the elements. To make your project last, it’s not a bad idea to seal yearly before you plant for the spring.
Once your pick your plants, you can get your porch or patio ready for spring with these hand-painted creations that are sure to add character and charm. Try arranging multiple painted buckets together for a fun, cohesive look. Varying sizes and colors can add depth and interest to your garden or patio to welcome spring and the warm weather!